
Learning how to cook chicken tenders is one of those kitchen skills that pays dividends—whether you’re feeding picky kids, meal prepping for the week, or just craving comfort food that actually tastes homemade. The trick isn’t complicated, but there are definitely some pro moves that separate soggy, rubbery tenders from the golden, juicy ones that’ll make people ask for your recipe.
Table of Contents
Choosing Quality Tenders
Before you even think about cooking, you need good raw material. Chicken tenders are the strip of meat that runs along the underside of the chicken breast—the most tender part of the bird, which is why they’re named that way. You’ve got three options: buy them pre-cut from the meat counter, grab a package of frozen ones, or cut them yourself from whole breasts.
Fresh tenders from the butcher counter are ideal because you control thickness and can ask the butcher to trim them properly. Frozen tenders work fine too, but thaw them completely before cooking—no shortcuts there. If you’re cutting your own, slice against the grain at a slight angle and aim for roughly half-inch thickness for even cooking.
Prep Work Matters
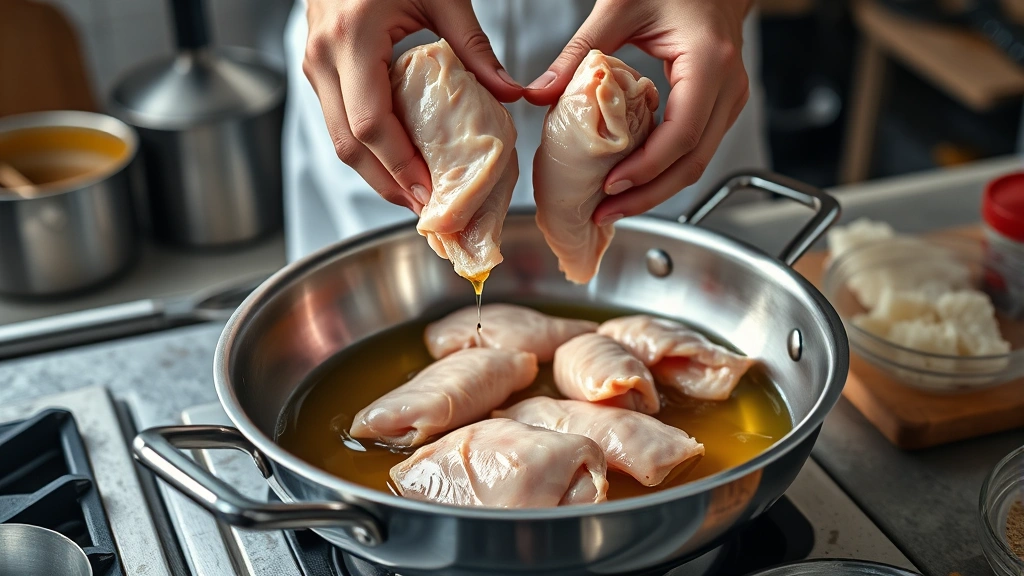
This is where most home cooks skip steps and end up disappointed. Pat your tenders completely dry with paper towels—moisture is the enemy of crispiness. Any surface wetness will steam instead of sear, and you’ll get a pale, limp result instead of that golden crust you’re after.
Season generously with salt and pepper at least 15 minutes before cooking. This allows the salt to penetrate the meat rather than just sitting on the surface. If you’ve got time, let them sit for 30-45 minutes in the fridge—this helps the seasoning really bond and the surface dry out even more.
For breading, you’ve got options. A simple flour coating works. A wet dredge (egg wash followed by panko breadcrumbs) gives you maximum crunch. Even just seasoned flour creates a nice light crust. The choice depends on your mood and how indulgent you’re feeling.
Pan-Frying for Crispiness
This is the gold standard for crispy chicken tenders. Heat a cast-iron or stainless steel skillet over medium-high heat and add enough oil to come halfway up the sides of the tenders—about ¼ inch. You want neutral oil with a high smoke point: vegetable, canola, or light olive oil all work. Avoid extra virgin olive oil; it burns too easily.
Wait for the oil to shimmer and just barely start smoking. This usually takes 3-4 minutes. Test with the edge of a tender—you should hear an immediate aggressive sizzle. If it just quietly bubbles, the oil isn’t hot enough and you’ll get grease-soaked tenders instead of crispy ones.
Working in batches (don’t crowd the pan), lay tenders away from you to avoid splatters. Don’t touch them for 3-4 minutes. Seriously, just leave them alone. This is when the crust forms. Flip once and cook another 2-3 minutes until the internal temperature hits 165°F. The whole process takes about 6-8 minutes per batch depending on thickness.
Oven Baking Option
Want crispy tenders without the oil splatter? The oven method works beautifully, especially if you’re cooking a larger batch. Preheat your oven to 400°F and line a baking sheet with parchment paper or aluminum foil for easy cleanup.
Lightly spray or brush the tenders with oil (just a light coating), season them, and arrange in a single layer without overlapping. Bake for 12-15 minutes until golden brown and cooked through. The key here is not overcrowding the sheet—air needs to circulate around each tender.
For extra crispiness, flip them halfway through cooking. This isn’t strictly necessary, but it does help the bottom get as golden as the top. You can also try the air fryer technique for a similar result with even less oil.
Air Fryer Technique
If you own an air fryer, this is honestly the easiest method. Preheat to 380°F for about 3 minutes. Spray the basket lightly with cooking spray, then arrange tenders in a single layer. You can fit quite a few without overlapping if you angle them slightly.
Cook for 10-12 minutes, shaking the basket halfway through. The air fryer circulates hot air intensely, so you get that crispy exterior without any deep frying. It’s genuinely foolproof once you dial in your specific machine’s quirks.
Grilling Chicken Tenders
Grilling tenders requires a bit more attention than other methods because they’re thin and can dry out quickly. If you’re interested in similar grilling techniques, check out our guide on how long to grill boneless chicken thighs for additional temperature and timing tips.
Oil your grill grates well and preheat to medium-high (around 400°F). Brush the tenders lightly with oil to prevent sticking. Grill for 3-4 minutes per side, creating those nice char marks. Watch them closely—they can go from perfect to overdone in seconds because of their thinness.
Use tongs, not a fork, to flip them. Piercing the meat releases juices that you want to keep inside. If you’re using wooden skewers to thread tenders, soak them for 30 minutes first to prevent burning.
How to Check Doneness
The only reliable way to know if chicken is done is with a meat thermometer. Stick it into the thickest part of the tender without touching bone (though there isn’t any here) or the pan. You’re looking for 165°F internal temperature. That’s the USDA safe temperature for poultry.
Don’t rely on color alone—undercooked chicken can look golden brown, and overcooked chicken can look pale. Don’t rely on juices running clear either; that’s an old wives’ tale. Get a thermometer. They’re cheap, and they’ll save you from both food poisoning and dry, rubbery chicken.
Resting Period Importance
After cooking, let your tenders rest for 5 minutes on a clean plate or cutting board. This allows the juices to redistribute throughout the meat instead of running out when you bite into them. It’s a small step that makes a surprising difference in juiciness.
Don’t tent them with foil during resting if you want to keep them crispy—that traps steam and softens the crust. Just let them sit uncovered for those 5 minutes.
Common Mistakes to Avoid
The biggest mistake is cooking from frozen without thawing. Frozen tenders cook unevenly—the outside overcooks while the inside stays cold. Always thaw completely in the fridge overnight.
Second mistake: not drying the surface. Wet tenders steam instead of sear. Third: oil that’s not hot enough. You need aggressive heat for that crust to form. Fourth: crowding the pan or baking sheet. Give each tender space to cook properly.
Fifth: not using a thermometer and relying on appearance or guessing. Sixth: skipping the rest period—those 5 minutes matter more than you’d think.
Flavor Variations
Once you master the basic technique, branch out. Try Italian seasoning with panko for an Italian vibe. Cajun spices if you want heat. Garlic powder and paprika for a Spanish twist. Mix honey with soy sauce for a glaze you brush on partway through cooking.

For meal prep, consider our healthy lunch recipes meal prep guide for ideas on how to incorporate cooked tenders into balanced weekly meals.
You can also bread them with crushed cornflakes, panko mixed with grated parmesan, or even crushed potato chips for a fun twist. The world’s your oyster once you nail the cooking technique.
Frequently Asked Questions
How long does it take to cook chicken tenders?
Pan-frying takes 6-8 minutes total. Oven baking at 400°F takes 12-15 minutes. Air frying takes 10-12 minutes. Grilling takes 6-8 minutes. Thickness and cooking method affect timing, so always use a meat thermometer to confirm 165°F internal temperature.
Can you cook chicken tenders from frozen?
It’s not recommended. Frozen tenders cook unevenly and often end up with overcooked exteriors and undercooked centers. Thaw them overnight in the refrigerator for best results. If you’re in a rush, submerge sealed tenders in cold water for 1-2 hours.
What oil is best for frying chicken tenders?
Use neutral oils with high smoke points: vegetable oil, canola oil, peanut oil, or light olive oil. Avoid extra virgin olive oil, coconut oil, or butter—they burn at lower temperatures and create off-flavors. Aim for an oil temperature around 350-375°F.
Why are my chicken tenders dry?
Overcooking is the main culprit. Use a thermometer and stop at 165°F. Thinner tenders cook faster, so watch timing closely. Also ensure you’re not skipping the rest period—those 5 minutes help retain moisture. Brining tenders in salt water for 30 minutes before cooking also helps.
Can you pressure cook chicken tenders?
Yes, though you won’t get a crispy exterior. For details on timing and technique, check our guide on how long to pressure cook chicken. Pressure cooking is faster but requires finishing them in a hot pan or under the broiler for browning.
How do you keep chicken tenders crispy after cooking?
Keep them on a wire rack rather than a plate—this prevents the bottom from getting soggy. Don’t cover them with foil. If you need to hold them warm, place them in a 200°F oven on a wire rack, uncovered, for up to 15 minutes. Don’t stack them.
What’s the difference between chicken tenders and chicken strips?
Chicken tenders are the natural strip of meat from the underside of the breast. Chicken strips are hand-cut pieces from the breast meat. Tenders are naturally more tender and cook more evenly because they’re uniform thickness. Strips can vary in thickness.
Final Thoughts
Mastering how to cook chicken tenders opens up a world of quick, satisfying meals. Whether you’re pan-frying for maximum crispiness, baking for convenience, or air-frying for speed, the fundamentals stay the same: start with quality meat, dry it well, season properly, cook with appropriate heat, and check doneness with a thermometer.
Once you’ve nailed the basic technique, you can explore flavor variations and different cooking methods. The beauty of chicken tenders is their versatility—they work in tacos, salads, grain bowls, or straight-up with your favorite dipping sauce. Keep practicing, and soon you’ll be making tenders that rival any restaurant version.


