
Taking screenshots on your iPhone 16 is one of those skills that seems simple until you actually need to do it in a pinch. Whether you’re capturing a conversation, saving a recipe, or documenting something important, knowing how to screenshot on iPhone 16 should be second nature. The good news? Apple made it dead simple, and there are actually multiple ways to do it depending on your situation.
In this guide, I’ll walk you through every method to capture your screen, plus some pro tips for editing and organizing your screenshots so they don’t clutter up your Photos app like digital junk mail.
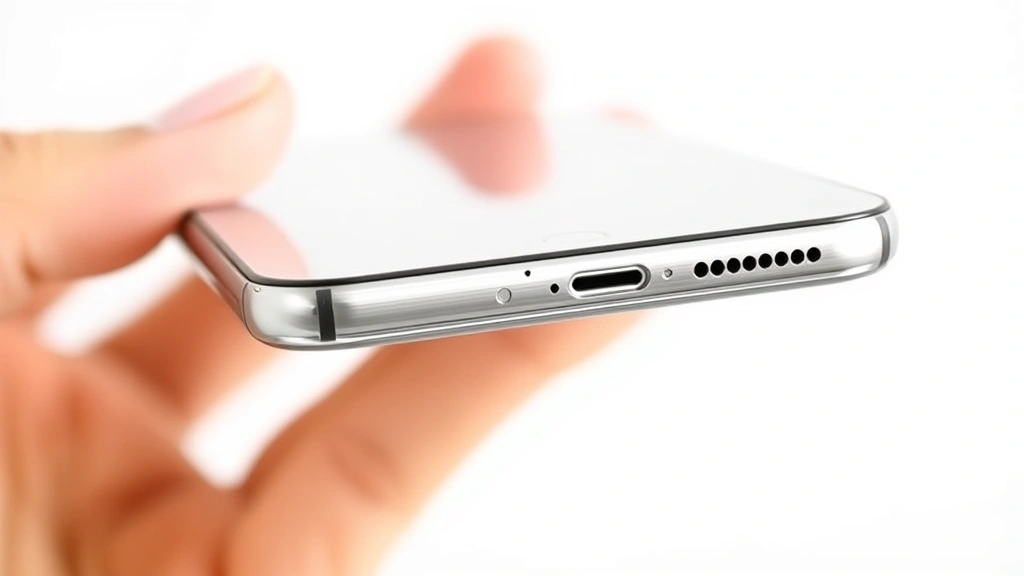
The Classic Button Combo Method: Power + Volume Up
This is the bread-and-butter way to take a screenshot on iPhone 16, and it works every single time. Think of it like muscle memory—once you nail the timing, you won’t even think about it.
Here’s exactly what you do:
- Open whatever you want to capture (a message, website, photo, anything on your screen).
- Locate the Side button (on the right edge of your iPhone 16) and the Volume Up button (upper left side).
- Press both buttons simultaneously and hold them for just a split second—you don’t need to hold them long, maybe half a second tops.
- Release both buttons immediately.
- Your screen will flash white (or dim briefly, depending on your settings), and you’ll hear a camera shutter sound (if your phone isn’t muted).
- A thumbnail preview pops up in the lower-left corner of your screen for a few seconds.
That’s it. The screenshot is now saved to your Photos app in the “Screenshots” album automatically.
Pro Tip: The timing is forgiving—you’ve got a pretty generous window to press both buttons together. If you miss it, just try again. Don’t overthink the timing.
The reason this method works so well is that Apple positioned these buttons specifically for one-handed operation. Your thumb can naturally reach the Side button while your index finger hits Volume Up. It’s ergonomic, not accidental.
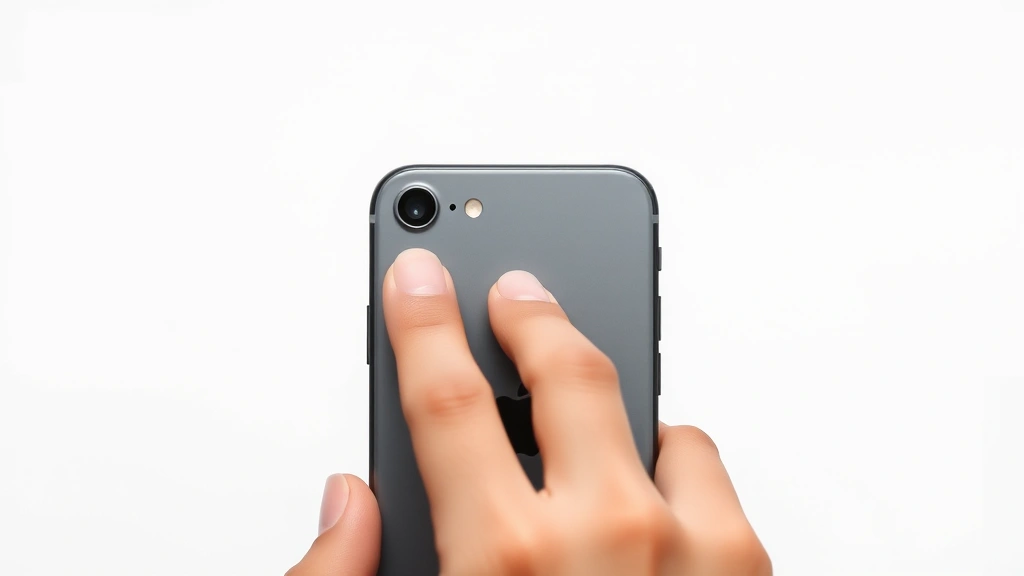
Back Tap Shortcut: The Hidden Gem Nobody Uses
Here’s where things get clever. iPhone 16 supports a feature called Back Tap, which lets you trigger actions by tapping the back of your phone. You can set it up to take a screenshot with just two quick taps on the rear of your device.
How to set up Back Tap for screenshots:
- Open Settings on your iPhone 16.
- Scroll down and tap Accessibility.
- Tap Touch.
- Scroll to the bottom and tap Back Tap.
- You’ll see two options: Double Tap and Triple Tap. Choose one (I recommend Double Tap for screenshots since you’ll use it more often).
- Tap your choice, then select Screenshot from the action menu.
- Test it by tapping the back of your phone twice (or three times, depending on what you chose).
Now, whenever you want a screenshot, just tap the back of your phone. It sounds gimmicky, but it’s genuinely useful if your hands are full or if you’re in an awkward position where reaching the side buttons is annoying.
Real Talk: Back Tap can be finicky sometimes. If your phone doesn’t recognize the tap, make sure you’re tapping firmly on the upper-middle area of the back, not on a case that’s too thick or padded.
Voice Control Method: Hands-Free Screenshots
If you need to take a screenshot but your hands are genuinely busy (cooking, holding something, whatever), you can use voice commands. This requires setting up Voice Control first, but it’s a lifesaver in specific situations.
Setting up Voice Control:
- Go to Settings → Accessibility → Voice Control.
- Tap Set Up Voice Control.
- Allow your iPhone to listen and learn your voice.
- Once activated, you can say “Take a screenshot” and your phone will do it.
Voice Control is more powerful than it sounds—it can execute custom commands, navigate menus, and automate tasks. But for now, just knowing you can bark “Take a screenshot” at your phone in a pinch is useful.
According to Apple’s official support documentation, Voice Control works even when your phone is locked, which is handy for quick captures.
Editing Your Screenshots Immediately: The Markup Tool
Here’s the thing most people don’t realize: you don’t have to save a screenshot as-is. The second you take one, that thumbnail pops up, and you can tap it to edit before it’s finalized.
What you can do with the editing menu:
- Crop the image to remove unnecessary parts.
- Add text with different fonts and colors.
- Draw or sketch on the screenshot with various brush styles.
- Add shapes like boxes, arrows, or circles to highlight areas.
- Add a magnifier to zoom in on specific details.
- Sign the screenshot with your finger.
To access these tools, take your screenshot, tap the thumbnail, and then tap Markup in the bottom-right corner. A toolbar appears with all these options. When you’re done editing, tap Done, then Save to Photos.
Pro Tip: If you don’t tap the thumbnail within a few seconds, it disappears and you can still edit later by opening your Photos app, finding the screenshot, and tapping Edit. But doing it immediately is faster.
This is genuinely useful if you’re taking screenshots for work or documentation. You can annotate right there instead of jumping to a separate app like Markup or Preview.
Organizing and Managing Screenshots: So They Don’t Become a Digital Mess
Screenshots pile up fast. If you’re not careful, you’ll have hundreds of random captures cluttering your Photos library. Here’s how to keep them organized.
Method 1: Use the Screenshots Album
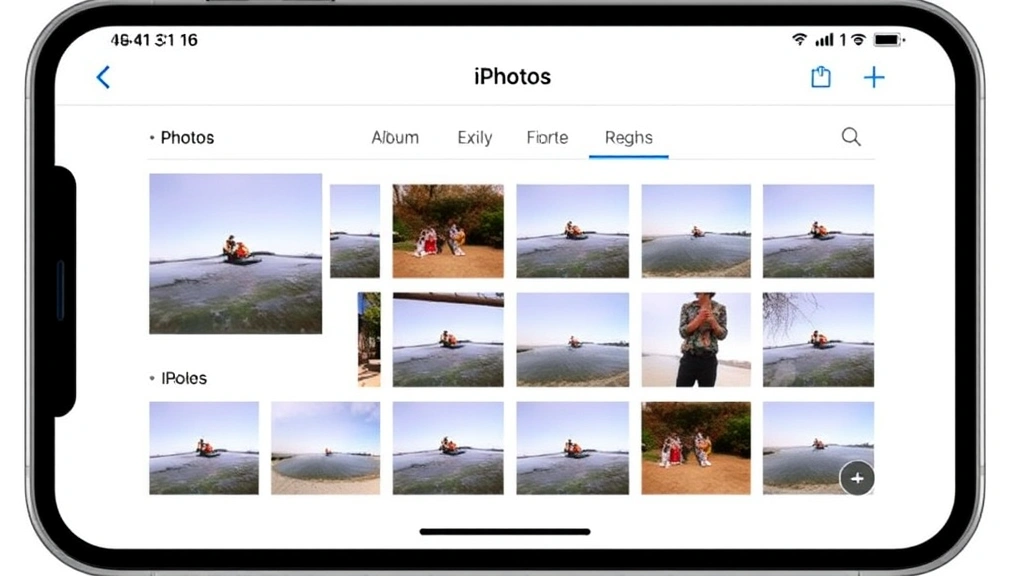
By default, iOS automatically creates a “Screenshots” album in your Photos app. Every screenshot you take goes here automatically. Open Photos, tap Albums, and you’ll see it. This alone keeps them separated from your regular photos.
Method 2: Create Custom Albums
- Open Photos app.
- Tap Albums at the bottom.
- Tap the + icon in the top-left.
- Create a new album (name it something like “Work Screenshots” or “Receipts”).
- Select screenshots you want to add to it.
You can also use how to delete duplicate photos on iPhone to clean out accidental duplicates if you take multiple screenshots by mistake.
Method 3: Use Smart Albums (iOS 17+)
If you’re running iOS 17 or later, you can create smart albums that automatically organize screenshots by date, type, or other criteria. This is the “set it and forget it” approach.
Real Talk: Don’t just let screenshots pile up indefinitely. Every month or so, go through your Screenshots album and delete the ones you don’t need anymore. It saves storage space and keeps your library manageable.
Method 4: Share Directly or Delete After Use
If you’re taking a screenshot specifically to send to someone, do it immediately. Take the screenshot, tap the thumbnail, and hit Share. Send it via message, email, or whatever, then delete it if you don’t need to keep it. This prevents accumulation.
Troubleshooting Common Screenshot Issues on iPhone 16
Screenshot not saving?
First, check that you have enough storage. Go to Settings → General → iPhone Storage and see how much space is left. If you’re under 1GB, clear some space. Also, make sure your Photos app has permission to access storage. Go to Settings → Privacy → Photos and ensure your Photos app is allowed.
Not hearing the shutter sound?
Your phone is probably muted. Check the physical mute switch on the left side of your iPhone 16. If it’s in the down position (red showing), your phone is silent. Flip it up to enable sound.
Back Tap not working?
Make sure you’ve enabled it in Settings (as described earlier). Also, try tapping more firmly on the upper-middle part of the back. If you’re using a thick case, try removing it temporarily to see if that helps. Some cases interfere with Back Tap.
Screenshots are blurry?
This shouldn’t happen with normal screenshots, but if you’re capturing video or moving content, you might see blur. Try taking the screenshot when the content is static. If it’s still blurry, how to reboot iPhone can sometimes fix display glitches.
According to Apple Support, if you’re experiencing persistent issues with screenshots, a forced restart of your iPhone 16 resolves most problems.
Can’t find where screenshots are saved?
Open your Photos app, tap Albums at the bottom, and look for the Screenshots album. If you don’t see it, try taking a new screenshot—the album will appear once you have at least one screenshot. Alternatively, you can search for “screenshot” in the Photos search bar.
Frequently Asked Questions
Can I take a screenshot of just part of my screen on iPhone 16?
– Yes, but it requires a workaround. Take a full screenshot, then use the Markup tool to crop it to the area you want. Alternatively, use the Crop tool in the Photos app after taking the screenshot. There’s no native “partial screenshot” tool like some Android phones have, so cropping is your best bet.
Where do my screenshots go by default?
– Screenshots are automatically saved to your Photos app in the “Screenshots” album. You can also find them by searching for “screenshot” in the Photos search bar. They’re stored in your phone’s storage or iCloud, depending on your backup settings.
Can I set a custom location for screenshots?
– iOS doesn’t allow you to change the default save location for screenshots. They always go to your Photos app. However, you can move them to custom albums after taking them using the method described earlier in this guide.
Is there a way to take a screenshot without the shutter sound?
– Yes, mute your phone using the physical mute switch on the left side. When the switch is in the down position (red showing), your phone is silent and screenshots won’t make a sound.
Can I take a scrolling screenshot on iPhone 16?
– Not natively like some Android phones. However, you can take multiple screenshots of a long webpage or document and stitch them together in an app like Adobe Photoshop or use a dedicated scrolling screenshot app from the App Store. It’s not built-in, unfortunately.
What’s the difference between a screenshot and a screen recording?
– A screenshot captures a single moment of your screen as a still image. A screen recording captures video of everything happening on your screen over a period of time. For screen recording on iPhone 16, swipe down from the top-right corner to open Control Center, tap Screen Recording, and tap Start Recording.
Can I recover deleted screenshots?
– If you deleted a screenshot recently, check your Recently Deleted album in Photos. You have 30 days to recover it before it’s permanently gone. If it’s been longer than 30 days, it’s permanently deleted and can’t be recovered without a backup.
Do screenshots use a lot of storage?
– Not really. A typical screenshot is only 500KB to 2MB, depending on screen resolution and content. Even 1,000 screenshots would only use about 1-2GB of storage. However, they add up over time, so it’s still worth organizing and deleting ones you don’t need.
Can I take a screenshot if my iPhone is locked?
– No, you can’t take a regular screenshot with the button combo if your phone is locked. However, you can use Voice Control (if set up beforehand) to take a screenshot even when locked, since Voice Control can operate from the lock screen.
Why would I use Back Tap instead of the button combo?
– Back Tap is useful if your hands are full, if you have limited mobility, or if you’re in a position where reaching the side buttons is awkward. It’s also just a fun alternative if you like using different features. For most people, the button combo is faster and more reliable.


