

Taking a screenshot on an HP notebook sounds simple, right? But when you’re staring at your screen wondering which key does what, it’s easy to feel lost. Whether you need to capture an error message for tech support, save a funny conversation, or document something important, knowing how to screenshot on an HP notebook is a skill that’ll save you time and frustration. The good news? There are multiple ways to do it, and we’re going to walk you through every single one.
Think of screenshots like taking a photo of your screen—except you don’t need a camera. Your HP notebook has built-in tools that make this dead simple once you know where to look. In this guide, we’ll cover the easiest methods, the advanced tricks, and even how to edit your screenshots once you’ve captured them.
The Print Screen Key Method: The Oldest Trick in the Book
Let’s start with the simplest method—the one that’s been around since the dawn of Windows. On your HP notebook, look for the Print Screen key (often labeled as “PrtScn” or “Print Scr”). It’s usually in the upper right area of your keyboard, near the delete and home keys.
Here’s the basic process:
- Press the Print Screen key once. Nothing visible happens—that’s normal. Your entire screen is now copied to your clipboard.
- Open an image editor (Paint, Photoshop, Word, even an email) or any application where you can paste images.
- Press Ctrl + V to paste your screenshot.
- Save the file with a descriptive name.
The catch? This method captures your entire screen, including taskbars and multiple monitors if you have them. If you only need a portion of the screen, you’ll need to crop it afterward. It’s straightforward but not always the most efficient approach.
Pro Tip: On some HP notebooks, you might see the Print Screen key combined with other functions (like brightness control). If pressing it doesn’t work, try holding Fn + Print Screen instead. The Fn key unlocks secondary functions on many laptop keyboards.
Keep your mousepad clean while you’re working—a grimy pad makes precise cursor movements harder when you’re selecting screenshot areas later.
Using the Windows Snipping Tool: The Precision Option
If the Print Screen method feels too broad, the Snipping Tool is your friend. This built-in Windows application lets you capture specific regions, windows, or freeform shapes. It’s been around for years and works on virtually every HP notebook running Windows.
Here’s how to access and use it:
- Press the Windows key and type “Snipping Tool” (no quotes).
- Click on the Snipping Tool app when it appears.
- Click the “New” button (or press Ctrl + N).
- Your screen will dim slightly, and your cursor will change. Now you can click and drag to select the exact area you want to capture.
- Release the mouse button. The snipped area appears in the Snipping Tool window.
- Click “File” and then “Save As” to save your screenshot.
The Snipping Tool offers several capture modes:
- Free-form Snip: Draw any shape around what you want to capture.
- Rectangular Snip: Drag a rectangle to select your area (most common).
- Window Snip: Automatically captures just one open window.
- Full-screen Snip: Captures everything, just like Print Screen.
This tool is perfect when you’re troubleshooting and need to send a specific error message to tech support, or when you’re documenting a process and only need certain parts of the screen visible.
The Windows Key + Shift + S Shortcut: The Modern Way
Windows 10 and 11 introduced a faster method that bypasses the Snipping Tool entirely. Press Windows + Shift + S, and you’ll get the same rectangular selection interface—but now your screenshot automatically goes to your clipboard and is saved to a “Screenshots” folder.
Here’s the workflow:
- Press Windows + Shift + S.
- Your screen dims and your cursor changes to a crosshair.
- Click and drag to select the area you want. You’ll see a white outline showing your selection.
- Release the mouse. A notification appears in the lower right corner.
- Click the notification to open the screenshot in the Snip & Sketch app (or just paste it directly into any application with Ctrl + V).
This is hands-down the fastest method for most people. No opening apps, no navigating menus—just three keys and you’re done. The screenshot is immediately ready to paste or edit.
Real talk: If you’re taking screenshots constantly (like for documentation or tutorials), this shortcut will become muscle memory within a few days. It’s that efficient.
Capturing with Xbox Game Bar: For Gaming and More
You might think Xbox Game Bar is only for gamers, but it’s actually a solid screenshot tool for any HP notebook user. It’s built into Windows 10 and 11, and it’s designed to be quick and unobtrusive.
To use Xbox Game Bar:
- Press Windows + G to open the Game Bar.
- Look for the camera icon in the widget menu (usually top-left area).
- Click the camera icon, or press Windows + Alt + Print Screen.
- Your screenshot is saved automatically to your “Videos” folder under “Captures.”
The Game Bar approach is excellent if you’re already using it for other purposes, but for pure screenshot functionality, the Windows + Shift + S method is faster. However, if you’re working with video content or need timestamps on your captures, Game Bar’s integration with video recording makes it worth exploring.
Screenshots in Built-In HP Apps: Special Cases
Some HP notebooks come with proprietary software or utilities. If your HP has QuickDrop or HP Elite Drivekey, these applications sometimes include their own screenshot features. Check your HP Support website for your specific model to see what’s included.
Additionally, if you’re using Microsoft Office (Word, Excel, PowerPoint), these applications have built-in screenshot tools:
- In Word or Excel: Go to Insert → Screenshot to capture and insert images directly into your document.
- In PowerPoint: Use Insert → Screenshot to add visuals to slides.
These are useful when you’re already working in Office and don’t want to context-switch to another tool.
Editing Your Screenshots: Making Them Polished
Once you’ve captured your screenshot, you might want to annotate it, blur sensitive information, or crop unnecessary areas. Here are your options:
Built-in Paint app: Press Windows + R, type “mspaint”, and hit Enter. Open your screenshot and use basic tools like rectangles, circles, and text to annotate.
Snip & Sketch (newer Windows versions): When you use Windows + Shift + S, the screenshot opens in Snip & Sketch, which has built-in markup tools. You can draw, add text, and crop without opening another program.
Third-party options: If you need more power, tools like Family Handyman’s resource hub (while primarily focused on home improvement, their documentation methods are solid) and apps like Greenshot or ShareX offer advanced features like scrolling captures, cloud uploads, and OCR text extraction.
For most users, the built-in tools are more than sufficient. You don’t need Photoshop just to add a red arrow pointing at something.
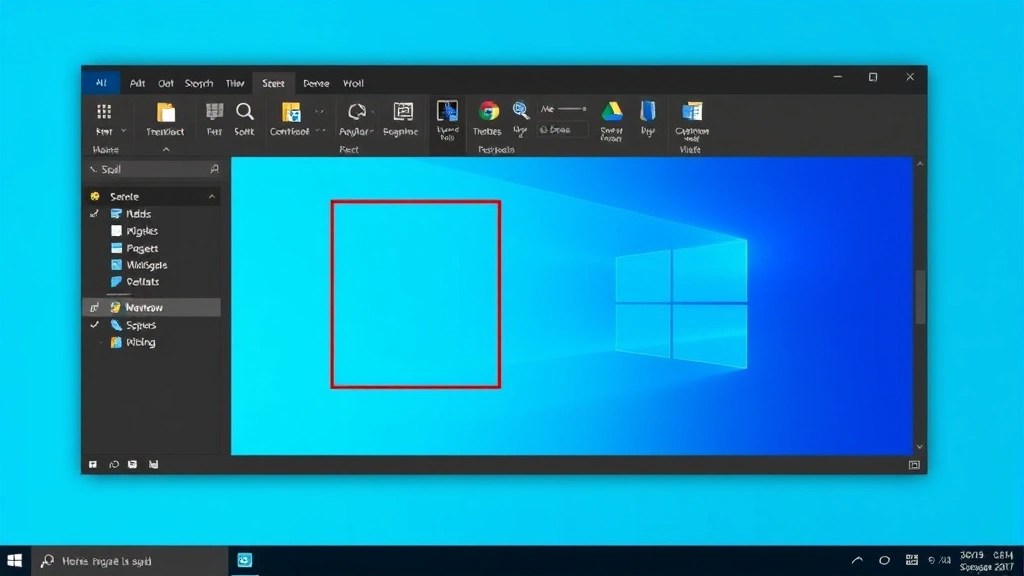
Pro Tip: If you need to blur or redact sensitive information (passwords, personal data, etc.), use the rectangle tool to draw a solid color box over the sensitive area before sharing your screenshot. It’s quick and effective.
Troubleshooting Screenshot Issues: When Things Go Wrong
Problem: Print Screen doesn’t work.
– Solution: Try Fn + Print Screen. Some HP notebooks require the Fn key to activate secondary functions. If that doesn’t work, check if you have screenshot software from HP installed that might be intercepting the key. You can also disable background applications that might be interfering.
Problem: Screenshots appear blurry or low-quality.
– Solution: This usually happens when you’re capturing at a non-native resolution. Check your display settings (right-click desktop → Display settings) and ensure you’re using the recommended resolution. Also, make sure you’re not zoomed in or out when capturing.
Problem: The screenshot goes to the clipboard but won’t paste.
– Solution: Try using Ctrl + V in a different application. If that doesn’t work, restart your notebook. Clipboard issues are usually temporary and a reboot fixes them. You can also clear your cache and temporary files if clipboard problems persist.
Problem: I can’t find where my screenshots are saved.
– Solution: By default, Windows saves screenshots to your Pictures folder (usually C:\Users\YourUsername\Pictures\Screenshots). You can also search for a recent image file using File Explorer—sort by date modified to find your latest capture. If using Xbox Game Bar, check your Videos folder instead.
Problem: The screenshot captures the wrong monitor or area.
– Solution: If you have multiple monitors, Print Screen captures all of them. Use Windows + Shift + S or the Snipping Tool to select just the monitor or area you need. Alternatively, minimize other windows before taking the screenshot.
For more detailed troubleshooting, check how to undo system changes if you’ve accidentally modified your screenshot settings or drivers.
Frequently Asked Questions
Can I take a screenshot of a video playing on my HP notebook?
– Yes, but the quality depends on the video source. For streaming services like Netflix or YouTube, you can use any screenshot method, though some streaming services may have restrictions. For local video files, screenshots work perfectly and capture the current frame. Note that some DRM-protected content may appear black in screenshots—this is intentional copy protection.
How do I take a screenshot of my entire screen including multiple monitors?
– Use the Print Screen key or the Full-screen Snip option in the Snipping Tool. Both capture all connected monitors at once. If you want to capture only one monitor, use Windows + Shift + S and manually select just that monitor’s area.
Is there a way to automatically save screenshots to a specific folder?
– Windows automatically saves screenshots from Xbox Game Bar to your Videos\Captures folder and from Windows + Shift + S to your Pictures\Screenshots folder. If you want a different location, you can manually move files or use third-party tools like Greenshot that let you customize the save location.
Can I take a screenshot on an HP notebook without using keyboard shortcuts?
– Yes. Open the Snipping Tool (search for it in the Start menu) and use the interface buttons instead of keyboard shortcuts. It’s slower but works if your keyboard is damaged or you prefer using the mouse.
What’s the difference between a screenshot and a screen recording?
– A screenshot is a single static image of your screen at one moment. A screen recording captures video of your screen over time, including mouse movements and changes. Use Xbox Game Bar or built-in Windows recording tools for video capture.
Will taking screenshots slow down my HP notebook?
– No. Screenshots are processed instantly and have negligible impact on performance. Even if you take hundreds in a session, your notebook won’t slow down. The only consideration is storage space if you’re saving very large, high-resolution screenshots.
Can I edit a screenshot after saving it?
– Absolutely. Open the saved screenshot file in any image editor (Paint, Photoshop, online editors, etc.) and make your changes. You can crop, annotate, blur, or resize as needed. The built-in Snip & Sketch app also lets you edit immediately after capturing.
What if I accidentally deleted a screenshot?
– Check your Recycle Bin first—if it’s there, right-click and restore it. If it’s been permanently deleted, you might be able to recover it using file recovery software, but there’s no guarantee. The best approach is to be deliberate about what you delete and use cloud storage or external backups for important screenshots.
Can I take a screenshot of just the active window on my HP notebook?
– Yes. Use Alt + Print Screen to capture only the currently active window (the one you’re focused on). This is faster than using the Snipping Tool’s Window Snip mode if you know the shortcut. Alternatively, use the Window Snip option in the Snipping Tool.
Do I need special software to take screenshots on an HP notebook?
– No. All the methods in this guide use built-in Windows tools that come standard on every HP notebook. Third-party software like Greenshot or ShareX adds advanced features, but they’re completely optional for basic screenshot functionality.


