How to Remove Blank Rows in Excel: The Easy & Complete Guide
Blank rows in Excel spreadsheets can clutter your data, slow down analysis, and create formatting headaches. Whether you’re dealing with a few scattered empty rows or hundreds of gaps in your dataset, learning how to remove blank rows in Excel is an essential skill that saves time and improves data integrity. This comprehensive guide walks you through five proven methods—from manual deletion to advanced filtering techniques—so you can choose the approach that works best for your situation.
Quick Answer: The fastest way to remove blank rows in Excel is using the Go To Special feature (Ctrl+H with Find & Replace), the AutoFilter method to hide and delete empty rows, or the Sort function to group blanks together. For large datasets, the Find & Replace feature combined with sorting offers the most efficient solution, while Power Query provides automation for recurring tasks.
Tools & Materials You’ll Need
- Microsoft Excel (2016 or newer recommended)
- Your spreadsheet with blank rows
- A backup copy of your file (recommended)
- Optional: Power Query add-in for advanced automation
- Optional: Keyboard shortcuts reference (Ctrl, Shift, Alt combinations)
Before diving into removal methods, it’s crucial to understand why blank rows appear in Excel. They often result from data imports, manual entry errors, or deleted content that leaves empty rows behind. Removing these gaps not only improves readability but also ensures that formulas, pivot tables, and data analysis functions work correctly. According to WikiHow’s comprehensive guides, proper data cleanup is the foundation of effective spreadsheet management.
Method 1: Using the Sort Function (Best for Small to Medium Datasets)
The Sort function is one of the most straightforward ways to remove blank rows in Excel because it automatically groups empty rows together, making them easy to identify and delete in bulk. This method works exceptionally well when your blank rows are scattered throughout your dataset.
Step-by-step process:
- Select your entire data range by clicking the top-left cell and dragging to the bottom-right, or use Ctrl+Shift+End
- Navigate to the Data tab in the ribbon menu
- Click Sort A to Z or open the Sort dialog for more options
- Choose any column to sort by—blank rows will automatically move to the bottom
- Once grouped, select all blank rows at the bottom by clicking the row number
- Right-click and select Delete Rows
This approach preserves your data relationships since you’re sorting by existing values. However, it does rearrange your data order, so use this method only when row sequence isn’t critical or when you can re-sort afterward. The sort function is particularly effective because Excel recognizes empty cells as the “lowest” values, naturally pushing them to the bottom regardless of your sort direction.
Method 2: Using AutoFilter to Hide & Delete (Most User-Friendly)
AutoFilter lets you remove blank rows in Excel while maintaining your original data order. This method is ideal for users who prefer visual feedback and want to see exactly which rows are being deleted before taking action.
Complete steps:
- Select any cell within your data range
- Go to Data tab → Click AutoFilter (you’ll see dropdown arrows in the header row)
- Click the dropdown arrow in any column header
- Uncheck Blanks to hide empty rows temporarily
- Click OK—now only rows with data are visible
- Select the hidden blank rows by clicking the row numbers on the left (they’ll appear grayed out)
- Right-click → Delete Rows
- Remove the AutoFilter by clicking Data → AutoFilter again
The AutoFilter method is particularly valuable because it shows you exactly what you’re deleting. The visual confirmation prevents accidental deletion of important data. As noted by Instructables’ detailed tutorials, this approach is beginner-friendly while remaining powerful for complex datasets.
Method 3: Find & Replace Technique (Fast & Efficient)
The Find & Replace feature offers a surprisingly effective way to remove blank rows in Excel, especially when combined with regular expressions. This method is faster than manual deletion and works well for datasets of any size.
Implementation steps:
- Select your entire data range (or press Ctrl+A for the whole sheet)
- Press Ctrl+H to open Find & Replace dialog
- Leave the Find field empty
- In the Replace field, type a temporary marker like “###DELETE###”
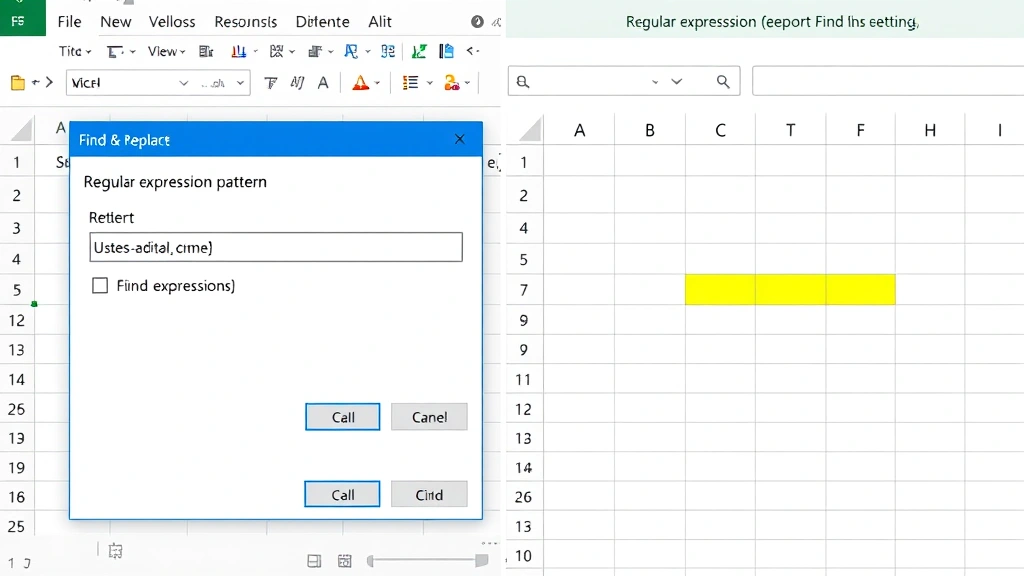
- Click Options and check Regular Expressions
- In the Find field, enter: ^$ (this finds completely empty rows)
- Click Replace All
- Now sort by the column with your marker and delete those rows
- Use Find & Replace again to remove the marker from remaining cells
This technique requires understanding regular expressions, but it’s incredibly powerful for large datasets. The ^$ pattern specifically targets completely blank rows without affecting cells containing spaces or formulas. If you’re unfamiliar with regular expressions, Lifehacker’s guides provide excellent explanations of this powerful feature.
Method 4: Go To Special Feature (Advanced but Powerful)
Excel’s Go To Special feature is a hidden gem for removing blank rows efficiently. This method is particularly useful when you need to remove blank rows in Excel without rearranging your data structure.
Detailed process:
- Select your data range (or all data with Ctrl+A)
- Press F5 or Ctrl+G to open the Go To dialog
- Click Special button
- Select Blanks option
- Click OK—Excel will select all blank cells
- Right-click on any selected cell and choose Delete
- Select Entire Row in the delete dialog
- Click OK
The Go To Special method is powerful because it selects only blank cells, allowing you to delete entire rows with precision. This approach maintains data integrity and works reliably across all Excel versions. However, it requires familiarity with the feature, making it better suited for intermediate to advanced users.
Method 5: Power Query for Large Datasets (Automation & Repeatability)
For users managing large datasets or needing to remove blank rows in Excel repeatedly, Power Query offers automation that saves significant time. This method is ideal for recurring data cleaning tasks.
Power Query process:
- Select your data range
- Go to Data tab → Click From Table/Range (or Get Data in older versions)
- The Power Query Editor opens automatically
- Right-click any column header → Select Remove Blanks
- Review the preview to confirm which rows will be removed
- Click Close & Load to apply changes to your worksheet
Power Query is particularly valuable because it creates a repeatable process. If your source data updates regularly, you can refresh the query to automatically remove new blank rows. According to Family Handyman’s practical guides, automation tools save hours on repetitive tasks—the same principle applies to data management in Excel.
The Power Query method also preserves your original data in a separate sheet, allowing you to maintain a backup while working with cleaned data. This safety feature is invaluable when working with critical business information.
How to Prevent Blank Rows in Future Spreadsheets
While knowing how to remove blank rows in Excel is essential, preventing them from appearing in the first place saves even more time. Implementing these practices reduces future cleanup work significantly.
Prevention strategies:
- Use data validation rules to prevent empty cells in critical columns
- Create templates with predefined formatting to standardize data entry
- Enable AutoCorrect to catch common entry errors automatically
- Implement data entry forms instead of direct cell editing for consistency
- Set up conditional formatting to highlight empty cells before they become problems
- Use formulas instead of manual entry to pull data from source systems
If you’re working with imported data, consider using text wrapping and formatting features to ensure data displays correctly without creating unnecessary blank rows. Additionally, organizing data alphabetically during initial entry can reveal patterns that help prevent gaps.
For shared spreadsheets, establish clear data entry guidelines and consider locking cells to prevent accidental blank row creation. You might also want to freeze header rows to maintain visibility and lock important rows to prevent modification.
Troubleshooting Common Issues When Removing Blank Rows
Even with clear instructions, users sometimes encounter challenges when attempting to remove blank rows in Excel. Understanding these common issues helps you navigate problems quickly.
Issue: Blank rows keep reappearing after deletion
This typically means your data source is pulling from an external connection. Check the Data tab for active connections and refresh settings. If using Power Query, ensure your refresh settings are configured correctly. Alternatively, copy cleaned data and paste it as values to break the external link.
Issue: Deletion affected my formulas or data relationships
If you used the Sort method and didn’t re-sort afterward, your data sequence may be disrupted. Undo the deletion (Ctrl+Z) and use the AutoFilter method instead, which preserves original order. For complex datasets with cross-references, always create a backup before removing rows.
Issue: Go To Special isn’t finding blank rows
This occurs when cells contain spaces or invisible characters instead of being truly empty. Use Find & Replace to search for ” ” (space) and replace with nothing. Then run Go To Special again. Alternatively, use the regular expression method to catch these hidden blanks.
Issue: Power Query isn’t removing all blank rows
Power Query removes rows where the selected column is blank, but other columns might have data. Select multiple columns in the Power Query editor and remove blanks from each, or use the filter feature to manually specify which rows to delete.
Issue: Excel is running slowly after removing rows
Large deletion operations can temporarily slow Excel. Close and reopen the file to refresh the application. If slowness persists, save the file in a newer format (xlsx instead of xls) or break your dataset into smaller chunks for processing.
FAQ
Q: What’s the difference between deleting blank rows and hiding them?
A: Deleting removes rows permanently and reduces file size, while hiding keeps them in the file but makes them invisible. Use hiding temporarily for review purposes and deletion for permanent cleanup. If you need to unhide all rows later, you can always reverse hiding, but deletion is permanent unless you undo immediately.
Q: Can I remove blank rows from multiple sheets at once?
A: Not automatically, but you can apply the same method to each sheet individually. For efficiency, consider using Power Query to consolidate data from multiple sheets, then remove blanks once. Alternatively, create a macro to automate the process across all sheets simultaneously.
Q: Will removing blank rows affect my pivot tables?
A: Yes, if your pivot table references the range you’re modifying. Always refresh pivot tables after removing rows, or better yet, base your pivot table on a named range that updates automatically. This ensures data consistency across your entire workbook.
Q: Which method is fastest for a spreadsheet with 100,000 rows?
A: Power Query is fastest for large datasets because it processes data in batches. The Go To Special method is second-fastest, while Sort and AutoFilter methods can be slow with massive datasets due to screen refresh requirements. For 100,000+ rows, Power Query reduces processing time from minutes to seconds.
Q: Can I undo row deletion if I make a mistake?
A: Yes, immediately press Ctrl+Z to undo your last action. However, if you’ve performed other operations afterward, undo might not work perfectly. This is why creating a backup before large deletion operations is essential. Excel typically maintains undo history for 100 actions, but this varies by version and available memory.
Q: How do I remove blank rows while keeping my data sorted?
A: Use the AutoFilter method, which preserves your original row order. Alternatively, add a helper column with sequential numbering before sorting, then re-sort by that column after removing blanks to restore the original sequence. This two-step approach is foolproof for maintaining data integrity.
Q: Are there keyboard shortcuts to speed up the process?
A: Yes. Ctrl+H opens Find & Replace, F5 opens Go To, Ctrl+Shift+End selects to the end of data, and Ctrl+- (minus) deletes rows. Learning these shortcuts reduces the time needed to remove blank rows in Excel significantly, especially when working with multiple spreadsheets daily.
Mastering these techniques ensures your Excel spreadsheets remain clean, organized, and ready for analysis. Whether you’re a casual user or data professional, these methods provide the flexibility to handle any scenario involving blank rows. Start with the method that feels most comfortable, then explore others as your skills develop.