

Need to know how to put a line in Word? Whether you’re trying to create a professional document, add a signature line, or just separate sections visually, adding lines in Microsoft Word is straightforward once you know where to look. The frustrating part? Microsoft hides this feature in a few different places depending on what you’re trying to do. This guide walks you through every method—from simple horizontal lines to custom borders—so you can pick the approach that fits your document.
Using the Horizontal Line Shortcut (The Fastest Way)
Here’s the real talk: if you just need a quick horizontal line in Word, there’s a hidden keyboard trick that’ll save you time. Type three hyphens (—) and hit Enter. Word automatically converts this into a full-width horizontal line. It’s like magic, except it’s just clever programming.
Why this works: Word recognizes this pattern as a formatting command and creates a line automatically. This is perfect for separating sections in a document without diving into menus.
Steps:
- Click where you want the line to appear
- Type three consecutive hyphens:
--- - Press Enter
- Word generates a horizontal line across the page
If you want to remove this line later, just click it and press Delete. You can also adjust its length by clicking and dragging the edges.
Pro Tip: You can also use three equal signs (===) or three underscores (___) to create lines with different styles. Try them out—each produces a slightly different visual effect.
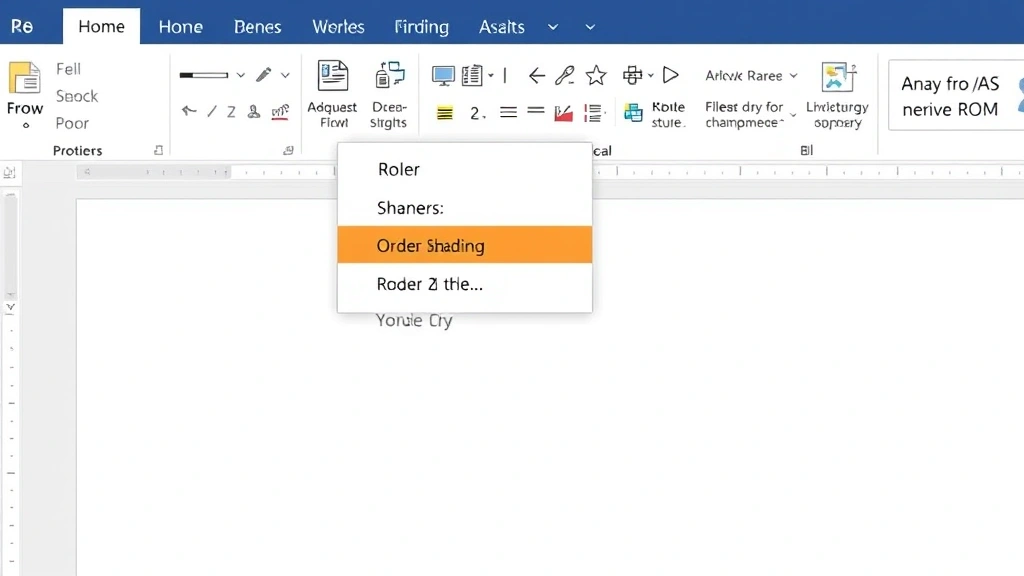
Adding Lines via Borders and Shading (Most Control)
For more control over how to put a line in Word, the Borders and Shading menu is your best friend. This is where professionals go when they need precise formatting. Think of borders like a frame around your content—you can add them to paragraphs, entire pages, or specific sections.
Steps to add paragraph borders:
- Select the paragraph or text where you want the line
- Go to the Home tab on the ribbon
- Click the small arrow next to Borders (it’s in the Paragraph section)
- Select Borders and Shading
- In the dialog box, choose your line style, color, and width
- Pick which sides get the border (top, bottom, left, right, or all)
- Click OK
This method gives you granular control. Want a thick red line at the bottom of a title? You got it. Want a thin blue line on just the left side? Done. This is how you create professional-looking documents that don’t look like you just discovered Word five minutes ago.
Page borders (for the entire page):
- Go to Design tab (or Page Layout in older Word versions)
- Click Page Borders
- Choose your settings and apply
Page borders are great for formal documents, certificates, or when you want a polished frame around your entire page.
Drawing Lines with Shapes (For Custom Angles)
If you need a line that’s not perfectly horizontal or vertical, the Shapes tool is what you need. This is the approach when you want to get creative or add lines at angles.
Steps:
- Go to the Insert tab
- Click Shapes
- Look for the Lines section (usually at the top)
- Select the type of line you want (straight line, arrow, curved line, etc.)
- Click and drag on your document to draw the line
- Adjust thickness, color, and style using the Drawing Tools that appear
Once you’ve drawn a line this way, right-click it to access formatting options. You can change the color, thickness, dash style (solid, dotted, dashed), and even add arrows to the ends.
Safety Note: If you’re working with a shared document, be careful with custom shapes and lines—they can sometimes cause formatting issues when the document is opened on different systems or older versions of Word.
Creating Signature Lines (For Forms and Agreements)
Signature lines are a specific type of line in Word designed for contracts, agreements, and official documents. They’re not just visual—they’re functional and recognized as official signature spaces.
Steps to insert a signature line:
- Click where you want the signature line to appear
- Go to the Insert tab
- Click Signature Line (you might need to look under a dropdown menu)
- Fill in the signer information if needed
- Click OK
Word inserts a professional-looking signature line with a small X to indicate where someone should sign. This is especially useful if you’re creating documents that’ll be printed and signed, or if you’re using digital signature tools. According to Microsoft’s official documentation, signature lines are compatible with digital signature technology, which adds a layer of security to your documents.
Using Table Borders for Lines (Underrated Method)
Here’s a trick most people don’t think about: you can create clean, professional lines using a one-row, one-column table. Seriously. This method is fantastic for creating forms or documents with multiple signature lines.
Steps:
- Go to Insert tab
- Click Table
- Create a 1×1 table (one row, one column)
- Type your content in the cell
- Right-click the table and select Borders and Shading
- Remove all borders except the bottom border
- Click OK
This creates a clean line effect that’s perfect for signature lines, fill-in-the-blank forms, or structured layouts. The advantage? Table borders are more stable than shape-based lines and less likely to shift around when you edit your document.
You can also duplicate this table down the page to create multiple signature lines quickly. This approach is especially useful if you’re creating HR documents, contracts, or any form that needs multiple signature spaces.
Advanced Line Formatting Options
Once you’ve mastered basic how to put a line in Word, you can get fancy with formatting. Here are the advanced options that separate amateur documents from professional ones.
Changing line color: For any line method, right-click the line and look for color options. You can match your company branding or create visual hierarchy in your document.
Adjusting line weight (thickness): Thicker lines draw attention. Use heavier lines for section breaks or important dividers. Thin lines work better for subtle separation between paragraphs.
Dash patterns: Solid lines are professional. Dashed or dotted lines work for forms or areas where people need to write. Dotted lines are especially common for “cut here” indicators.
Shadow effects: Some line styles support shadows, which can add depth to formal documents. This is more common in design-heavy documents rather than business reports.
According to FamilyHandyman’s design principles, visual hierarchy matters—the same applies to document design. Strategic use of line weight and color helps readers understand your document’s structure.
Troubleshooting Common Line Issues
Problem: The line disappears when I add more text
Solution: This usually happens with shape-based lines. Make sure your line is anchored to the document properly. Click the line, go to Wrap Text, and select In Front of Text or Behind Text depending on your needs.
Problem: The three-hyphen shortcut isn’t working
Solution: Check that AutoFormat is enabled. Go to File → Options → Proofing → AutoCorrect Options → AutoFormat As You Type and make sure “Borders” is checked.
Problem: My line is too short or too long
Solution: Click the line and drag the handles at the ends to adjust length. For borders, you can adjust them through the Borders and Shading menu by changing which cells or paragraphs are affected.
Problem: The line won’t stay where I put it
Solution: This is a common frustration with shape-based lines. Try anchoring the line to a specific paragraph. Right-click the line, select Wrap Text, and choose a fixed position option.
Problem: Lines look different when printed vs. on screen
Solution: Print preview is your friend. Go to File → Print Preview to see exactly how your lines will appear. Sometimes screen resolution and printer settings create discrepancies. According to This Old House’s guide to document preparation, always preview before final printing.
Pro Tip: If you’re creating a template that others will use, test your lines in different Word versions. Older versions sometimes handle formatting differently, and you want your document to look professional regardless of what version someone opens it in.
Frequently Asked Questions
Can I add a vertical line in Word?
– Yes. Use the Shapes tool (Insert → Shapes → Lines) and draw a vertical line, or use a table with a vertical border. The three-hyphen method only creates horizontal lines, but shapes give you complete directional control.
How do I make a line span across multiple columns in Word?
– If you’re working with columns, borders applied to paragraphs will span across all columns automatically. If you’re using shapes, you’ll need to manually draw the line long enough to cover all columns, or adjust the line’s positioning after drawing.
What’s the difference between a border and a line?
– Technically, borders are part of the Borders and Shading feature and are attached to paragraphs or pages. Lines created with shapes are independent objects. For most users, the practical difference is that borders are more stable and integrated with text, while shapes offer more flexibility for custom positioning.
Can I add a line to just one side of a paragraph?
– Absolutely. Use Borders and Shading, select your paragraph, and in the dialog box choose which sides get the border (top, bottom, left, right). This is perfect for creating emphasis or visual separation without boxing in your entire paragraph.
How do I remove a line I accidentally created?
– Click the line and press Delete. If it’s a border, select the paragraph and go to Borders and Shading, then choose “None.” If it’s a shape-based line, just click and delete. If the three-hyphen line won’t delete, undo (Ctrl+Z) and then disable AutoFormat for borders.
Can I create a line with a gradient or pattern fill?
– Not directly in Word for simple lines. However, if you’re using shapes, you can right-click and access more advanced formatting options. For true gradient lines, you might need to use drawing tools or create the effect in an image editor and insert it as a picture.
Is there a keyboard shortcut to insert a line?
– The three-hyphen method (— + Enter) is the fastest keyboard method. For other line types, there isn’t a built-in shortcut, but you can create custom shortcuts through Word’s Options menu if you frequently use specific line styles.
Why do my lines shift when I edit my document?
– Shape-based lines can shift if they’re not properly anchored. Paragraph borders are more stable because they’re tied to specific text. If shifting is a problem, try using borders instead of shapes, or anchor your shapes to specific paragraphs.
Can I use lines in headers and footers?
– Yes. Double-click the header or footer area to edit it, then use any of the line methods described in this guide. This is common for creating professional letterheads or formal document templates.
What’s the best method for creating a form with multiple signature lines?
– The table method (one-row table with bottom border only) is the most reliable. It’s stable, formats consistently, and you can duplicate the table for multiple lines. This approach is used by professionals creating official forms and documents.


