How to Program Garage Door Opener: Simple & Essential Guide
Learning how to program garage door opener is one of the most practical home maintenance skills you can master. Whether you’re upgrading to a new remote, adding a second opener to your vehicle, or replacing a lost remote, the process is straightforward and requires no special tools. Most homeowners can complete this task in under five minutes, saving both time and the expense of professional installation.
The good news? Programming your garage door opener follows a consistent pattern across most modern systems. You’ll simply locate the learn button on your garage door opener unit, press it within a specific timeframe, and activate your remote. Different manufacturers use slightly different methods, but the core principle remains the same. This guide walks you through every scenario you might encounter.
What You’ll Need
- Your garage door opener remote (new or existing)
- A ladder or step stool (to reach the opener unit safely)
- The garage door opener model number (found on the unit)
- Original documentation or manual (if available)
- A flashlight (optional, but helpful in dim garages)
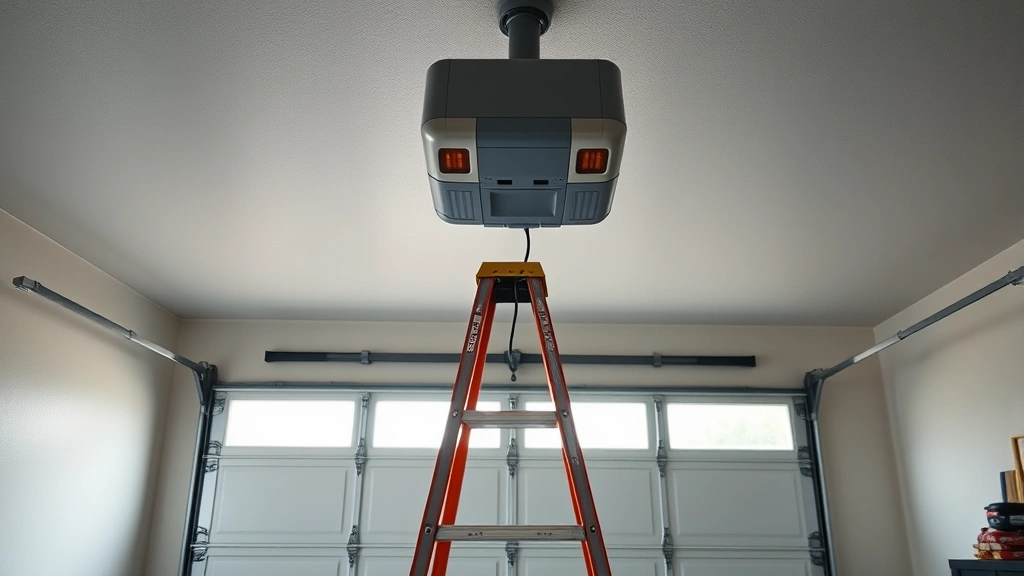
Understanding Your Garage Door Opener System
Before you begin programming your garage door opener, it’s essential to understand how the system works. Your garage door opener is a motorized device mounted to the ceiling or wall of your garage that raises and lowers your door. The remote control communicates with this unit via radio frequency signals, typically in the 300-390 MHz range depending on the manufacturer.
Modern garage door openers use rolling code technology, a security feature that changes the signal each time you press the remote button. This prevents thieves from recording and replaying your door’s opening signal. When you program a garage door opener remote, you’re essentially telling the opener unit to recognize that specific remote’s unique code pattern.
The three main garage door opener brands are Chamberlain (which owns LiftMaster and Craftsman), Genie, and Wayne Dalton. Each brand uses slightly different programming procedures, though the basic steps are similar. Knowing your opener’s brand and model number will help you follow the most accurate instructions for your specific system.
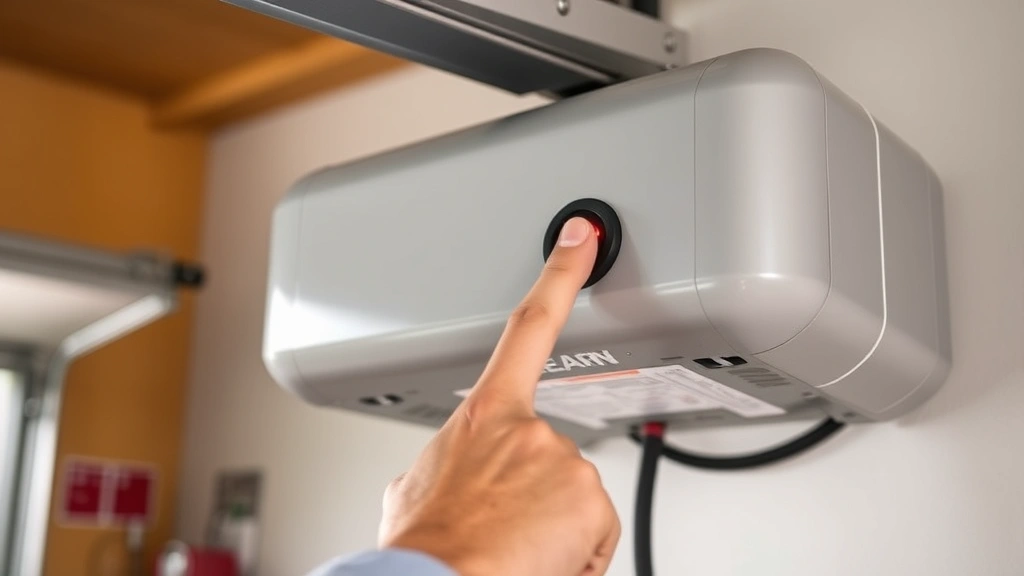
Locating the Learn Button on Your Unit
The learn button is the key to how to program garage door opener systems. This button is typically located on the back or side of your garage door opener motor unit. You’ll need a ladder to reach it safely, as most units are mounted 8-10 feet high on your garage ceiling or wall.
The learn button appears as a small, colored button—usually purple, red, or green depending on the manufacturer. Some newer models feature a light that illuminates when you press it. Take a moment to examine your unit carefully; the button might be recessed slightly into the housing, requiring a firm press or even a small tool to activate it.
Once you’ve located the learn button, note any indicator lights nearby. These lights provide visual feedback during programming, confirming that your remote signal has been received. According to WikiHow’s comprehensive guides, proper identification of this button is the first critical step in any garage door opener programming task.
Programming a Single Remote to Your Opener
Now that you’ve found the learn button, you’re ready to program your first remote. Here’s the step-by-step process for programming a garage door opener with a single remote:
- Press and release the learn button. You’ll see the indicator light activate, confirming the opener is in learning mode. This mode typically lasts 30 seconds.
- Within 30 seconds, press the button on your remote. Hold it for 2-3 seconds. You should see the indicator light flash or hear a clicking sound from the opener unit.
- Release the remote button. The light will flash again, confirming successful programming. Your remote is now paired with this opener.
- Test the remote. Move away from the garage door and press your remote button from various distances to ensure it operates smoothly.
If the indicator light doesn’t respond to your remote button press, try again. Sometimes it takes a couple of attempts, especially if you’re using an older remote. The key is timing—you must press the remote button within that 30-second window after activating the learn button.
Different manufacturers have slight variations. For Chamberlain and LiftMaster models, you’ll press and hold the learn button until the light blinks. For Genie openers, you press and release the learn button once. Check your opener’s documentation or look for a label on the unit itself that provides brand-specific instructions.
Adding Multiple Remotes to One Opener
Most households have multiple family members who need garage door access. The good news is that programming multiple garage door opener remotes to a single unit is just as easy as programming the first one. You can typically add 3-4 remotes to most standard openers.
To add a second remote, follow these steps:
- Press and release the learn button on the opener unit again. The indicator light will activate, putting the opener in learning mode.
- Within 30 seconds, press the button on your second remote. Hold for 2-3 seconds, just as you did with the first remote.
- Wait for the confirmation light. The indicator will flash, confirming the second remote is now programmed.
- Repeat this process for any additional remotes you want to program, always working within that 30-second window.
Each remote will maintain its own unique rolling code, so they won’t interfere with each other. You can program remotes from different manufacturers to the same opener, though it’s generally best to use matching remotes for consistency. If you’re looking to enhance your home security with smart devices like Ring Doorbells, you might also consider upgrading to a smart garage door opener that integrates with your home automation system.
Programming Keypad Entry Systems
Many modern garage door systems include keypad entry, allowing you to open your garage door without a remote. Programming a garage door opener keypad follows a similar but slightly different process than remote programming.
Here’s how to set up keypad access:
- Locate the learn button on your opener unit and press it. Some keypads require you to press a specific button sequence first—check your manual.
- Enter your desired PIN code on the keypad. Most systems use 4-6 digit codes. Enter it twice to confirm.
- Press the learn button on the keypad (if it has one) or wait for the confirmation light to flash on the opener unit.
- Test your code by entering it on the keypad from outside your garage. The door should respond within a few seconds.
Keypad systems are excellent for family members who frequently lose remotes, delivery personnel, or guests who need temporary access. Some keypads allow you to program multiple codes with different access levels—a feature particularly useful for households with teenagers or service providers.
Troubleshooting Common Programming Issues
Even with clear instructions, you might encounter challenges when learning how to program garage door opener systems. Here are the most common issues and their solutions:
Remote Won’t Respond After Programming: First, check the remote’s batteries. Replace them with fresh alkaline batteries and try again. If the remote still doesn’t work, the batteries might have died during programming, interrupting the process. Reprogram the remote with new batteries installed.
Indicator Light Doesn’t Activate: This usually means the learn button wasn’t pressed correctly. Try using a small screwdriver or pen to press a recessed learn button more firmly. Some older models require a sustained 10-second press rather than a quick tap.
Programming Times Out: Remember that most openers only stay in learning mode for 30 seconds. If you’re slow to press your remote button, the window closes. Practice pressing your remote quickly after activating the learn button. According to Family Handyman’s expert advice, timing is critical for successful programming.
Multiple Remotes Interfering: If you’ve programmed several remotes and they’re causing interference, you may need to clear all programming and start fresh. Most openers have a reset procedure—usually holding the learn button for 10-15 seconds until the light blinks rapidly. Consult your manual for your specific model’s reset instructions.
Door Opens Inconsistently: This often indicates a weak remote signal. Replace the batteries first. If the problem persists, the remote might be damaged. Try using a different programmed remote to confirm the issue is with the remote, not the opener unit.
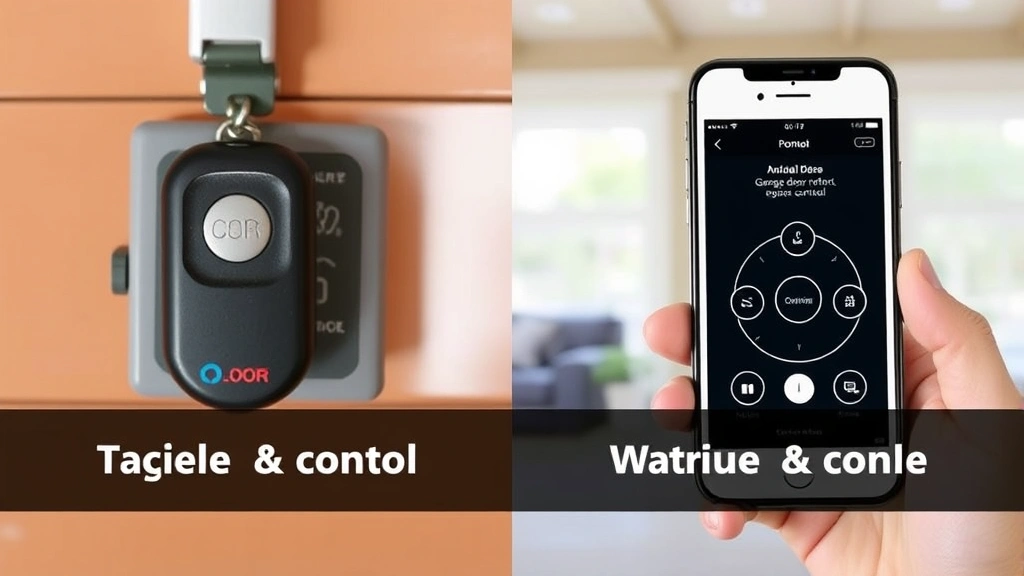
Smart Home Integration and Modern Openers
Today’s garage door technology extends far beyond simple remote programming. Many newer systems allow you to control your garage door through smartphone apps, voice assistants, and home automation platforms. Understanding how to program modern garage door openers often involves both physical remote setup and digital integration.
Smart garage door openers like those from Chamberlain’s myQ system or Genie Aladdin Connect require an additional setup step. After programming your physical remote or keypad, you’ll download the manufacturer’s app and create an account. The app guides you through connecting your opener to your home Wi-Fi network, adding an extra layer of convenience and security monitoring.
These systems often allow you to receive notifications when your garage door opens or closes, set automatic closing timers, and grant temporary access to guests or service providers. Some integrate with popular voice assistants like Alexa and Google Home, letting you control your garage door with voice commands.
If you’re interested in expanding your smart home ecosystem, consider that resetting smart devices and maintaining smart home accessories requires similar attention to detail as garage door programming. The principles of device pairing and connection management are consistent across most smart home platforms.
For those with older garage door systems, aftermarket smart controllers are available. These devices retrofit onto existing openers, providing app control without requiring a complete system replacement. They typically cost $100-$300 and install in minutes, making them a budget-friendly upgrade option.
FAQ
Q: How many remotes can I program to one garage door opener?
A: Most standard openers support 3-4 remotes. Some newer models allow up to 8 remotes. Check your opener’s manual for the specific maximum number.
Q: What should I do if I lose all my remotes?
A: You can still program new remotes by accessing the learn button on the opener unit. If you can’t reach it safely, contact a professional garage door technician. Many can reprogram your system for $50-$150.
Q: Can I program a universal remote to my garage door opener?
A: Some universal remotes work with garage door openers, but not all. Check the universal remote’s compatibility list before purchasing. Brand-specific remotes are usually more reliable.
Q: How often do I need to reprogram my garage door opener?
A: Once programmed correctly, your remotes should work indefinitely. You only need to reprogram if you replace remotes, change openers, or if the system malfunctions.
Q: Is it safe to program a garage door opener myself?
A: Yes, programming is completely safe. You’re only sending radio signals—no electrical work is involved. However, always use a ladder safely and never attempt to repair the mechanical door itself.
Q: Can I program my garage door opener from outside my garage?
A: You need to be within range of the opener unit to program it, typically within 10-15 feet. Most people program from inside the garage for convenience and safety.
Q: What’s the difference between rolling code and fixed code remotes?
A: Rolling code remotes change their signal each time you use them, providing better security. Fixed code remotes send the same signal repeatedly. Rolling code is the modern standard and is much more secure against theft.
Learning how to program garage door opener systems empowers you to maintain your home independently and save money on professional service calls. Whether you’re programming your first remote or upgrading to a smart system, the process is manageable with the right guidance. For additional resources on home automation, check out HowStuffWorks’ home improvement section and Consumer Reports’ garage door buying guides. With these steps and troubleshooting tips, you’ll have your garage door opener working perfectly in no time.