
Your garage door opener is one of those things you don’t think about until it stops working—or you need to add a new remote. If you’re staring at a Chamberlain garage door opener and wondering how to program chamberlain garage door opener remotes or keypads, you’re in the right place. The good news? It’s not complicated. Most Chamberlain models use a simple button-and-light system that takes about five minutes once you know what you’re doing.
Whether you’re replacing a lost remote, adding a second one for your spouse, or setting up a brand-new system, this guide walks you through every scenario. We’ll cover the standard programming method, troubleshooting common issues, and some real-world tips I’ve picked up from helping folks in their garages.
Before You Start: What You Need to Know
Before you climb that ladder or dig through your manual, let’s cover the basics. Chamberlain makes several types of garage door openers, and the programming method depends on which one you have. The three main categories are:
- Standard Chamberlain openers (older models, basic remotes)
- Security+ openers (rolling code technology)
- Security+ 2.0 and MyQ openers (modern smart home integration)
Most Chamberlain openers manufactured in the last 15-20 years fall into the Security+ or Security+ 2.0 category. The good news is that programming is almost identical across these models—it’s just a matter of finding the “Learn” button and following a simple sequence.
Here’s what you’ll need:
- Your Chamberlain remote or keypad
- A ladder (to reach the opener unit mounted on your garage ceiling)
- The model number of your opener (usually on a sticker on the unit itself)
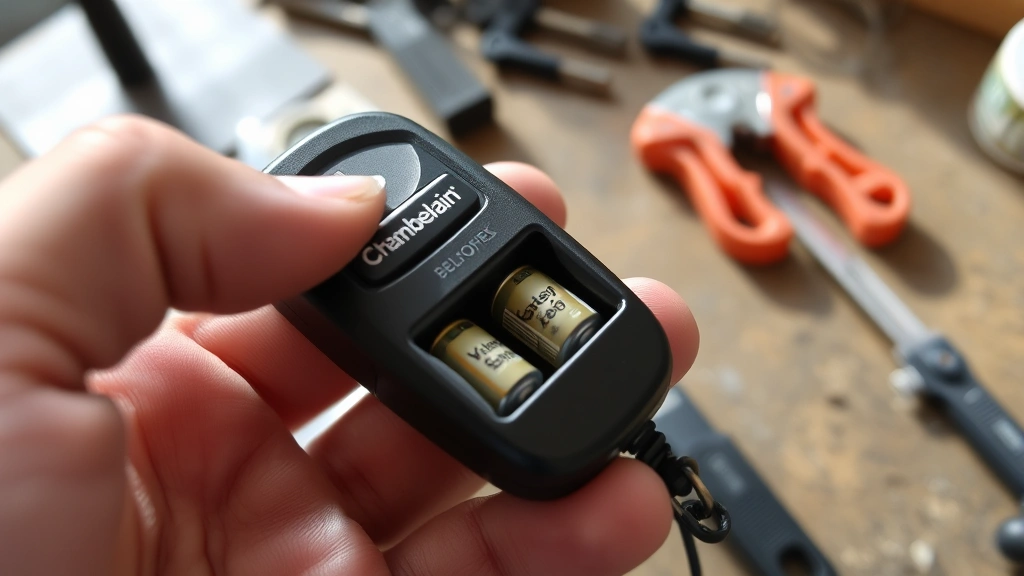
- Fresh batteries for your remote (seriously, dead batteries cause 80% of “programming failed” situations)
If you’re looking to program other types of remotes, check out our guide on how to program a universal remote, which covers broader remote programming principles.
Standard Programming Method for Chamberlain Openers
This is the method that works for most Chamberlain garage door openers made after 2000. It’s sometimes called the “Learn Button” method, and it’s dead simple once you understand the sequence.
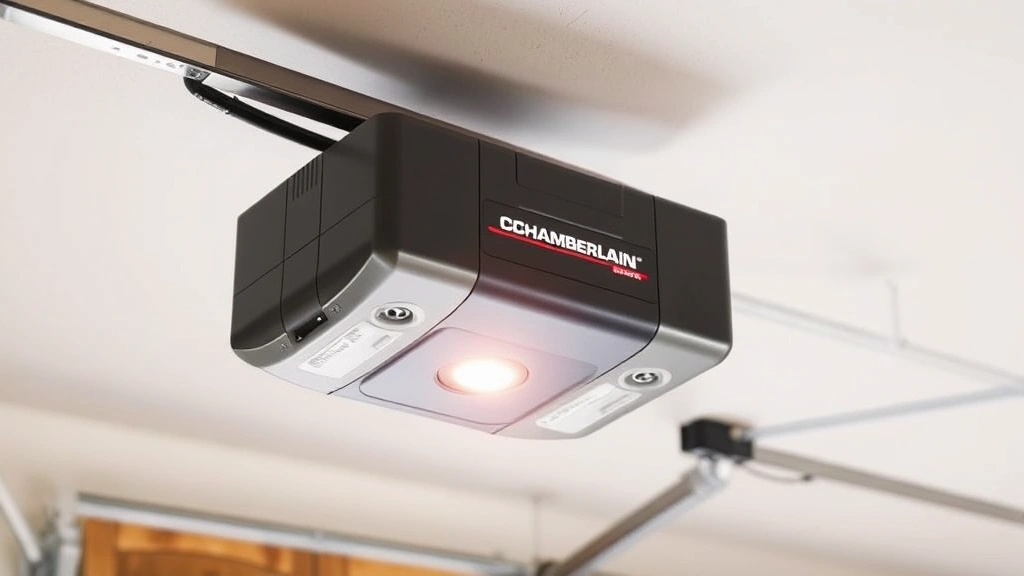
Step 1: Locate the Learn Button
Climb up to your garage door opener unit (the motor mounted on your ceiling). Look for a button labeled “Learn” or “Program.” On most Chamberlain units, it’s a small button on the back or side of the motor head. Some older models have it on the logic board itself. If you can’t find it, check your manual or look for a colored button—often it’s yellow, orange, or green.
Pro tip: Take a photo of your opener with your phone before you start. It’ll help if you need to reference it later or call customer service.
Step 2: Press and Release the Learn Button
Press the Learn button once and release it. You’ll see a light on the motor unit illuminate—this is your signal that the opener is now in “learn mode.” This mode lasts about 30 seconds, so work quickly.
Step 3: Press Your Remote Button Within 30 Seconds
While the light is still on, stand within 6 feet of the opener and press the button on your remote that you want to program (usually the “Open/Close” button). Press it once and hold for about 2 seconds, then release.
Step 4: Confirm the Programming
If successful, the light on the opener will flash or blink. This indicates that the remote has been successfully programmed. The opener will exit learn mode automatically.
That’s it. Seriously. Test your remote from inside your car and from various spots in your garage to make sure it’s working.
If the light doesn’t blink or the remote doesn’t work, here are the most common culprits:
- Dead batteries—Replace them immediately. Old batteries are the #1 reason programming fails.
- Too far away—Stay within 6 feet of the opener during programming.
- Waited too long—The learn mode times out after about 30 seconds. Start over and work faster.
- Wrong button on the remote—Make sure you’re pressing the main door control button, not a secondary button.
Programming Security+ 2.0 and MyQ Openers
If your Chamberlain opener has Security+ 2.0 technology (usually found on models from 2015 onward), the process is slightly different. Security+ 2.0 uses encrypted rolling codes, which means each button press generates a unique code. This is more secure but requires a slightly different programming approach.
Method for Security+ 2.0:
- Locate the Learn button on your opener unit (same as before).
- Press the Learn button once. The light will illuminate.
- Within 30 seconds, press your remote button three times rapidly.
- Wait for the opener light to blink twice. This confirms programming is complete.
The main difference here is the three-press sequence instead of one. Some newer Chamberlain remotes (especially MyQ-compatible ones) may require you to press and hold the button for 3-5 seconds instead. Check your manual for your specific model.
For MyQ-enabled openers, you can also program remotes through the MyQ app on your smartphone. This is actually easier than the physical button method if you have the app set up. Just open the app, go to Settings, and follow the “Add Remote” or “Pair Device” option. The app will guide you through a simpler process than standing on a ladder.
Safety Warning: Never program a remote while the garage door is open. Always ensure the door is fully closed and the area is clear before entering learn mode. A malfunctioning remote during programming could unexpectedly close the door.
How to Program a Chamberlain Keypad
A keypad (also called a wireless keypad or entry pad) is that device you mount on the wall outside your garage that lets you enter a code to open the door. Chamberlain keypads are convenient, but the programming process is a bit different from remotes.
Step-by-Step Keypad Programming:
- Access the opener’s learn mode by pressing the Learn button on your motor unit (same as before).
- Press the Learn button on the keypad itself (usually located on the back or inside the battery compartment). You’ll see a light flash on the keypad.
- Return to the opener and press the Learn button again within 30 seconds. The light on the opener will blink to confirm the pairing.
- Set your access code by pressing the desired numbers on the keypad (usually 4-8 digits). Press the “Enter” or “#” button to confirm.
- Test the code from outside the garage to ensure it works.
Some Chamberlain keypads require you to enter a master code before you can set a user code. Check your manual for the default master code (often it’s 0000 or 1111). If you’ve lost the manual, Family Handyman has a solid resource on garage door opener programming that covers many models.
If your keypad has multiple user codes (for family members or service providers), each code is programmed the same way—just enter a different number sequence.
Adding a Wireless Receiver or Secondary Remote
If you’re adding a second remote or a wireless receiver to an existing system, the process is almost identical to programming your first remote. You’re essentially just adding another device to your opener’s “approved” list.
For a Secondary Remote:
- Press the Learn button on your opener unit.
- Press the button on your new remote within 30 seconds.
- The opener light will blink to confirm—you’re done.
Each remote you program will control the same door, and you can program up to four remotes to a single opener (on most Chamberlain models). If you try to program a fifth remote, you’ll need to erase one of the old ones first.
Erasing a Remote:
To remove a remote from your opener’s memory:
- Press and hold the Learn button for 6-10 seconds (much longer than the normal press).
- The light on the opener will flash rapidly and then go out. This indicates all remotes have been erased.
- Now you can reprogram new remotes using the standard method.
Be careful with this step—it erases all remotes, not just one. If you have multiple remotes in use, you’ll need to reprogram all of them after doing an erase.
If you’re interested in integrating your garage door with a smart home system, take a look at our guide on how to install a Ring doorbell. Many people pair smart garage door openers with smart doorbells for complete home entry control.
Troubleshooting Programming Issues
Even though programming a Chamberlain opener is straightforward, things sometimes go sideways. Here’s how to fix the most common problems.
Remote Won’t Program at All
First, check the batteries. I can’t stress this enough—dead or dying batteries are responsible for the vast majority of programming failures. Replace them with fresh batteries and try again. Make sure you’re using the correct battery type for your remote (usually CR2032 or AA, depending on the model).
If new batteries don’t fix it, try programming from closer to the opener. Stand directly under it, within 3-4 feet, and try the sequence again. Sometimes interference from other devices or distance can prevent successful pairing.
Light Doesn’t Come On When You Press Learn Button
This usually means the Learn button isn’t being pressed correctly or the opener has lost power. Try pressing it harder or in slightly different locations on the button. If the opener has a backup battery, it may have died. Check if your opener is plugged in and that the outlet has power. Use a lamp or phone charger to test the outlet.
Light Blinks But Remote Still Doesn’t Work
This is frustrating because it looks like programming succeeded. The issue is usually that the remote is too far away when you press it during the learn sequence. Try programming again, but this time stand no more than 3 feet from the opener. Also, make sure nothing is blocking the signal—metal shelving or electrical panels can interfere.
Multiple Remotes Are Interfering With Each Other
If you have several garage door remotes and they’re all programmed to the same opener, they can sometimes cause interference. This is rare with modern Chamberlain openers, but if you notice it, try erasing all remotes (hold Learn for 10 seconds) and then reprogram them one at a time, testing each one thoroughly before moving to the next.
For more detailed troubleshooting, This Old House has a comprehensive guide to garage door openers and common issues that covers many scenarios.
Maintenance and Safety Tips
Once your Chamberlain opener is programmed and working, a little maintenance goes a long way.
Battery Management
Replace remote batteries every 2-3 years, even if they seem to be working fine. Weak batteries are the leading cause of remote malfunctions. Keep spare batteries on hand so you’re never without a working remote.
Test Your Remote Regularly
Press your remote from different distances and locations in your garage. If the range seems to be decreasing, it’s usually a sign that batteries are dying. Test from your car, from the driveway, and from inside the garage.
Keep the Learn Button Clean
If you ever need to reprogram, a dirty Learn button can be hard to press. Use a slightly damp cloth to clean around the button area on your opener unit. Don’t spray cleaner directly on the opener.
Check the Door Balance
A properly balanced garage door puts less strain on your opener motor. If your door feels heavy or seems to sag on one side, it may need adjustment. According to Bob Vila’s garage door opener guide, a balanced door is essential for long opener life.
Pro Tip: If you ever need to reprogram your opener after a power outage, the Learn button method still works perfectly. Power outages don’t erase programmed remotes—they just reset the opener’s internal memory temporarily. Your remotes will still work fine after power is restored.
Safety Features to Understand
Most modern Chamberlain openers have auto-reverse safety features that prevent the door from closing on an object or person. Never disable or bypass these features. If your door is reversing unexpectedly, it usually means there’s something blocking the sensors, not a problem with the opener itself.
If you’re dealing with a stuck door or other mechanical issues, check OSHA’s garage door safety guidelines for important safety information.
Frequently Asked Questions
Can I program a Chamberlain remote without the Learn button?
– No, the Learn button is the only way to program a Chamberlain remote to your opener. If your Learn button is broken or inaccessible, you’ll need to contact Chamberlain or have a technician reprogram it for you. Some newer MyQ openers can be programmed through the smartphone app, which is an alternative if you have that system.
How many remotes can I program to one Chamberlain opener?
– Most Chamberlain openers can handle up to 4 remotes. If you need more, you’ll need to erase one of the old remotes first (which erases all of them, so you’ll need to reprogram the others). For larger households or commercial applications, some Chamberlain models support more, but check your specific model’s manual.
Will programming a new remote erase my old ones?
– No. Programming a new remote adds it to the opener’s memory without affecting existing remotes. All previously programmed remotes will continue to work. You only erase all remotes if you intentionally hold the Learn button for 6-10 seconds.
My remote worked fine, then suddenly stopped. Do I need to reprogram it?
– Probably not. The most common cause is dead batteries. Replace them first. If the remote still doesn’t work with fresh batteries, try programming it again using the standard method. If it still fails, the remote itself may be broken and need replacement.
Can I program a universal remote to my Chamberlain opener?
– Some universal remotes are compatible with Chamberlain openers, but not all. You’d need a universal remote specifically designed for garage door openers. The programming process for a universal remote is usually different from a Chamberlain-branded remote. See our guide on how to program garage door opener for more details on different opener types.
What if my Chamberlain opener is very old?
– Older Chamberlain openers (pre-2000) may use a different programming method than the Learn button system. Check your manual or the model number to determine which method applies. Some very old models use a “dip switch” system instead of the Learn button. If you can’t find your manual, Chamberlain’s website has downloadable manuals for most models.

Is programming a keypad different from programming a remote?
– Yes, slightly. Keypads require you to pair them to the opener using the Learn button on both the opener and the keypad, then set a numeric code. Remotes just need the Learn button pressed once. Both use the same Learn button on the opener, but the keypad has an extra step for setting the access code.
My garage door opener is a MyQ model. Do I need to use the Learn button?
– You can use either the Learn button method or the MyQ smartphone app, whichever is easier for you. The app method is often simpler because you don’t need a ladder. Both methods work equally well for MyQ openers.


