

Universal remotes are supposed to make your life simpler. Instead, you’re staring at a device with fifty buttons, a manual that looks like it was translated by a robot, and a TV that won’t respond. Sound familiar? The good news: how to program a universal remote isn’t actually complicated once you understand the basic process. Most people overthink it or skip the crucial setup steps. In this guide, I’ll walk you through the exact methods that work, the common mistakes that trip people up, and real solutions when things go sideways.
Let’s be real—programming a universal remote is one of those tasks that feels intimidating until you do it once. After that, you’ll wonder why you stressed about it. The process usually takes 5-15 minutes, depending on your remote model and how many devices you’re controlling.
What Is a Universal Remote and Why You Need One
A universal remote is basically a translator between you and your entertainment devices. Instead of juggling five remotes (TV, soundbar, streaming box, cable box, Blu-ray player), one remote handles them all. Think of it like a master key instead of carrying a keychain that weighs as much as a small hammer.
Most universal remotes work by sending infrared (IR) signals—the same invisible light pulses your original remotes use. The remote needs to “know” which codes correspond to which buttons on your specific devices. That’s where programming comes in.
Universal remotes come in a few flavors: basic models that work with pre-loaded codes, smart remotes that connect to WiFi, and learning remotes that can copy signals from your original remotes. For this guide, we’re focusing on the most common type—the IR-based universal remote with code entry or auto-search functionality.
Gather Device Codes Before You Start
This step separates people who breeze through setup from people who get frustrated. Before you touch the programming buttons, gather the information you’ll need.
You’ll need:
- The brand and model number of each device (TV, soundbar, streaming device, etc.)
- Your universal remote’s manual (or download the PDF from the manufacturer’s website)
- A pen and paper or a notes app on your phone
- The device code list (usually in your remote’s manual or on the manufacturer’s website)
Finding model numbers is easier than you’d think. Check the back of your device, the original box, or search your device brand’s support website. For your TV, you can usually find it in the settings menu—go to About TV or System Information.
Once you have the model numbers, look up the device codes. Most universal remote manufacturers maintain searchable databases online. For example, Family Handyman has solid guides on finding and entering codes. Write down the codes for each device in order—you’ll reference them during setup.
Pro tip: Take photos of your device model numbers with your phone. You’ll have them forever, and you won’t have to crawl behind your entertainment center twice.
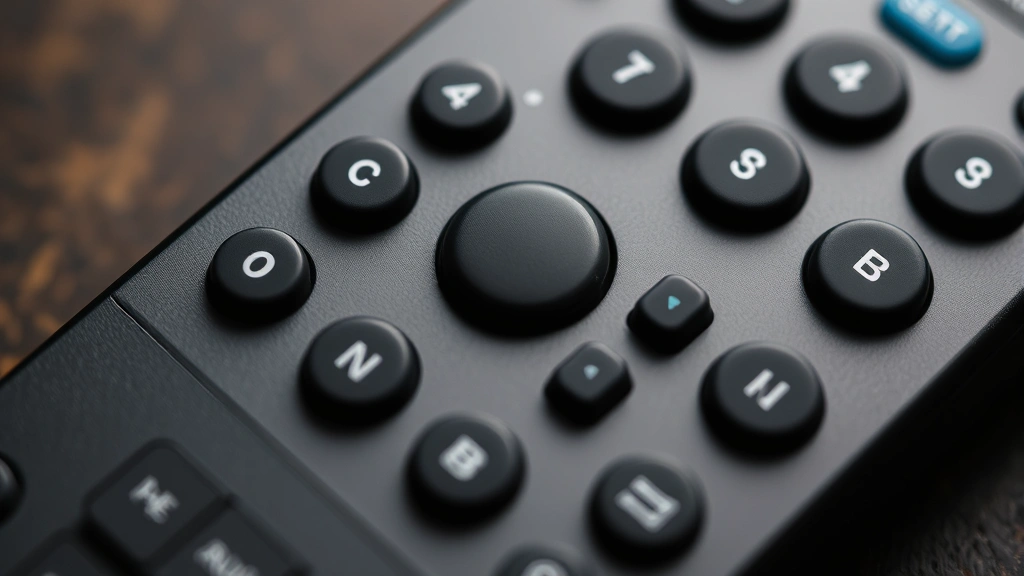
Method 1: Auto Code Search (Easiest)
If your universal remote has an auto-search or auto-code feature, start here. This is the path of least resistance, and it works surprisingly well.
Here’s how it works:
- Turn on the device you want to program (start with your TV).
- Press and hold the “Setup” or “Code Search” button on your remote until the indicator light turns on (usually a red LED). Some remotes use a different button—check your manual.
- Point the remote at your device and press the power button repeatedly. The remote will cycle through codes automatically, sending a signal with each button press.
- When your device turns off, stop pressing the power button. The remote has found the correct code.
- Press the “Enter” or “OK” button to confirm and save the code.
- Repeat for each device.
This method is genuinely painless when it works. The remote is basically doing trial-and-error for you, testing codes until it finds one that makes your device respond. Usually takes 30 seconds to a minute per device.
Why it sometimes fails: If your device doesn’t respond to any code in the remote’s database, you’ll need to try Method 2 or 3. This happens occasionally with older devices or obscure brands, but it’s rare.
Method 2: Manual Code Entry

When auto-search doesn’t work, manual code entry is your fallback. It’s slightly more involved, but still straightforward once you have the codes.
Step-by-step process:
- Turn on the device you’re programming.
- Press and hold the “Setup” button on your remote until the indicator light turns on (same as Method 1).
- Release the Setup button.
- Enter the device code using the number pad. You’ll find this code in your remote’s manual or on the manufacturer’s website. Use the exact code for your device brand and model.
- The indicator light should blink or change color when you enter the code correctly.
- Press the “Enter” or “OK” button to save the code.
- Test the remote by pressing a few buttons (volume, channel, power) on your device. If it responds, you’re done with that device.
The critical part here is accuracy. If you enter the wrong code, the remote won’t control your device. Double-check the code before entering it. If a code doesn’t work, try the next code listed for that device brand—many devices have multiple codes available.
Pro Tip: Write down the codes you successfully used next to each device. If you ever need to reprogram, you’ll have them handy instead of hunting through manuals again.
Method 3: IR Learning (For Tricky Devices)
Some universal remotes have an IR learning feature. This is your nuclear option when the first two methods fail. The remote literally “learns” the signals from your original remote.
How learning mode works:
- Put your universal remote into learning mode (check your manual for the exact button sequence—it varies by model).
- Point your original remote directly at the universal remote’s IR sensor.
- Press the button on your original remote that you want to teach the universal remote (e.g., the power button).
- The universal remote will capture the signal and confirm it (usually with a beep or light flash).
- Repeat for each button you want to teach.
- Exit learning mode and test.
This method is slower because you’re teaching the remote button-by-button, but it works with literally any device that has an IR remote. It’s perfect for vintage equipment, unusual brands, or devices where the standard codes don’t exist.
The downside: You need your original remote nearby. If it’s lost or broken, you’re stuck. But if you have it, learning mode is bulletproof.
Testing and Troubleshooting Your Setup
Once you’ve programmed a device, test it thoroughly before moving on. Don’t just press the power button and assume it works.
Test these functions for each device:
- Power on and off
- Volume up and down
- Channel or input selection
- Menu navigation (up, down, left, right, OK)
- Back or exit button
- Any device-specific buttons (like Netflix or YouTube shortcuts)
If a button doesn’t work, you might have the wrong device code. Go back and try the next code listed for that device brand. Different device models from the same manufacturer often use different codes, even if they look similar.
Common issues and fixes:
Remote doesn’t control device at all: First, make sure the device is on. Second, confirm the device code is correct—try the next code on the list. Third, check that the remote’s indicator light actually turned on during programming. If it didn’t, the remote didn’t enter programming mode properly.
Only some buttons work: You might have a partially correct code. Try the next code for that device. Alternatively, if you’re using learning mode, you may not have taught all the buttons you’re trying to use.
Remote works but with a delay: This is usually a line-of-sight issue. Make sure the remote is pointed directly at the device’s IR sensor (usually on the front). Also, remove any obstacles between the remote and device. If the delay persists, the device might have a slow IR receiver—that’s a device limitation, not a remote problem.
Programmed code works, then stops working: This is rare but happens occasionally. Try reprogramming with a different code for that device. If multiple codes fail, the device’s IR receiver might be failing (this is a hardware issue with the device, not your remote).
According to This Old House’s technology guides, most remote issues stem from incorrect codes or line-of-sight problems rather than actual remote defects.
Advanced Tips for Multi-Device Control
Once you’ve mastered basic programming, here are some tricks that make your universal remote genuinely useful.
Program device-specific modes: Many universal remotes have different “modes” for different devices. You might press a “TV” button to control your television, then press a “Cable” button to control your cable box. This prevents accidental button presses from controlling the wrong device. Check your remote’s manual for mode programming instructions.
Set up macro commands: Advanced remotes let you program sequences. For example, you could program one button to turn on your TV, soundbar, and streaming device simultaneously. This requires accessing your remote’s advanced menu—see your manual for specifics.
Organize your button layout: Some remotes let you customize which buttons control which functions. If you use your soundbar more than your cable box, remap the buttons accordingly. This is often done through a smartphone app or web interface, depending on your remote model.
Keep your original remotes: Even with a universal remote, keep your original remotes in a drawer. They’re useful for troubleshooting, and if your universal remote dies, you’re not stuck.
Update your remote’s firmware: Smart universal remotes sometimes get firmware updates that add new device codes or fix bugs. Check your remote manufacturer’s website periodically and update if available.
If you’re also setting up other smart home devices, similar principles apply—like when you’re installing a Ring doorbell, you need to gather information first, then follow setup steps precisely. The pattern is the same: prepare, execute, test.
Compatibility with newer devices: Modern streaming devices (Roku, Apple TV, Fire Stick) often work with universal remotes, but some use WiFi instead of IR. Check whether your device supports IR control before buying a universal remote. Most do, but it’s worth confirming. Bob Vila’s remote reviews include compatibility information if you’re shopping for a new remote.
Frequently Asked Questions
Can I program a universal remote without the manual?
– Yes, but it’s harder. Download the manual PDF from the manufacturer’s website using your remote’s model number. If that fails, try the auto-code search method—it doesn’t require a manual since the remote cycles through codes automatically. You’ll also need to find your device codes online, which is doable through the manufacturer’s support page or third-party code databases.
Why doesn’t my universal remote work with my smart TV?
– Smart TVs usually work fine with IR-based universal remotes, but some newer models prioritize WiFi remotes. Check your TV’s manual to confirm it has an IR receiver. Also, make sure you’re using the correct device code for your specific TV model—Samsung, LG, and other brands have multiple codes. If standard codes don’t work, try the learning mode if your remote supports it.
Can I use one universal remote for multiple TVs in different rooms?
– Yes, but you’ll need to switch modes or use learning mode to teach the remote different codes for each TV. Some remotes support multiple device profiles. Alternatively, consider buying a second universal remote for the other room—they’re inexpensive and simpler than juggling mode switches constantly.
What if I lost the device codes for my equipment?
– No problem. Search online for “[device brand] [model number] universal remote code.” Most manufacturers maintain searchable code databases. You can also try the auto-code search method on your remote—it will eventually find the right code if one exists in the remote’s database. If all else fails, use learning mode if available.
Does a universal remote work with older devices?
– Usually yes, as long as the device has an IR receiver. Older devices often use standard IR codes that universal remotes recognize. However, very old or obscure devices might not be in the remote’s code database. In that case, learning mode is your solution—it works with any IR remote, regardless of age or brand.
Can I program custom buttons on my universal remote?
– This depends on your remote model. Basic universal remotes don’t support customization. Mid-range and high-end models often do, usually through a smartphone app or web interface. Check your remote’s manual or manufacturer website to see if customization is available for your specific model.
How do I reset my universal remote if I mess up the programming?
– Most universal remotes have a reset function. Look for a “Reset” or “Clear” button in the programming menu (check your manual for the exact key sequence). This erases all programmed codes and returns the remote to factory settings. You can then reprogram from scratch. If you can’t find a reset option, remove the batteries for 30 seconds—this sometimes clears programming on basic models.
Will my universal remote work if the original device remote is broken?
– Yes, as long as the device itself still has an IR receiver. The universal remote sends the same IR signals as the original remote, so it doesn’t matter if the original is broken. The only exception is if you were planning to use learning mode—that requires the original remote to be functional.


