How to Patch a Hole in Drywall: Simple & Amazing Tricks
Drywall damage is one of the most common home repairs, but learning how to patch a hole in drywall doesn’t require professional skills. Whether you’re dealing with a small nail hole or a larger impact damage, this comprehensive guide walks you through proven techniques that deliver professional-looking results. With the right materials and a bit of patience, you can restore your walls to pristine condition in just a few hours.
Quick Answer: Small holes (under 1 inch) need only spackling compound and a putty knife, while larger holes require drywall patches, joint compound, and proper taping. Sand smooth between coats, prime, and paint to finish. The entire process typically takes 24-48 hours including drying time.
Tools & Materials You’ll Need
- Spackling compound or joint compound
- Putty knife (2-4 inch for small holes, 6-10 inch for larger repairs)
- Drywall patch kit (for holes larger than 6 inches)
- Drywall saw or utility knife
- Sandpaper (120-grit and 220-grit)
- Sanding sponge
- Primer and paint (matching your wall color)
- Paint roller or brush
- Damp cloth or sponge
- Safety glasses and dust mask
- Drop cloth or plastic sheeting
- Measuring tape
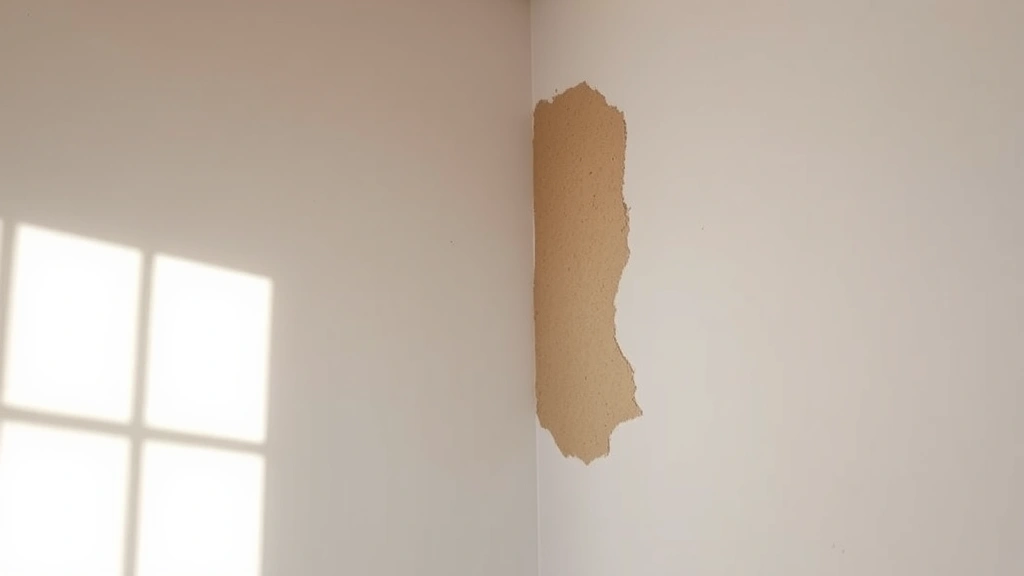
Assessing Your Drywall Damage
Before you start learning how to patch a hole in drywall, take time to evaluate the damage properly. Look at the size, shape, and depth of the hole. Small nail holes and minor dings respond well to simple spackling, while larger damage requires more involved repair techniques. Check whether the damage is isolated or part of a pattern that might indicate structural issues.
Run your hand around the damaged area to feel for rough edges or loose drywall paper. If the paper is torn or peeling, you’ll need to trim it back slightly before applying any compound. According to WikiHow’s home repair section, proper assessment prevents costly mistakes and ensures your patch lasts for years.
Take measurements and note the hole’s location relative to studs or outlets. This information helps you select the appropriate patching method and materials. Understanding the damage type is the foundation for successful drywall repair.
Patching Small Holes Under 1 Inch
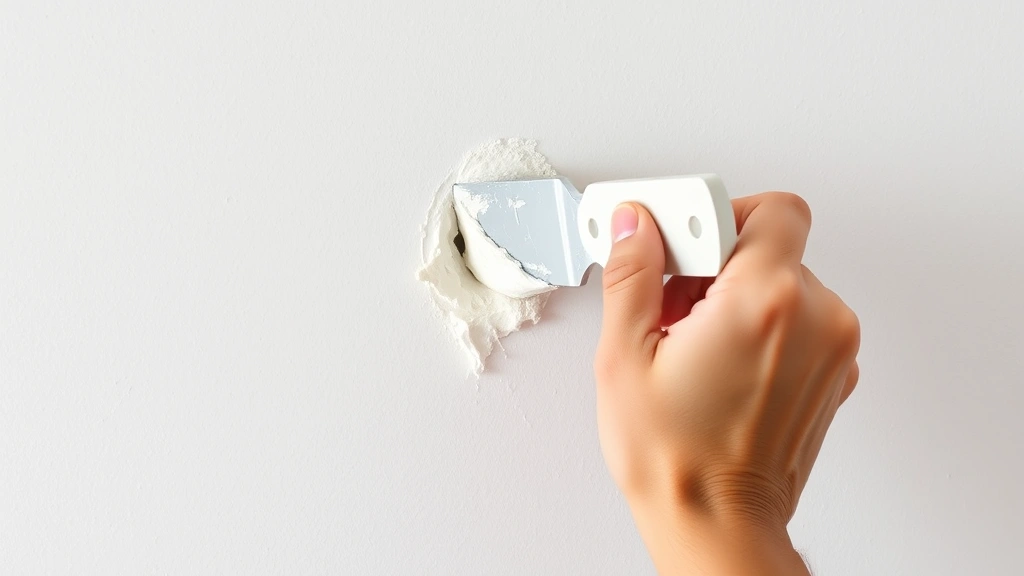
Small holes are the easiest to repair and require minimal materials. For nail holes and tiny dents, spackling compound is your best friend. This lightweight filler dries quickly and sands smooth without much effort. Simply apply the compound with a putty knife, overfilling slightly to account for shrinkage as it dries.
Use a 2-3 inch putty knife for these small repairs. Press the spackling compound firmly into the hole, then smooth the surface flush with the wall. Wipe away excess compound with a damp cloth while it’s still wet. Most spackling products dry in 30 minutes to 2 hours, though checking the manufacturer’s instructions is always wise.
For multiple small holes, apply compound to all of them in one pass, then sand everything together once dry. This approach saves time and ensures consistent results. Many homeowners find that learning how to patch a hole in drywall starting with small repairs builds confidence for larger projects.
Fixing Medium Holes 1-6 Inches
Medium-sized holes require a different approach than small repairs. These typically result from door handles, furniture impacts, or accidental damage. You’ll need to use joint compound and potentially a self-adhesive drywall patch or mesh tape system. These patches create a reinforced surface that prevents cracking as the compound dries and settles.
Start by cleaning the hole’s edges with a utility knife, removing any loose drywall paper or debris. If using a self-adhesive patch, center it over the hole and press firmly to ensure good adhesion. Apply the first coat of joint compound over the patch, extending 6-8 inches beyond the damage on all sides. This feathering technique creates a smooth transition to the surrounding wall.
Allow the first coat to dry completely, then apply a second coat using a wider putty knife (6-8 inches). The second coat should extend even further to blend seamlessly with the wall. A third thin coat may be necessary for perfect blending. Family Handyman experts recommend this multi-coat approach for professional-looking results that don’t telegraph through paint.
Between coats, sand lightly with 120-grit sandpaper to remove any bumps or ridges. This step is crucial for how to patch a hole in drywall successfully, as each coat builds on the previous one. The goal is creating an invisible repair that matches the surrounding wall perfectly.
Repairing Large Holes Over 6 Inches
Large holes demand a more substantial repair method using actual drywall patches. These holes typically measure 6 inches or larger and may expose studs or create structural concerns. Drywall patch kits make this process manageable for DIYers, though the technique requires more precision than smaller repairs.
Begin by cutting a clean, rectangular hole around the damage using a drywall saw. Square or rectangular holes are easier to patch than irregular shapes. Measure the hole dimensions and cut a drywall patch slightly smaller than these measurements. Position the patch so it bridges two studs if possible, securing it with drywall screws spaced every 6-8 inches.
Once the patch is secure, cover all seams with joint compound and drywall tape. Apply the compound in thin layers, feathering each coat 10-12 inches beyond the seams. This extended feathering is essential for how to patch a hole in drywall when dealing with large repairs. The wider the blend zone, the less noticeable the repair becomes.
According to The Spruce’s drywall repair guide, patience with multiple thin coats produces better results than fewer thick coats. Allow 24 hours between coats for proper drying. Sand between each coat with progressively finer sandpaper, starting with 120-grit and finishing with 220-grit for the smoothest surface.
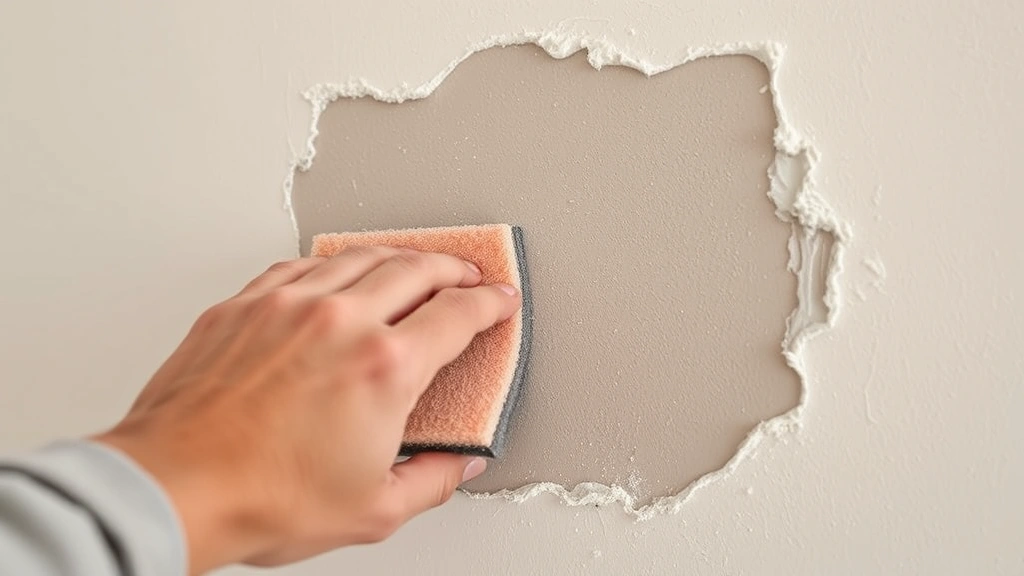
Sanding and Finishing Touches
Sanding transforms your patch from rough compound to seamless wall surface. This step separates amateur repairs from professional-looking results. Use 120-grit sandpaper for initial smoothing, then progress to 150-grit, and finish with 220-grit for a silky texture that accepts paint beautifully.
Sand in circular motions with light pressure, checking your progress frequently. Over-sanding removes too much material and creates divots. Under-sanding leaves bumps and ridges that show through paint. The ideal surface feels smooth to the touch and shows no visible compound edges. Wear a dust mask during sanding, as drywall dust is irritating to lungs and eyes.
After sanding, wipe the entire repair area with a damp sponge to remove all dust. This step is critical for how to patch a hole in drywall because dust interferes with primer and paint adhesion. Allow the surface to dry completely before proceeding to priming.
Inspect your work under bright light from multiple angles. Any remaining imperfections become obvious when light rakes across the surface. Small bumps can be spot-sanded, and minor depressions can receive a thin final coat of compound.
Priming and Painting Your Patch
Primer is essential for sealing joint compound and ensuring uniform paint coverage. Drywall compound absorbs paint differently than the surrounding wall, creating visible patches without primer. Use a quality primer designed for drywall, applying it with a brush or small roller to the repair area and extending 2-3 inches beyond for blending.
Once primer dries (typically 1-2 hours), apply your finish paint. Match your existing wall color exactly by bringing a paint chip or wall sample to the paint store. Apply paint in thin, even coats, allowing proper drying time between applications. Two coats of finish paint usually provide complete coverage and color matching.
For how to patch a hole in drywall with invisible results, feather your paint application beyond the patched area. This technique ensures the repair blends seamlessly into the surrounding wall. Use a roller for large areas and a brush for edges and detail work.
Step back and examine your work from different distances and lighting angles. Professional repairs should be virtually invisible once paint dries. If the patch is still visible, additional primer or paint coats may be necessary.
Common Mistakes to Avoid
Skipping primer is the most common mistake homeowners make. Unprimed drywall compound shows through paint, creating a visible patch. Always prime before painting, even if your paint claims primer is included. These combination products rarely perform as well as dedicated primers.
Applying compound too thick causes excessive shrinkage and cracking. Multiple thin coats work far better than one thick application. Each coat should be thin enough to see through slightly. This approach requires patience but produces superior results.
Insufficient sanding leaves a rough surface that shows through paint and feels unprofessional. Invest time in proper sanding with progressive grits. The smoother your surface before priming, the better your final result. Instructables tutorials emphasize that sanding is where amateur repairs become professional-quality work.
Rushing the drying process between coats leads to poor adhesion and cracking. Follow manufacturer’s drying time recommendations, and don’t assume faster drying compounds dry faster—they simply set up quicker but still need full cure time. Environmental factors like humidity and temperature affect drying, so add extra time during cold or damp weather.
Failing to feather compound far enough creates a visible ridge where the patch meets the wall. Extend your compound applications 10-12 inches beyond the damage for seamless blending. This extra step is crucial for how to patch a hole in drywall invisibly.
Maintenance Tips for Long-Lasting Repairs
Your drywall patch will last indefinitely with proper care. Avoid hanging heavy items directly on repaired areas, as this can crack the compound. If you must mount something, use appropriate wall anchors or locate studs for secure mounting.
Keep walls clean and dry to prevent moisture damage. High-humidity areas like bathrooms may require additional sealant over painted patches. Check repairs periodically for cracks or settling, addressing any issues immediately before they worsen.
If you’re working on a room renovation, consider installing a Ring doorbell or other devices before patching walls. This prevents future holes in your carefully repaired surfaces. Similarly, address any pest issues like mice before patching, as these problems can damage walls repeatedly.
When to Call a Professional
Most homeowners can successfully learn how to patch a hole in drywall using these techniques. However, very large holes (over 2 feet), damage near electrical outlets, or structural concerns warrant professional assessment. Water damage requires special treatment and may indicate plumbing issues needing expert attention.
If you’re uncertain about any aspect of the repair, consulting a professional ensures proper execution. The cost of a small professional repair is often less than the cost of materials and time for a failed DIY attempt.
FAQ
How long does drywall patching take?
Small holes take 2-4 hours including drying time. Medium repairs need 8-12 hours across multiple days due to drying between coats. Large patches may require 24-48 hours with proper multi-coat application and drying time.
Can I paint over spackling compound immediately?
No. Spackling compound must dry completely (typically 2-4 hours) before priming and painting. Painting wet compound traps moisture and causes poor adhesion and cracking.
What’s the difference between spackling and joint compound?
Spackling compound is lightweight and designed for small holes, drying quickly but shrinking more. Joint compound (drywall mud) is better for larger repairs, feathering more easily but requiring longer drying time. Use spackling for holes under 1 inch and joint compound for larger damage.
Do I need to sand between every coat?
Yes, light sanding between coats removes bumps and improves adhesion for subsequent layers. Use 120-grit sandpaper and light pressure to avoid removing too much material.
Why is my patch still visible after painting?
This usually indicates inadequate primer or insufficient feathering of compound. Ensure you primed the repair before painting, and that your compound extends far enough to blend invisibly. Additional paint coats may be needed.
Can I use caulk instead of drywall compound?
No. Caulk is flexible and designed for gaps, not for filling holes. It doesn’t sand smooth and creates a different texture than drywall. Always use appropriate spackling or joint compound for drywall repairs.
What if my patch cracks after painting?
Cracks usually result from compound applied too thick or insufficient drying time between coats. Sand out the crack, apply a thin coat of compound, sand smooth, and repaint. Use thinner coats in future repairs to prevent recurrence.
How do I match my wall texture?
If your walls have texture (popcorn, orange peel, etc.), match it after painting. Texture spray cans are available at home improvement stores. Practice on cardboard first to match the existing texture pattern.