

Moving rows in Excel is one of those tasks that should be simple but often feels awkward if you don’t know the trick. Whether you’re reorganizing a budget spreadsheet, shifting data around in a sales report, or just cleaning up a messy dataset, knowing how to move a row in Excel will save you time and frustration. The good news? It’s actually faster and easier than you might think—no formulas, no copy-paste headaches, just a few clicks or keyboard shortcuts.
In this guide, I’ll walk you through every method to move rows in Excel, from the drag-and-drop approach (the fastest way) to keyboard shortcuts and the cut-and-insert method. We’ll also cover common mistakes that trip people up and how to handle special cases like moving multiple rows at once or dealing with formulas that reference moved data.
The Fastest Way: Drag and Drop
Let’s start with the method that feels most natural and works fastest for most people. The drag-and-drop approach to move a row in Excel is straightforward once you know the exact spot to grab.
- Click on the row number on the left side of your spreadsheet. This selects the entire row (you’ll see it highlight in blue).
- Position your cursor at the edge of the selected row. Move your mouse to the border of the row number until you see the cursor change to a four-directional arrow (it looks like a move icon).
- Click and drag the row to its new location. You’ll see a visual indicator (usually a thick line) showing where the row will land.
- Release the mouse button to drop the row in its new position.
That’s it. The row moves instantly, and all your data comes with it. No formulas break, no hidden surprises. This is the method I use about 80% of the time because it’s visual and immediate.
Pro Tip: If the drag-and-drop doesn’t seem to work, make sure you’re clicking on the row number itself (the gray area on the left), not the cells. Also, some versions of Excel require you to hold down the mouse button for a split second before dragging—don’t just click and drag too quickly.
Cut and Insert Method (The Safe Approach)
This method is more deliberate and gives you better control, especially if you’re working with complex spreadsheets or you want an undo-friendly approach. Here’s how to move a row in Excel using cut and insert:
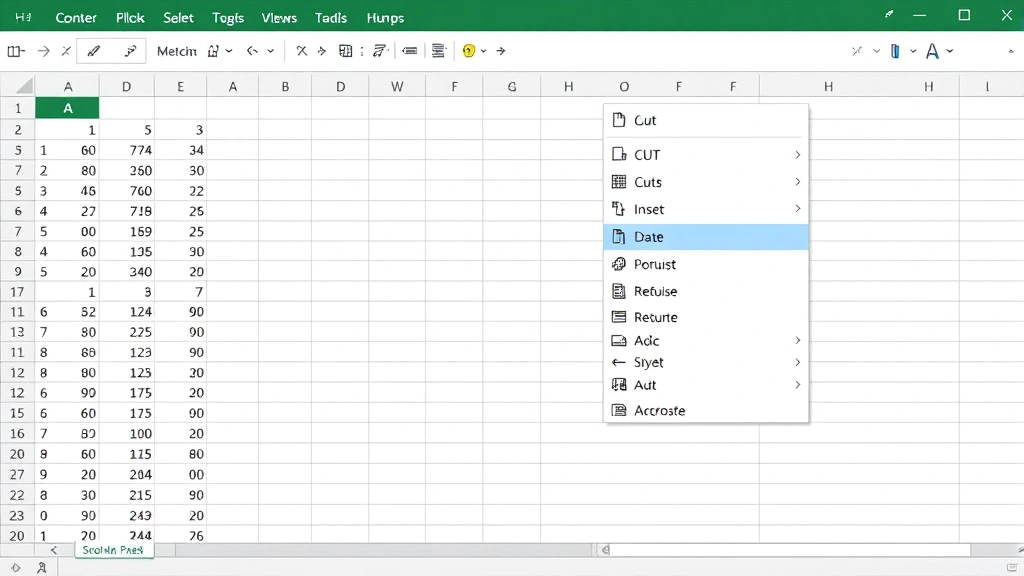
- Right-click on the row number of the row you want to move.
- Select “Cut” from the context menu (or use Ctrl+X on Windows, Cmd+X on Mac).
- Right-click on the row number where you want to insert the moved row. Important: click on the row number that will appear below where you want the data to land.
- Select “Insert Cut Cells” from the menu.
Excel will shift rows around and place your cut row in the new position. The beauty of this method is that it’s completely reversible—if something goes wrong, Ctrl+Z will undo the entire operation and restore your spreadsheet to its previous state.
This approach is especially useful when you’re working with data that has dependencies or when you’re not 100% sure about the final position. It feels more intentional than dragging, and it’s harder to accidentally drop a row in the wrong spot.
Safety Warning: When using cut and insert, be careful about which row you select for insertion. If you want to move Row 5 to between Row 10 and Row 11, you need to right-click on Row 11 (the row that will move down). It’s counterintuitive at first, but it becomes natural with practice.
Keyboard Shortcuts for Moving Rows
If you’re the type who lives in the keyboard, here are the shortcuts to move a row in Excel without touching the mouse:
- Select the entire row by clicking on its row number, or press Shift+Space if you’ve already clicked a cell in that row.
- Cut the row: Ctrl+X (Windows) or Cmd+X (Mac).
- Click on the row number where you want to insert the cut row.
- Right-click and select “Insert Cut Cells” or use the Edit menu.
Alternatively, some users prefer the older Excel method of using Shift+Click to select multiple rows and then using the Sheet menu to move or delete rows, but the cut-and-insert approach is more universal across Excel versions.
For Mac users specifically, the keyboard shortcuts are slightly different. Use Cmd+X for cut, Cmd+C for copy, and navigate menus with the same arrow keys you’d use on Windows. The logic remains identical—you’re just swapping Ctrl for Cmd.
Moving Multiple Rows at Once
Need to move more than one row? The process is nearly identical, but you select multiple rows before executing the move command. Here’s the technique:
- Click on the first row number you want to move.
- Hold Shift and click on the last row number in the group you want to move. All rows between them will highlight.
- Drag and drop, or cut and insert, using the same methods described above. Excel treats the entire group as a single unit.
If the rows aren’t consecutive (for example, you want to move Row 3, Row 7, and Row 12 all together), use Ctrl+Click (Cmd+Click on Mac) to select non-adjacent rows, then perform your move operation.
One thing to remember: when you move multiple rows, they maintain their relative order. If you move Rows 3-5 to a new location, they’ll still be in that same sequence in their new home. You can’t shuffle them during the move operation—that’s a separate task.
Handling Formulas When You Move Rows
Here’s where things get tricky. If your spreadsheet contains formulas that reference cells in the rows you’re moving, Excel will automatically update those references. This is usually good news, but you need to understand how it works to avoid surprises.
Relative references (like =A1+B1) will adjust automatically when you move a row. If a formula in Row 10 references Row 3, and you move Row 3 to Row 8, the formula will update to reference Row 8 instead. This is the default behavior and it’s what you usually want.
Absolute references (like =$A$1+$B$1) won’t change when you move rows. These are “locked” to specific cells, so moving data around won’t affect them. If you’ve used absolute references intentionally, they’ll stay put.
The safest approach when working with formulas is to use the cut-and-insert method rather than drag-and-drop. It gives Excel a moment to recalculate and ensures all references update correctly. If you’re nervous about formula breakage, create a backup copy of your spreadsheet before moving rows that have complex formula dependencies.
Pro Tip: Use the “Trace Dependents” feature (found in the Formulas tab) to see which cells depend on the row you’re about to move. This gives you visibility into potential problems before they happen. For detailed guidance on working with cell references, check out resources like Family Handyman’s approach to organization—the same systematic thinking applies to spreadsheet management.
Common Mistakes and How to Avoid Them
Mistake #1: Dragging from the cell area instead of the row number. If you try to drag a row by clicking on a cell rather than the row number, Excel will think you’re trying to move just that cell or drag-fill data. Always click on the row number (the gray area on the left with the number) to select the entire row first.
Mistake #2: Forgetting to select the entire row. If you click a cell and then try to move it, you’re not moving the row—you’re moving just that cell’s content. This is why the row number selection is so important. You can verify you’ve selected the entire row by checking that the whole row is highlighted in blue.
Mistake #3: Inserting in the wrong position. When using cut and insert, remember that you’re clicking on the row number that will move down to make room. If you want to move a row to position 5, you click on the current Row 5 (which will become Row 6). This trips up a lot of people initially.
Mistake #4: Not checking for hidden rows. If your spreadsheet has hidden rows (which you can learn about by checking out How to Unhide Cells in Excel), moving visible rows might not work as expected. Hidden rows still count in the row order, so your move might land in an unexpected spot. Always unhide rows if you’re unsure about the spreadsheet structure.
Mistake #5: Moving rows without considering data relationships. If you have a data table where rows need to stay in a specific order (like a sorted list or a data range with headers), moving individual rows can break the logic. In these cases, consider sorting or filtering instead of moving rows manually.
Advanced Scenarios and Workarounds
Sometimes moving a row in Excel isn’t straightforward. Here are some advanced situations and how to handle them:
Scenario 1: Moving rows in a table with filters applied. If you have an Excel Table (created with Ctrl+T or Insert > Table) with filters active, you might not be able to see all rows. Before moving rows, clear all filters so you can see the complete picture. This prevents accidentally moving the wrong row because a filtered row is hidden.
Scenario 2: Moving rows between different sheets. Excel’s drag-and-drop method only works within the same sheet. To move a row between sheets, use cut (Ctrl+X), switch to the other sheet, select the target row, and insert cut cells. This works seamlessly across sheets in the same workbook.
Scenario 3: Moving rows in a protected sheet. If your sheet is protected (for security or to prevent accidental changes), you won’t be able to move rows unless you unprotect the sheet first. Go to Review > Unprotect Sheet, make your changes, then re-protect if needed. Learn more about sheet protection on This Old House’s resource library, which covers similar organizational principles.
Scenario 4: Undoing a move that affected many formulas. If you moved a row and it cascaded problems through your formulas, don’t panic. Ctrl+Z will undo the entire operation instantly. Excel’s undo feature is your friend—use it liberally when experimenting with row moves on important data.
Scenario 5: Moving rows in a spreadsheet with merged cells. Merged cells can complicate row moves because they span multiple rows. If you move a row that contains part of a merged cell, Excel will either unmerge the cells or prevent the move entirely, depending on the situation. Unmerge cells before moving rows if you want predictable behavior. For more on working with cells, see How to Merge 2 Cells in Excel.
Scenario 6: Moving rows while maintaining sort order. If you’ve sorted your data and want to move a row without disrupting the sort, you’re fighting against Excel’s logic. Instead, consider adding a helper column with manual sort numbers, then sort by that column. This gives you control over row order without fighting Excel’s sorting algorithms.
For comprehensive data organization strategies, Bob Vila’s systematic approach to organization offers principles that translate well to spreadsheet management—start with a clear structure, then maintain it consistently.
Frequently Asked Questions
Can I move a row to a different Excel workbook?
– Not directly. Excel’s move operations only work within a single workbook. To move a row to a different workbook, cut the row (Ctrl+X), open the target workbook, select the destination row, and insert cut cells. The row data will transfer, but it’s technically a cut-and-paste operation across files rather than a true “move.”
What happens to row numbers when I move a row?
– Row numbers automatically adjust. If you move Row 10 to between Row 3 and Row 4, the old Row 10 becomes Row 4, and everything that was Row 4 and below shifts down. This is automatic and handled by Excel—you don’t need to manually renumber anything.
Does moving a row affect column formulas?
– Yes, but usually in a good way. If you have a formula in a column that sums values from a specific row, and you move that row, the formula will update to reference the row’s new position. However, if you’ve used absolute references (like $A$5), those won’t change. Always check your formulas after moving rows if they’re critical to your spreadsheet.
Can I move rows in Excel Online (web version)?
– Yes, but with limitations. Excel Online supports cut-and-insert operations, but drag-and-drop might not work as smoothly as in the desktop version. For complex row moves, the desktop version of Excel is more reliable. If you’re using Excel Online and drag-and-drop isn’t working, use cut (Ctrl+X) and insert cut cells instead.
What’s the difference between moving and copying a row?
– Moving removes the row from its original location and places it elsewhere. Copying leaves the original row in place and creates a duplicate in the new location. If you want to move (not copy), use cut-and-insert or drag-and-drop. If you want to copy, use Ctrl+C instead of Ctrl+X.
How do I move a row if it’s part of a named range?
– Named ranges are tricky because they reference specific cells. If you move a row that’s part of a named range, the range definition might break or behave unexpectedly. Before moving rows that are part of named ranges, go to Formulas > Name Manager and check which ranges are affected. You may need to update the range definitions after moving rows.
Can I move rows based on a condition (like moving all rows where a value is “Yes”)?
– Not automatically. Excel doesn’t have a built-in “move rows matching criteria” feature. However, you can use filtering to show only the rows you want to move, then select and move them manually. Alternatively, use sorting to group matching rows together, then move them as a block. For more advanced data manipulation, consider using How to Alphabetize in Excel to organize your data by custom criteria.
Is there a keyboard shortcut to move a row without using the menu?
– Not a single shortcut. You’ll need to use Ctrl+X (cut), then right-click and select “Insert Cut Cells,” or use the Edit menu. Some power users create custom macros to assign a single shortcut to this operation, but out of the box, Excel doesn’t have a one-key move command.
What if I accidentally move the wrong row?
– Press Ctrl+Z immediately to undo. Excel’s undo feature will restore your spreadsheet to its state before the move. You can undo multiple actions if needed—just keep pressing Ctrl+Z until your data is back where it started.
Can I move rows in a pivot table?
– No. Pivot tables are dynamic summaries of your data, and their row order is determined by the pivot table’s structure and grouping. You can’t manually move rows in a pivot table. If you need to change the order, modify the pivot table’s field settings or sort the data differently. If you need manual row control, work with the raw data instead of the pivot table.
Moving rows in Excel is one of those skills that feels awkward at first but becomes second nature once you understand the mechanics. The drag-and-drop method is fastest for quick adjustments, while cut-and-insert gives you more control and safety for complex spreadsheets. Whichever method you choose, remember to verify your data after the move—especially if formulas or dependencies are involved. With these techniques in your toolkit, you’ll be reorganizing spreadsheets like a pro.


