How to Make Paper Mache: Easy & Fun Guide for Perfect Crafts
Paper mache is one of the most versatile and accessible craft techniques for creating stunning decorative pieces, masks, and sculptures. Whether you’re a seasoned crafter or picking up a new hobby, learning how to make paper mache opens doors to endless creative possibilities. This ancient art form combines simple household materials with your imagination to produce professional-looking results that impress everyone. In just a few hours, you can transform ordinary newspaper and paste into beautiful, durable creations that last for years.
Quick Answer: What Is Paper Mache?
Paper mache (papier-mâché) is a crafting technique where strips of paper are layered with adhesive paste to create hardened structures. The process involves mixing a simple paste, tearing paper into strips, and applying multiple layers over a mold or frame until the desired thickness is achieved. Once dry, how to make paper mache projects results in lightweight, sturdy items perfect for decorating, gifting, or displaying. The beauty of this method lies in its simplicity—requiring minimal tools and inexpensive materials found in most homes.
Tools & Materials You’ll Need
- Paper: Newspaper, magazine pages, or tissue paper (torn into strips)
- Adhesive paste: Flour paste, wallpaper paste, or white glue
- Water: For mixing paste to proper consistency
- Mixing bowl: Medium-sized ceramic or plastic bowl
- Whisk or spoon: For blending paste ingredients
- Mold or frame: Balloon, cardboard form, or wire structure
- Plastic wrap or petroleum jelly: To prevent sticking
- Scissors: For cutting paper strips
- Paintbrushes: For applying paste and paint
- Sandpaper: Fine-grit for smoothing finished pieces
- Acrylic paint: For decorating dried projects
- Protective covering: Newspaper or plastic sheet for work surface
Choosing Your Paper Mache Base
The foundation of any successful paper mache project starts with selecting the right base or mold. Your base determines the final shape and structure of your creation, so choosing wisely is essential. Common base options include balloons for round shapes, cardboard tubes for cylindrical forms, wire frames for custom designs, or crumpled newspaper for organic, irregular shapes. According to WikiHow, beginners often start with balloons because they’re affordable, easy to remove, and produce symmetrical results.
For your first how to make paper mache project, consider using a balloon as your base. Simply inflate it to your desired size and secure it with tape. If you’re creating a mask, you can mold aluminum foil over your face and use that as your base. For more complex shapes, build a frame using cardboard tubes, wire hangers, or rolled newspaper secured with tape. The key is ensuring your base is stable and won’t shift during the layering process.
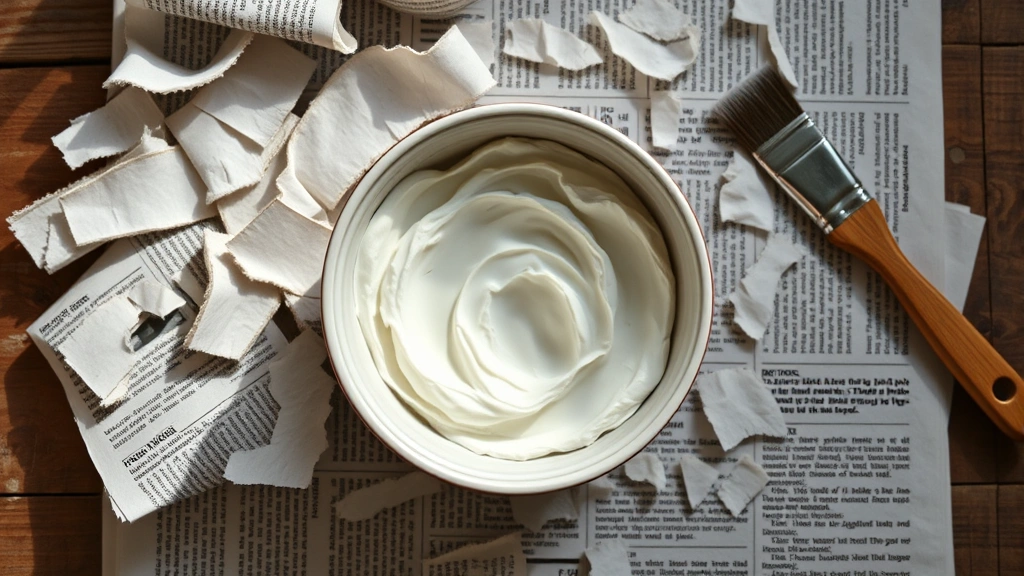
Making the Perfect Paste
The paste is the glue that holds your paper mache project together, so getting the consistency right is crucial. There are several paste recipes you can use, each with distinct advantages. The most common option is flour paste, made by mixing flour and water into a smooth, yogurt-like consistency. How to make paper mache paste starts with combining one part flour to two parts water in a bowl, whisking thoroughly to eliminate lumps.
To make flour paste, bring water to a boil first, then slowly add flour while stirring constantly to prevent clumping. This method creates a stronger, more durable paste than cold mixing. Alternative paste recipes include using white glue diluted with water (one part glue to one part water) or purchasing pre-made wallpaper paste from hardware stores. Some crafters prefer adding a teaspoon of salt to flour paste to prevent mold growth during drying. Test your paste consistency by dipping a strip of paper—it should be well-coated but not dripping excessively.
Preparing Your Work Space
Before you begin layering, set up a clean, organized work area that protects your furniture and floors. Spread newspaper or plastic sheeting across your work surface to catch paste drips and paper fragments. Having all materials within arm’s reach makes the process smoother and more enjoyable. Place your paste bowl in the center of your workspace, arrange paper strips in piles by size, and position your base where you can easily rotate it while working.
Wear old clothes or an apron since paste can stain fabric permanently. Consider wearing latex gloves to keep your hands clean, though many crafters prefer working bare-handed for better control. Keep a damp cloth nearby for wiping hands between applications. Good lighting is essential—position a lamp or work near a window so you can see exactly where you’ve applied paste and identify any gaps in your layers. Proper preparation ensures your how to make paper mache experience remains enjoyable rather than frustrating.
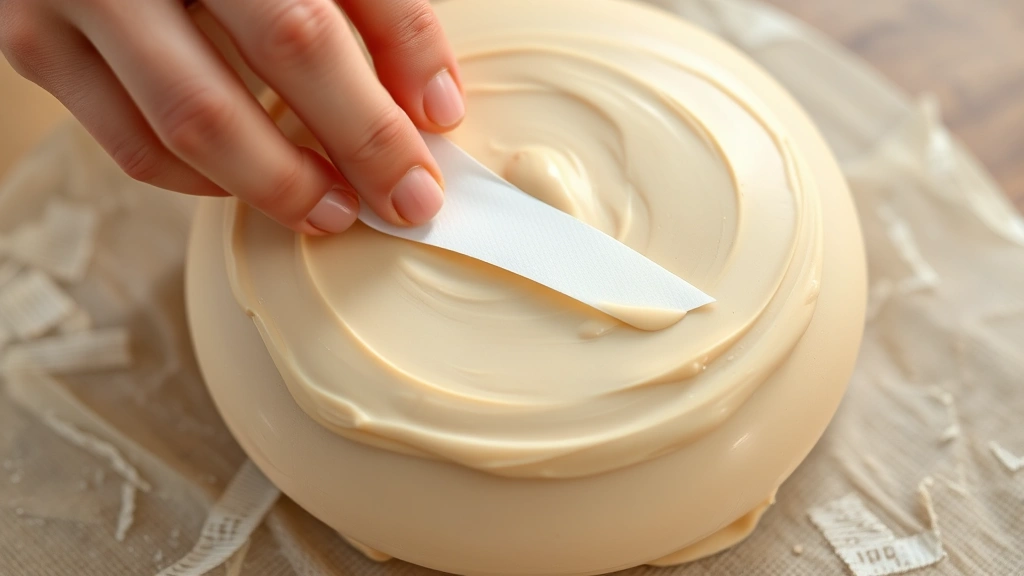
Layering Technique for Success
The layering process is where your paper mache project truly comes to life. Tear newspaper into strips approximately one to two inches wide and three to four inches long—tearing rather than cutting creates softer edges that blend seamlessly. Dip each strip into your paste, ensuring full saturation, then gently squeeze out excess paste between your fingers. This prevents the final product from becoming overly soggy and speeds up drying time.
Apply the first layer directly to your base, smoothing each strip as you go to eliminate air bubbles and wrinkles. Slightly overlapping strips ensures complete coverage and structural integrity. For how to make paper mache success, aim for at least four to six layers, alternating between newspaper and magazine pages if desired—this helps you see where you’ve already covered. After each layer, allow a few minutes for the paste to set slightly before adding the next. According to Instructables, applying thin, even layers produces stronger results than thick, uneven ones.
Drying and Curing Your Project
Patience is critical during the drying phase—rushing this step can result in weak, brittle projects that crack or collapse. After completing all layers, place your project in a warm, dry location away from direct sunlight. Depending on thickness and humidity, drying typically takes 24 to 48 hours. You can accelerate drying by placing your project near a fan or in a warm room, but avoid using direct heat sources like ovens or hair dryers, which can cause uneven drying and warping.
To test if your project is fully dry, gently tap it with your knuckle—it should sound hollow and feel hard, not soft or squishy. If using a balloon base, you can carefully pop it once the paper mache is completely dry, then remove the deflated balloon from inside. For how to make paper mache projects that will receive heavy use or outdoor display, consider applying a sealant like polyurethane or mod podge after decoration for added durability and weather resistance.
Finishing and Decorating
Once your paper mache project is completely dry, it’s time to transform it into a finished masterpiece. Start by sanding the surface lightly with fine-grit sandpaper to smooth any rough edges or bumps. Wipe away dust with a damp cloth and allow it to dry completely. Apply a base coat of primer or white acrylic paint—this creates a smooth canvas and helps subsequent paint colors appear more vibrant. Allow the primer to dry according to product instructions.
Now comes the fun part: decorating your creation! Use acrylic paints to add colors, patterns, and details. Multiple thin coats produce better results than one thick coat. You can also embellish your project with markers, glitter, sequins, fabric scraps, or other craft materials using strong adhesive. For how to make paper mache projects destined as gifts, consider adding a protective clear coat of varnish or polyurethane once decoration is complete. This adds shine, protects against dust, and extends the lifespan of your artwork.
Popular Paper Mache Project Ideas
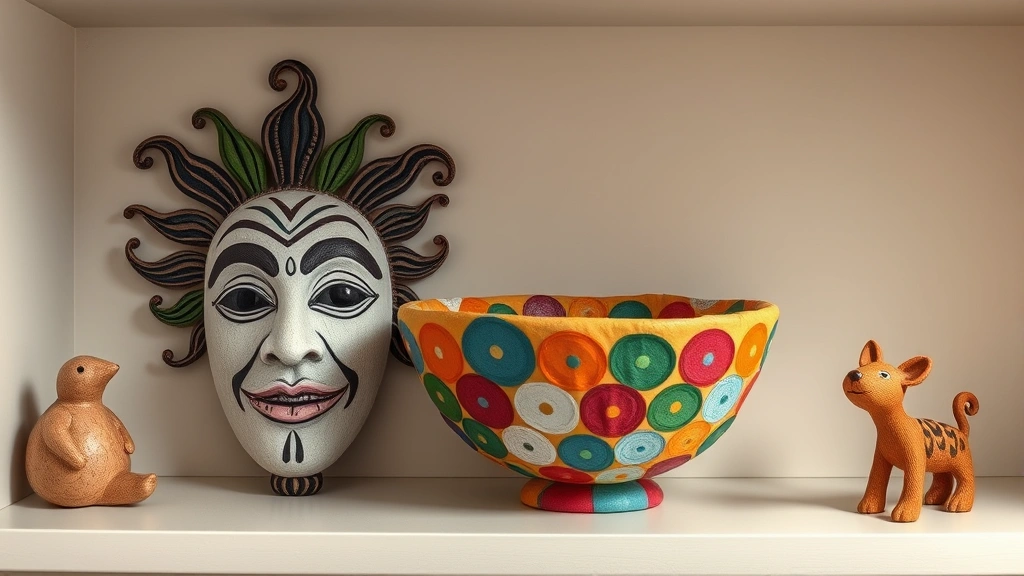
The versatility of paper mache makes it perfect for countless creative projects suitable for all ages. Decorative masks are classic beginner projects—simply mold paper mache over a cardboard base or your face, then paint and embellish with feathers or gems. Piñatas remain perennial favorites for parties, combining the fun of making with the excitement of breaking. Create animal sculptures by shaping wire frames or using balloons as bases, then adding details with paint and markers.
Other popular how to make paper mache projects include decorative bowls (layered over balloons), holiday ornaments, fantasy creatures, architectural models, and personalized storage boxes. Teachers often use paper mache in classrooms for science projects and historical recreations. You can create a life-size dinosaur skeleton using PVC pipes as a frame, or make decorative wall hangings by layering paper mache over cardboard cutouts. For seasonal decoration, craft paper mache pumpkins, snowflakes, or Easter eggs. As reviewed by The Spruce, paper mache remains one of the most budget-friendly craft options for families and schools.
FAQ
How long does paper mache take to dry?
Drying time depends on thickness, humidity, and temperature. Thin projects may dry in 12-24 hours, while thicker pieces require 48 hours or more. Place projects in warm, dry areas with good air circulation to speed up the process.
Can I use paper mache outdoors?
Paper mache is not naturally weather-resistant. If you plan outdoor display, apply multiple coats of waterproof sealant or polyurethane. Even with protection, paper mache eventually deteriorates in harsh weather conditions.
What’s the best paste recipe for paper mache?
Flour paste works excellently for most projects and costs virtually nothing. For stronger results, use wallpaper paste or white glue diluted with water. Each has advantages—experiment to find your preference.
Can I remove the base after drying?
Yes! Balloons can be popped and removed. For cardboard bases, you can cut them out carefully if the paper mache structure is strong enough to support itself. Some projects benefit from keeping the base inside for added stability.
Is paper mache safe for children?
Paper mache is extremely safe for kids when using non-toxic paste and paint. Flour paste is completely edible, though not tasty. Always supervise young children and ensure proper ventilation when using acrylic paints.
How do I fix cracks in dried paper mache?
Small cracks can be covered with paint or filled using paper mache paste applied to the damaged area. For larger cracks, apply a patch of paper strips with fresh paste over the damage, allow to dry, then sand and paint.
Can I paint paper mache without primer?
While possible, primer creates better paint adhesion and color vibrancy. Acrylic paint can be applied directly to dried paper mache, but results improve significantly with a primer base coat first.
What if my paper mache is too thick and won’t dry?
Reduce thickness by using fewer layers in future projects. For current projects, place them in a warm room with a fan nearby. You can also carefully drill small holes in inconspicuous areas to allow interior moisture to escape faster.
For additional inspiration and detailed techniques, visit Family Handyman for expert home craft guidance. Whether you’re creating your first simple project or attempting an elaborate sculpture, understanding how to make paper mache basics ensures success. This timeless craft combines accessibility with unlimited creative potential—making it perfect for rainy afternoons, classroom activities, or serious artistic pursuits. With practice, you’ll develop techniques that produce increasingly impressive results. Start simple, enjoy the process, and watch your paper mache skills flourish. If you’re interested in other creative projects, check out our guides on how to make edible cookie dough for tasty crafting fun or explore how to clean washing machine to keep your craft space fresh. You might also enjoy learning how to make apple cider for seasonal entertaining, or developing new skills like how to become a model to showcase your creative work. Additionally, if you want to share your paper mache creations online, our guide on how to create a Facebook business page can help you build an audience for your craft business.