
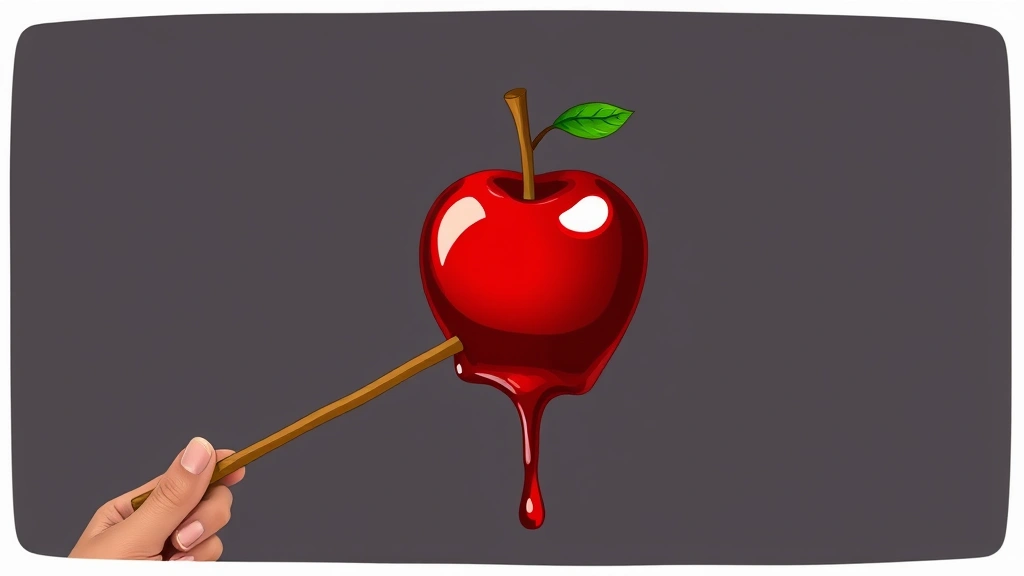
Candy apples are one of those treats that look impossibly fancy but are actually dead simple to make at home. Whether you’re planning a fall gathering, want to impress kids, or just crave that nostalgic carnival vibe, learning how to make candy apples in a gag (or seriously, for any occasion) is a skill that takes maybe 20 minutes and a handful of ingredients. The magic? It’s all in the temperature of your candy coating and how you handle the apple itself.
Real talk: homemade candy apples taste infinitely better than store-bought versions, the coating is crispier, and you can customize them however you want. Plus, they make killer gifts. Let’s walk through exactly how to pull this off without ending up with a sticky mess or a coating that slides right off your apple.
What You’ll Need: Tools & Ingredients
Before you start, gather your gear. This isn’t complicated, but having everything ready means you won’t panic mid-dip.
Tools:
- Candy/deep-fry thermometer (non-negotiable—this is your secret weapon)
- Heavy-bottomed saucepan or small pot
- Wooden sticks or skewers (popsicle sticks work great)
- Silicone spatula or wooden spoon for stirring
- Parchment paper or butcher paper
- Small bowl of water (for quick apple dips)
Ingredients (for about 8–10 candy apples):
- 8–10 medium apples (Granny Smith, Honeycrisp, or Pink Lady work best)
- 2 cups granulated sugar
- 1 cup light corn syrup
- ¾ cup water
- 1 tablespoon apple cider vinegar or white vinegar
- ½ teaspoon cream of tartar
- ¼ teaspoon salt
- 1 teaspoon vanilla extract (optional, but adds depth)
- Food coloring (gel or liquid—red, green, whatever vibe you want)
- Toppings of your choice: crushed nuts, sprinkles, chocolate drizzle, coconut flakes
The vinegar and cream of tartar are the unsung heroes here—they prevent crystallization. Don’t skip them.
Prep Your Apples (The Most Important Step)
This is where 90% of people mess up. If your apples aren’t prepped right, the candy coating will slide off like it’s skating on ice.
Step 1: Choose firm apples. Soft, mealy apples are your enemy. Granny Smiths are tart and hold up well. Honeycrisp and Pink Lady are sweet and crisp. Avoid anything that feels soft when you squeeze it gently.
Step 2: Wash and dry thoroughly. Run them under warm water and scrub with a vegetable brush to remove the waxy coating. Pat completely dry with a clean kitchen towel. Any moisture = coating won’t stick.
Step 3: Remove the stems and add sticks. Pop out the stem (or leave it if you like the look—personal choice). Push a wooden stick or skewer about 2 inches into the top where the stem was. Wiggle it a bit to make sure it’s snug. If it feels loose, you’ve got a problem waiting to happen.
Step 4: Bring apples to room temperature. If they’ve been in the fridge, let them sit out for 15–20 minutes. Cold apples cause the hot candy coating to set too fast, creating an uneven finish.
Pro Tip: Some people dip their prepped apples in a thin layer of melted white chocolate first. This creates an extra-sticky base layer that makes the candy coating adhere like glue. It’s optional but genuinely helpful if you’re nervous.
The Candy Coating Recipe That Actually Works
This is a hard-crack candy, which means it’s going to get hot and stay hard when it cools. Temperature control is everything.
Step 1: Combine ingredients in your saucepan. Add sugar, corn syrup, water, vinegar, cream of tartar, and salt. Stir over medium heat until the sugar dissolves completely. You’ll see it go from grainy to smooth—that’s your cue.
Step 2: Stop stirring once it boils. This is critical. Once the mixture reaches a boil, do not stir anymore. Stirring causes crystallization, which ruins the whole batch. Just let it bubble away.
Step 3: Monitor the temperature. Insert your candy thermometer and watch it climb. You want to reach 300–310°F (hard-crack stage). This takes about 10–15 minutes depending on your stove. Don’t walk away. Seriously.
Step 4: Remove from heat and add flavor & color. Once you hit 300°F, pull it off the heat immediately. Let it cool for about 30 seconds (it’ll still be bubbling slightly). Stir in vanilla extract and a few drops of food coloring. Use gel coloring if you can—it mixes in smoother and gives better color without thinning the mixture.
Step 5: Let it cool slightly. Wait 1–2 minutes before dipping. If it’s too hot, it’ll slide right off. If it’s too cool, it’ll be too thick and won’t coat smoothly. You want it around 270–280°F when you start dipping.
Safety Warning: This candy is hotter than boiling water. Keep kids and pets away from the stovetop. If you get burned, run it under cold water immediately. Do not touch the candy itself—it will stick to skin and cause serious burns. Always prioritize kitchen safety when working with extreme temperatures.
The Dipping Technique: Where Most People Fail
You’ve got your coating ready. Now comes the actual dipping, and this is where confidence matters.
Step 1: Work fast but don’t rush. You have maybe 30–45 seconds before the candy starts cooling too much in the pot. Line your workspace with parchment paper so the finished apples have somewhere to land.
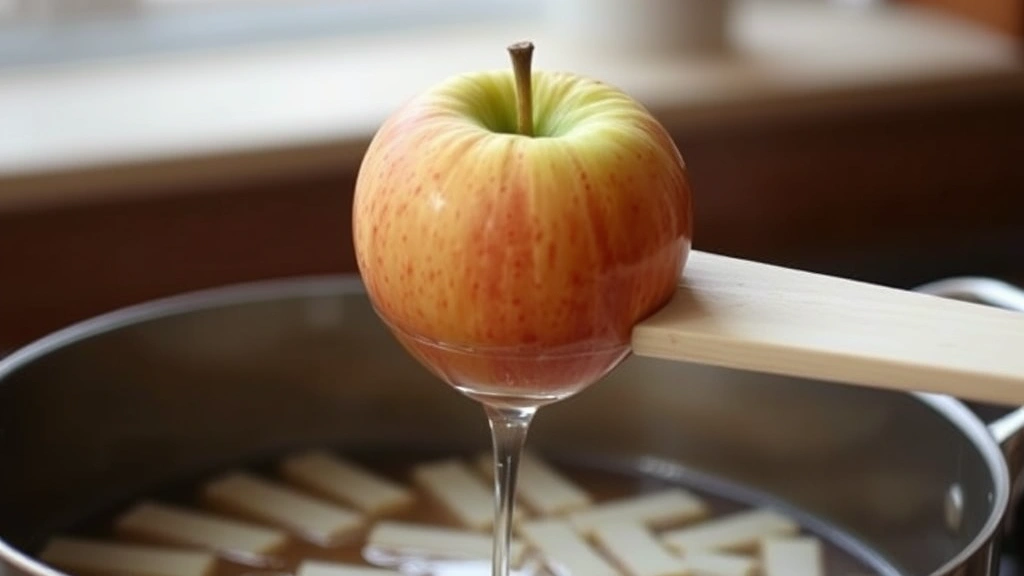
Step 2: Dip at the right angle. Hold the apple by its stick at a slight angle (about 45 degrees). Plunge it into the candy coating in one smooth motion, rotating it slightly as you go. This ensures even coverage. Aim for the apple to be submerged for about 2–3 seconds.
Step 3: Lift slowly and let excess drip off. Pull the apple out and hold it stick-side up for a few seconds. Let the excess candy drip back into the pot. This prevents a thick, gloppy coating.
Step 4: Immediately add toppings if desired. If you want nuts, sprinkles, or other toppings to stick, add them right after dipping—within 5 seconds. The candy is still tacky and will grab them. If you wait too long, they’ll just fall off.
Step 5: Place on parchment and let cool. Set the apple on your parchment-lined surface, stick pointing up. Don’t touch it. Let it sit for at least 10 minutes before moving it. The coating will harden and set completely in about 30 minutes.
Step 6: Repeat until you’ve coated all your apples. Keep an eye on the candy temperature. If it drops below 270°F, reheat it gently over low heat for a minute or two. If it gets too thick, you can add a tablespoon of water and stir gently to thin it out.
Think of the dipping motion like you’re painting a wall—smooth, confident strokes beat jerky, hesitant ones every time.
Toppings & Customization Ideas
This is where you get creative. The base technique is solid; now you make it yours.
Classic & Simple:
- Red candy coating, no toppings (purist move)
- Green candy coating with crushed pistachios
- Black candy coating with white sprinkles (spooky season vibes)
Nutty & Crunchy:
- Crushed almonds or pecans
- Chopped walnuts
- Peanut brittle pieces
- Sesame seeds
Sweet & Decadent:
- Chocolate drizzle (melt some chocolate and drizzle it on while the candy coating is still tacky)
- Caramel drizzle
- Crushed candy canes (winter theme)
- Shredded coconut
Spiced & Sophisticated:
- Cinnamon sugar coating (mix cinnamon into your sugar before making the syrup)
- Crushed ginger snaps
- Crushed toffee bits
Pro move: combine toppings. Red candy coating + crushed almonds + white chocolate drizzle = fancy enough to sell at a bake sale.
Storage & Shelf Life
Homemade candy apples are best eaten within 1–2 days, but they’ll last longer if stored right.
Room Temperature: Store in an airtight container or wrap each apple loosely in wax paper. Keep them in a cool, dry place (not on a warm counter). They’ll stay good for 2–3 days.
Refrigerator: If you live somewhere humid or warm, the fridge is your friend. The candy coating might get slightly sticky or “weep” a little, but it won’t ruin anything. Keep them in an airtight container. They’ll last up to a week.
Freezer: Yes, you can freeze them. Wrap each apple individually in plastic wrap, then place in a freezer bag. They’ll keep for up to a month. Thaw at room temperature for about an hour before eating.
Real talk: Candy apples are best enjoyed fresh, when the coating is still crispy. After a few days, the coating softens as moisture from the apple seeps out. It’s still edible and tasty, just less dramatic texture-wise.
Pro Tip: If you want to keep apples from browning before you dip them (in case you’re prepping ahead), toss them lightly with lemon juice or store them in the fridge until you’re ready to work with them.
Common Mistakes & How to Fix Them
Problem: Coating slides right off the apple.
– Cause: Apples weren’t clean or dry enough, or the coating was too hot when you dipped.
– Fix: Re-wash and dry your apples thoroughly. Make sure your candy coating is in the 270–280°F range before dipping. If the coating is still too hot, wait another minute or two.
Problem: Coating is too thick and gloppy.
– Cause: Candy coating cooled too much, or you dipped too slowly.
– Fix: Reheat gently over low heat and add a tablespoon of water. Stir until it reaches the right consistency. Dip faster next time.
Problem: Coating cracks or looks dull.
– Cause: Temperature fluctuation or humidity in the air.
– Fix: This is cosmetic—it still tastes great. To prevent it, avoid dipping in very humid environments. If you’re in a humid climate, the fridge is your friend for storage.
Problem: Candy coating crystallized (looks grainy).
– Cause: You stirred after the mixture boiled, or you didn’t use cream of tartar.
– Fix: Start over. The vinegar and cream of tartar prevent this, so don’t skip them. Once crystallization happens, the batch is compromised.
Problem: Toppings won’t stick.
– Cause: You waited too long after dipping to add them. The candy coating hardened.
– Fix: Add toppings immediately after dipping, within 5 seconds. If you miss the window, you can reheat the coating slightly and dip again.
Problem: Apple is mushy inside.
– Cause: You used a soft apple or stored it too long in the fridge.
– Fix: Choose firmer apples next time. Eat candy apples within 1–2 days for best texture. Check reputable cooking guides if you’re unsure about apple selection.
The bottom line: most issues come down to temperature control and apple prep. Get those two things right, and you’re golden.
Frequently Asked Questions
Can I make candy apples without a candy thermometer?
– Technically yes, but I wouldn’t recommend it. You can use the cold-water test (drop a tiny bit of candy into ice water—if it cracks and breaks, you’re at hard crack), but it’s imprecise. A thermometer costs $10 and takes the guesswork out. Worth it.
What’s the difference between candy apples and caramel apples?
– Candy apples have a hard, glossy coating made from boiled sugar (like lollipop candy). Caramel apples have a chewy caramel coating. Candy apples are crispier and more dramatic. Both are delicious—just different vibes.
Can I use a different type of apple?
– Sure, but pick firm ones. Granny Smith, Honeycrisp, Pink Lady, and Braeburn all work well. Avoid Red Delicious or Gala—they’re softer and the stick won’t grip as well. Size matters too; aim for medium apples so the coating covers evenly.
How do I make candy apples without corn syrup?
– Corn syrup helps prevent crystallization, but you can substitute it with light honey or agave. Use the same amount. Add an extra ½ teaspoon of cream of tartar to compensate. The texture might be slightly different, but it’ll work.
Can I make colored candy apples without food coloring?
– Yes. Use natural colorants: red from beet juice, green from spinach juice, yellow from turmeric. You’ll need to reduce the liquid in your recipe slightly to account for the extra moisture. The colors won’t be as vibrant, but they’ll look nice.
Why did my candy coating taste bitter?
– You overcooked it. If the temperature goes above 320°F, the sugar starts to burn and tastes acrid. Keep a close eye on your thermometer and pull it off heat right at 300–310°F.
Can I make candy apples ahead of time for an event?
– Yes, make them 1–2 days before. Store them in an airtight container at room temperature or in the fridge. Bring them to room temperature before serving so the coating looks glossy again. If they’ve been in the fridge, they might look a bit dull, but they’ll taste the same.
Is the candy coating safe to eat?
– Absolutely. It’s made from sugar, corn syrup, and water—same stuff that’s in hard candy or lollipops. The coating is completely edible and delicious.
Can I use silicone molds or dipping tools?
– Wooden sticks and skewers work best because they grip the apple and don’t conduct heat like metal does. Silicone tools are fine for other steps, but stick with wood for the actual stick.
What if I want to make a huge batch?
– Double or triple the recipe, but do it in batches. Don’t try to make 50 apples’ worth of coating in one pot—it’s hard to maintain the right temperature and texture. Make enough for 8–10 apples, dip them all, then make another batch if you need more.
Can I add flavoring to the candy coating?
– Yes. Vanilla extract (½–1 teaspoon) is classic. You can also try almond extract, peppermint extract, or cherry flavoring. Add it after you pull the pot off the heat so the heat doesn’t cook off the flavor. Start with ½ teaspoon and taste as you go.
Why should I use a wooden stick instead of a popsicle stick?
– Wooden sticks (like lollipop sticks) are thicker and grip the apple better. Popsicle sticks work in a pinch, but they’re flimsy and might not stay put if the apple is heavy or you’re dipping carelessly. Invest in proper lollipop sticks—they’re cheap.
Final Thoughts
Making candy apples at home is genuinely easier than it looks. The secret is three things: clean, dry apples; proper temperature control; and confidence in your dipping motion. Once you nail it once, you’ll wonder why you ever bought them from a store. They taste better, look better, and you get to customize them however you want.
The first batch might not be perfect, and that’s fine. Candy-making is a skill, and skills improve with practice. Even if your first attempt has a few imperfections, it’ll still taste amazing. By your third or fourth batch, you’ll be making them like a pro.

Start with the classic red coating, master the technique, then branch out into wild color combos and topping combinations. Host a candy apple–making party. Give them as gifts. Make them for Halloween or fall festivals. Once you know how to make candy apples in a gag or for any real occasion, you’ve got a skill that impresses people every single time.
Now go grab some apples and get dipping. You’ve got this.


