UV mapping a car in Roblox Studio feels intimidating at first. You’re staring at a 3D model, wondering how to wrap a 2D texture around it without stretching, distorting, or creating seams that look like scars. Real talk: most beginners skip this step entirely and slap a solid color on their vehicle. That’s fine for quick prototypes, but if you want your car to look professional—with realistic paint, decals, racing stripes, or weathering—you need to understand how to make a UV map car in Roblox Studio.
This guide walks you through the entire process: from understanding what UV mapping actually is, to creating your model, unwrapping it, and applying textures in Roblox. By the end, you’ll have a car that doesn’t look like it was textured by accident.
What Is UV Mapping and Why It Matters
UV mapping is how you tell Roblox where a 2D texture should stick to a 3D object. Think of it like wrapping a present: you have a flat piece of paper (your texture) and a 3D box (your car). The UV map is the instruction manual that says, “This corner of the paper goes here, this edge wraps around there.”
In 3D modeling, U and V are the horizontal and vertical axes of a texture (X and Y are used for 3D space, so UV avoids confusion). Every vertex on your car model has UV coordinates that point to a specific pixel on your texture image. If your UV map is sloppy, textures stretch, repeat awkwardly, or create visible seams.
Why does this matter for Roblox? Because Roblox renders UV-mapped textures using the SurfaceGUI and decal systems, but more importantly, if you’re importing a custom car model from Blender or Maya, the UV map travels with it. A poorly unwrapped car will look like plastic stretched over a frame—not the sleek vehicle you imagined.
Pro Tip: Professional game studios spend weeks on UV mapping alone. Your first attempt won’t be perfect, and that’s okay. The goal is clean, minimal stretching, and no obvious seams.
Preparing Your Car Model
Before you even think about UV mapping, your car model needs to be solid. This means:
- Clean topology: Your model should have a reasonable polygon count. Thousands of tiny faces make unwrapping a nightmare. Aim for 5,000–20,000 faces for a simple car, 30,000–80,000 for detailed work.
- No overlapping geometry: Make sure parts don’t intersect. Windows shouldn’t clip into the body, doors should be separate objects or clearly separated faces.
- Proper naming: Label your objects (Body, Windows, Wheels, Bumper, etc.). This saves hours of confusion later.
- Correct scale: In Roblox, 1 stud ≈ 1 meter. Make sure your car is a reasonable size—not 100 studs tall or 0.1 studs wide.
If you’re starting from scratch, use Blender (free) or Maya. If you’re using a downloaded model, open it in Blender and inspect it. Look for:
- Duplicate vertices (use Merge by Distance to clean up)
- Ngons (faces with more than 4 sides—triangulate or manually fix)
- Holes or gaps in the mesh
According to Blender’s official documentation, a clean mesh is the foundation of good UV mapping. Spend 30 minutes cleaning your model now; save yourself 3 hours of frustration later.
The UV Unwrapping Process
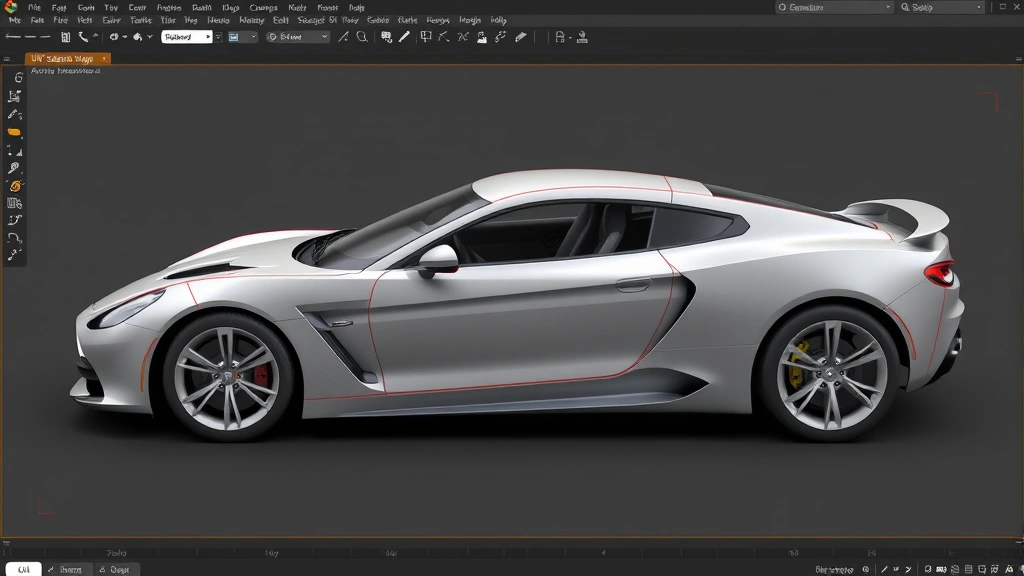
This is where the real work happens. You’re taking your 3D car and “unrolling” it into a flat 2D layout—like unfolding a cardboard box.
Step 1: Select Your Model and Enter Edit Mode
In Blender, select your car object and press Tab to enter Edit Mode. You should see all the vertices highlighted. If you’re working with multiple objects (body, wheels, windows), you might want to join them first using Ctrl+J, or unwrap each separately and combine later.
Step 2: Mark Seams
Seams are where the texture “cuts.” You want seams in places that won’t be obvious—inside door frames, under the car, along edges. Avoid seams on flat surfaces where they’ll be visible.
- Switch to Edge Select Mode (press 2)
- Hold Alt and click an edge to select a loop
- Press Ctrl+E and choose “Mark Seam” (it’ll turn red)
- Repeat for other seam locations
For a car, typical seams are:
- Bottom edges (underneath the chassis)
- Door frames
- Wheel wells
- Roof edges
- Hood and trunk lines
Step 3: Select All and Unwrap
Press A to select all faces. Then press U to open the UV Mapping menu. Choose “Unwrap” (the default smart projection). Blender will automatically unfold your model based on the seams you marked.
If the default unwrap looks terrible (overlapping islands, huge stretching), try these alternatives:
- Smart UV Project: Good for complex organic shapes. Less control, but faster.
- Angle Based: Respects hard edges. Great for cars with flat panels.
- Cube Projection: Works well if your car is roughly box-shaped.
Step 4: Check for Overlaps and Stretching
Open the UV Editor panel (Shift+F10 or Window menu). You’ll see your unwrapped UV layout—a bunch of flat shapes that represent your 3D car unfolded. Look for:
- Overlapping islands: Two parts of the UV map occupying the same space. This causes texture fighting and looks broken.
- Stretched faces: Use the Checker Texture to spot stretching (Shader Editor → Add → Texture → Checker). If the checkers are warped, that area is stretching.
If you see overlaps, you’ll need to manually adjust the UV islands. Select individual islands in the UV Editor and move them around so nothing overlaps. This is tedious but necessary.
Safety Warning: Don’t ignore stretching. It’s like painting with a brush that’s bent—the result looks sloppy and unprofessional. If an area is stretched more than 20%, consider adding another seam and re-unwrapping.
Step 5: Optimize the Layout
Pack your UV islands efficiently into the 0–1 texture space. In Blender, select all (A in the UV Editor) and press P for Pack Islands. This automatically arranges everything to minimize wasted space. More efficient packing means better texture resolution.
Creating and Preparing Your Textures
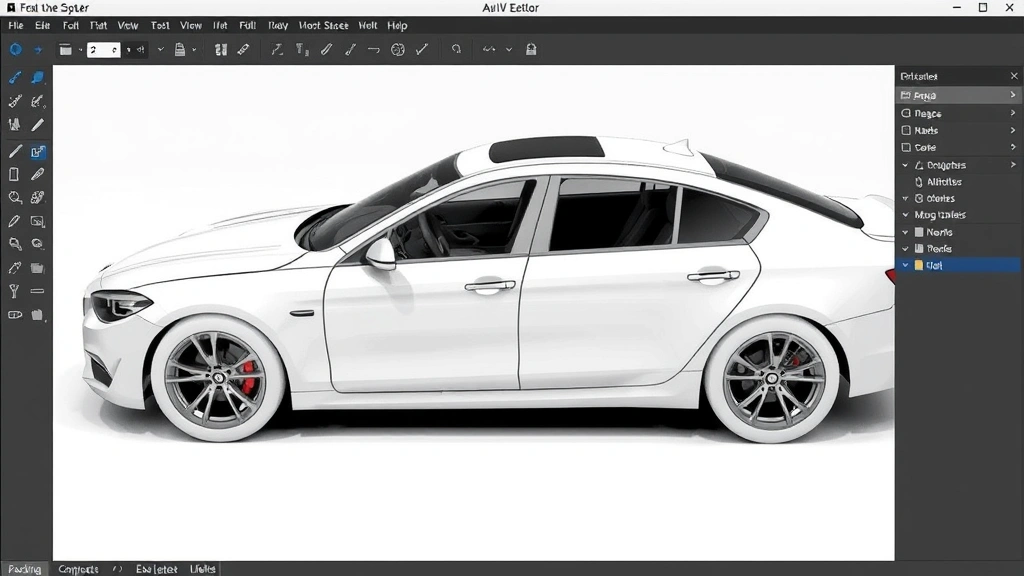
Now you have a UV map. Time to paint on it. You have two options: create textures from scratch or use existing ones.
Option 1: Paint in Blender (Texture Paint Mode)
If you want full control, paint directly onto your model:
- Switch to Texture Paint mode (top-left dropdown)
- Select a brush and start painting
- Save your texture as PNG (File → Export As)
This is great for custom designs, decals, and weathering. You’ll see exactly how it looks on your model in real-time.
Option 2: Use Existing Textures
Download car textures from sites like Textures.com or Sketchfab. Look for:
- High resolution (2048×2048 or higher)
- Formats: PNG or TGA (with transparency)
- Realistic or stylized, depending on your game’s aesthetic
Texture Preparation
Before importing, make sure your textures are:
- The right size: Roblox handles textures up to 2048×2048 without issues. Larger textures slow down loading.
- Properly formatted: PNG with alpha channel (transparency) is ideal. JPEG works but has no transparency.
- Named clearly: Use names like “Car_Body_Diffuse.png” or “Car_Windows_Normal.png.”
- Saved in your project folder: Keep everything organized.
If your texture is too large, resize it in Photoshop, GIMP, or even online tools. A 4096×4096 texture looks marginally better than 2048×2048 but takes twice as long to load—not worth it for most Roblox games.
Importing Into Roblox Studio
Now for the Roblox part. You need to export your model from Blender and import it into Studio.
Exporting from Blender
Select your car object and export it:
- File → Export As → Collada (.dae)
- Name it something like “Car_Model.dae”
- Check “Apply Modifiers” and “Apply Scalings”
- Click Export
Collada format preserves UV maps and materials. FBX also works, but Collada is more reliable for Roblox.
Importing Into Roblox Studio
Open your Roblox game in Studio:
- Go to Model → Import (or Ctrl+Shift+I)
- Select your .dae file
- Click Open
- The model appears in your workspace
Your model will import with its UV coordinates intact. However, Roblox doesn’t automatically apply textures from Blender. You’ll need to manually apply them.
Pro Tip: Import into a blank baseplate first to test. Make sure the scale, rotation, and appearance are correct before adding it to your actual game.
Applying Textures to Your Car
This is the final step: connecting your textures to your model in Roblox Studio.
Upload Textures to Roblox
Before you can use them, your textures need to be in Roblox:
- In Studio, go to View → Asset Manager
- Click the folder icon and select your texture files
- Wait for them to upload. This can take a minute or two.
- Once uploaded, note the Asset ID (it’ll be something like “rbxasset://textures/Vehicles/Car_Body.png”)
Apply to Parts
If your car is made of individual parts (Body, Wheels, Windows), apply textures to each:
- Select a part (e.g., the Body)
- In Properties, find “TextureID”
- Paste the Asset ID
- Adjust “TextureSize” to match your UV layout (usually 1 or 2)
If your car is a single mesh imported from Blender, you’ll use SurfaceGUI or decals. This is more complex but allows for detailed, per-face texturing:
- Select the MeshPart
- In Properties, set “TextureID” to your texture
- Adjust “Size” and “Offset” to align textures correctly
Troubleshooting Texture Alignment
If your texture looks rotated, flipped, or misaligned:
- Check the TextureSize property (try 0.5, 1, 2, or 4)
- Adjust Offset (values between 0 and 1)
- Rotate the part 90 degrees if needed
- If all else fails, re-export from Blender with different UV coordinates
Getting textures perfectly aligned in Roblox is an art. Expect to spend 20–30 minutes tweaking.
Common Problems and Fixes
Problem: Textures Look Blurry or Low-Resolution
Solution: Increase your texture resolution. Use 2048×2048 or higher. Also, check that TextureSize is set appropriately (usually 1 or 2, not 0.1 or 10).
Problem: Visible Seams Between UV Islands
Solution: Your UV seams are in visible places. Go back to Blender, add seams in less obvious locations (under the car, inside door frames), and re-unwrap. Alternatively, use a seamless texture or paint over seams in Photoshop.
Problem: Texture Stretching on Curved Surfaces
Solution: Your UV map has too much stretching. In Blender, use the Checker Texture to identify problem areas. Add seams around those areas and re-unwrap with Angle Based or Smart UV Project.
Problem: Model Imports but Textures Don’t Show
Solution: Textures aren’t automatically transferred from Blender. You must manually assign them in Roblox. Make sure your texture files are uploaded and you’re using the correct Asset IDs.
Problem: Wheels or Windows Look Wrong
Solution: If separate objects have misaligned textures, they likely have different UV scales. In Blender, select all objects, press U, and choose “Pack Islands.” This ensures consistent scaling across all parts.
According to Roblox’s official mesh documentation, proper UV mapping is essential for professional-looking imported models. If you’re stuck, check their dev forum—the community is helpful.
Frequently Asked Questions
Do I really need to UV map if I’m using solid colors?
– No. If your car is a single color or uses basic Roblox materials, UV mapping isn’t necessary. But if you want decals, realistic paint, or detailed textures, UV mapping is essential. Think of it as the difference between a plain white t-shirt and one with a custom design—both are shirts, but one requires more work.
Can I use a car model from the internet without UV mapping it myself?
– Yes, if the model is already UV mapped. Download models from Sketchfab or TurboSquid that include textures. Just import the model and textures into Roblox. However, if the model doesn’t include textures or the UV map is poor, you’ll need to fix it yourself.
What’s the difference between UV mapping and texture painting?
– UV mapping is the layout—telling Roblox where a 2D texture goes on a 3D model. Texture painting is creating the actual image that gets applied. You need both: a good UV map and good textures.
How long does UV mapping take?
– For a simple car, 1–2 hours. For a detailed, high-poly model with multiple materials, 4–8 hours. Most of the time is spent marking seams, checking for stretching, and optimizing the layout. Patience is your friend.
Can I UV map in Roblox Studio directly?
– No. Roblox Studio doesn’t have UV mapping tools. You must use external software like Blender, Maya, or 3DS Max. Blender is free and has excellent UV tools—use it.
What if my car model has 100,000+ polygons?
– It’s too heavy for most Roblox games. Decimate it in Blender (Modifiers → Decimate) to reduce the polygon count to 10,000–30,000. Then UV map the simplified version. High poly counts cause lag and slow loading.
Is there a way to avoid seams entirely?
– No. Every 3D model unwrapped to 2D will have seams somewhere. The goal is to hide them in inconspicuous places. Professional modelers spend time making seams invisible or blending them into the design (e.g., along panel lines on a car).
Can I use the same texture on multiple parts of my car?
– Yes. If your wheels, bumpers, and body use the same material, they can share a texture. Just assign the same TextureID to multiple parts. This saves memory and loading time.
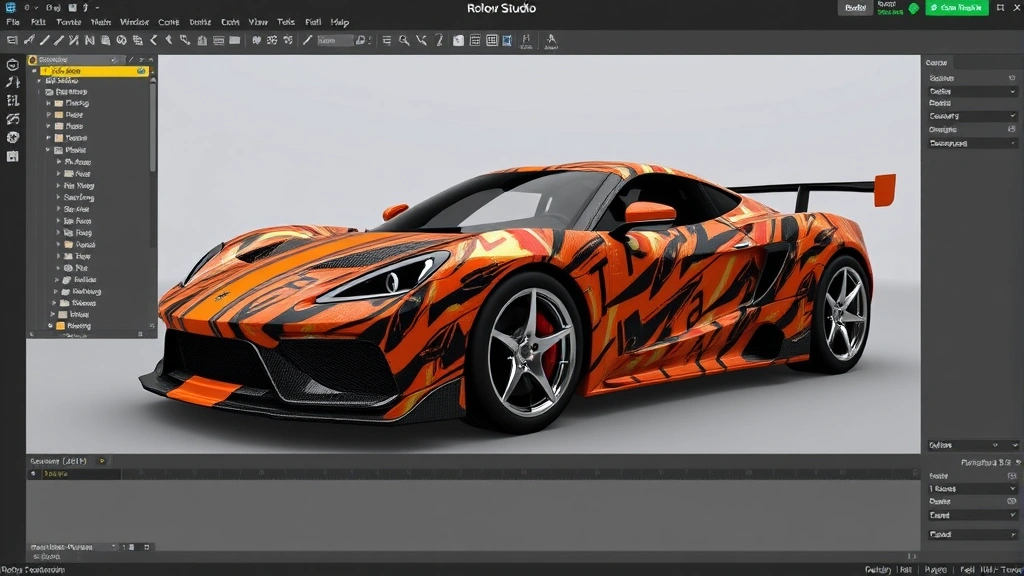
Do I need normal maps or specular maps?
– Not required, but they add realism. A normal map adds surface detail (bumps, scratches). A specular map controls shininess. Roblox supports these, but they’re advanced. Start with a simple diffuse (color) texture first.
What software is best for UV mapping?
– Blender (free) is industry-standard and powerful. Maya and 3DS Max are professional but expensive. For Roblox, Blender is more than enough. If you’re already using another tool, use that—the principles are the same everywhere.

