
A garbage disposal—or as Canadians call it, a garburator—is one of those kitchen upgrades that seems intimidating until you actually do it. The truth? How to install a garburator is totally doable for a homeowner with basic plumbing confidence and the right tools. Most people overthink it. You’re essentially connecting a motor to your drain, securing it properly, and making sure water doesn’t leak everywhere. That’s it.
The biggest fear I hear is “I’ll electrocute myself” or “I’ll flood my cabinet.” Both are preventable with proper technique. This guide walks you through every step—from choosing the right model to flipping the switch for the first time. You’ll learn how to avoid the mistakes that cost people extra cash in plumber fees.
Before You Start: Tools & Safety
You don’t need a truck full of tools to install a garburator. Here’s what actually matters:
- Adjustable wrench (8–10 inch) – Your best friend for this job
- Screwdriver set (Phillips and flathead)
- Flashlight or headlamp – Under the sink is dark
- Plumber’s putty – Seals the sink opening
- Bucket or towel – To catch water from the trap
- Slip-joint pliers – Makes tightening easier
- Hacksaw or PVC cutter – Only if you need to trim the drain pipe
Safety Warning: Before touching anything under the sink, turn off the electrical breaker to the outlet where the disposal will plug in. Even better, don’t plug it in until you’re 100% done with connections. Electricity + water + metal = bad day. Also, never reach into a disposal with your hands, even if it’s unplugged. Use tongs or a flashlight to see what’s stuck.
Check your sink configuration. Most standard setups have a single basin with a P-trap underneath. If you have a double sink, you’ll need a disposal that fits your space, and the drain setup is slightly different. Look at your current plumbing before you buy—measure the opening size and the space available under the sink. A garburator won’t fit if your cabinet is crammed with cleaning supplies.
Read the manufacturer’s manual for your specific model. Seriously. Different brands have slightly different mounting systems, and you don’t want to force something that doesn’t fit. The manual also tells you the electrical requirements—some need a dedicated outlet, others can share.
Removing Your Old Disposal (If You Have One)
If you’re replacing an existing garburator, removal is straightforward but messy. Water will spill. Accept this.
- Turn off power at the breaker. Flip the switch a few times to confirm it’s dead.
- Place a bucket under the P-trap to catch standing water. There’s always more water than you think.
- Disconnect the drain line from the disposal outlet. Use your adjustable wrench to loosen the slip nuts. Hand-tighten them off once they’re loose—no need to muscle it.
- Unplug the disposal from the outlet (if it’s hardwired, you’ll need an electrician—don’t skip this).
- Remove the mounting ring by turning the three bolts counterclockwise. Some models have a rotating collar instead—check your manual. The disposal will drop into your hand once it’s loose.
- Remove the old sink flange by scraping away old putty with a flathead screwdriver. This takes patience but saves headaches later.
Once the old flange is out, clean the sink opening thoroughly. Any old putty or debris will prevent a watertight seal on the new one.
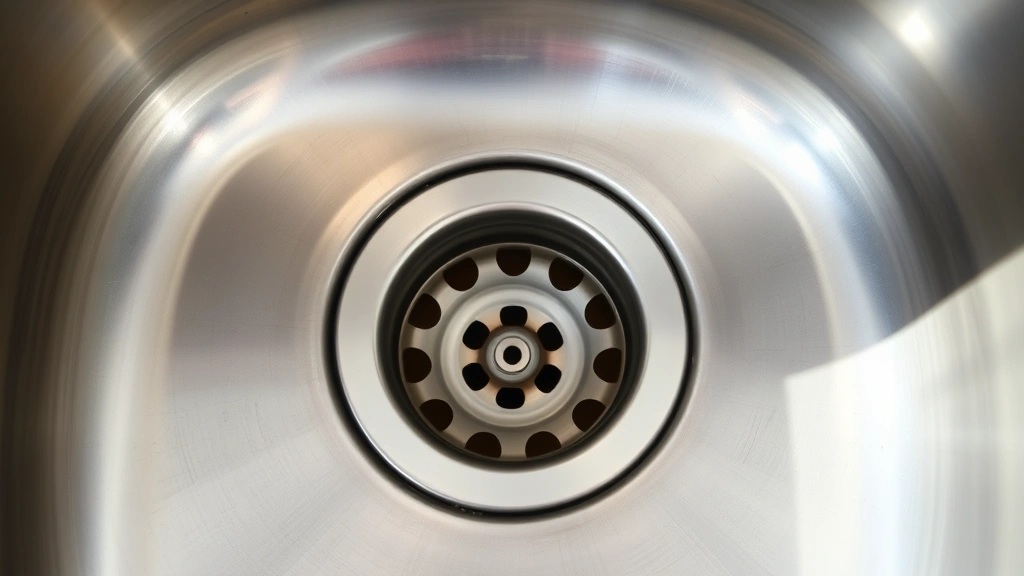
Installing the Sink Flange & Mounting Ring
This is where many DIYers slip up. A bad flange installation = leaks. Take your time here.
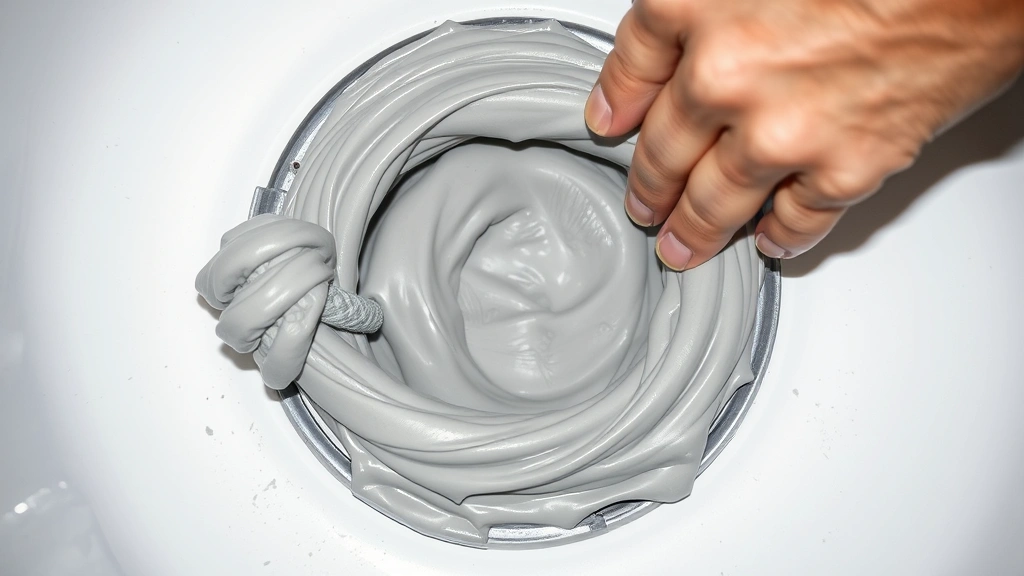
- Roll plumber’s putty into a rope about the thickness of a pencil. Think of it like clay—it should be soft but not sticky. If it’s too dry, knead it in your hands for a minute.
- Press the putty around the underside of the sink flange in a complete circle. Don’t skimp. This putty is your waterproof seal.
- Insert the flange into the sink opening from the top, pushing it down firmly. You should feel resistance from the putty.
- From underneath, slide on the rubber gasket, then the metal mounting ring. The order matters: sink flange (top) → rubber gasket (middle) → mounting ring (bottom).
- Insert the three bolts through the mounting ring and thread them into the flange. Tighten them evenly in a triangle pattern—a little on one, then another, then the third. This prevents the flange from tilting.
- Tighten until snug, not cranked. You’re looking for a seal, not a vise grip. Over-tightening cracks the sink.
- Wipe away excess putty from around the flange. It’ll ooze out, and that’s normal.
Pro tip: Let the putty sit for 10–15 minutes before you attach the disposal. It needs time to cure slightly and hold its shape. This step prevents the whole assembly from shifting when you tighten the mounting bolts.
Connecting the Disposal Unit

Now comes the part that looks scarier than it is. The disposal unit is heavy—usually 5–10 pounds—so support it with one hand while you work with the other, or have someone hold it.
- Lift the disposal up to the mounting ring so the three ears on the disposal align with the three bolts on the mounting ring.
- Rotate the disposal clockwise to lock it onto the ring. You’ll hear or feel a click when it’s fully seated. Some models use a different locking mechanism—again, check your manual.
- Verify it’s tight by gently trying to rotate it counterclockwise. It shouldn’t budge.
The disposal is now hanging from the sink. Don’t let go until you’ve confirmed it’s locked. A falling disposal is expensive and dangerous.
Check the alignment of the outlet on the disposal. It should point toward where your P-trap is. If it’s twisted, you can rotate the entire disposal slightly by loosening the mounting bolts, repositioning, and re-tightening. It doesn’t have to be perfect, but it makes the drain connections easier.
Making the Plumbing Connections
This is where how to install a garburator gets into real plumbing territory. Don’t panic. You’re connecting three things: the disposal outlet to the drain line, and possibly the dishwasher drain if you have one.
Connecting the Main Drain:
- Take your P-trap (the curved pipe under the sink) and position it so the inlet aligns with the disposal outlet. The outlet is usually a 1.5-inch threaded connection.
- Slide the slip nut over the P-trap inlet, then thread it onto the disposal outlet by hand first. Get it started so you don’t cross-thread it.
- Use your adjustable wrench to tighten the slip nut until it’s snug. You’re aiming for “hand-tight plus a quarter turn.” Overtightening strips the threads or cracks the plastic.
- If the P-trap doesn’t align perfectly, you may need a tailpiece (a short pipe connector) between the disposal and the trap. Hardware stores sell these in various lengths. Measure twice, buy once.
If You Have a Dishwasher:
Most disposals have a small inlet for the dishwasher drain hose. You’ll see a rubber or plastic cap on the side of the unit.
- Locate the dishwasher inlet on the disposal body.
- Remove the cap by twisting or prying it out (check your manual for the method).
- Insert the dishwasher drain hose into the inlet. It should fit snugly.
- Secure it with a hose clamp if the hose is loose. Tighten the clamp with a screwdriver until the hose doesn’t move.
If you don’t have a dishwasher, leave that cap on. Don’t remove it “just in case”—it prevents leaks.
Pro Tip: Before you tighten anything permanently, run water through the disposal (without turning it on) to check for leaks. If you see drips, you can still adjust connections without redoing everything. Once you’ve tightened and water sits overnight, adjusting is a headache.
Testing Your New Garburator
You’ve done the hard part. Now comes the moment of truth.
- Plug in the disposal (or have an electrician do the final connection if it’s hardwired).
- Turn on the cold water and let it run for 10 seconds.
- Flip the disposal switch on and let it run for 5–10 seconds. You should hear a normal grinding sound—not a grinding-metal screech or silence.
- Turn it off and check for leaks under the sink. Look at the flange seal, the P-trap connections, and the dishwasher inlet (if you have one). Wipe everything dry with a towel, then wait 30 seconds and look again. If you see new water, you have a leak.
Leak at the sink flange? The putty didn’t seal properly. You’ll need to remove the disposal, scrape out the old putty, and redo it. Not fun, but it’s the right fix.
Leak at the P-trap connection? Tighten the slip nut another quarter turn. If it still leaks, you may have cross-threaded it. Loosen it, back it off, and try again, making sure it’s straight.
Leak at the dishwasher inlet? Tighten the hose clamp. If the hose is cracked, replace it.
Once you’ve confirmed no leaks, run the disposal a few more times with water flowing. Test it with some soft food waste—a banana peel, a small amount of cooked vegetables. Don’t throw in bones, fibrous stuff (celery, corn husks), or grease. That’s how disposals die early.
Maintenance to Keep It Running
A garburator lasts 8–15 years if you treat it right. Here’s how:
- Always run cold water when the disposal is on. Cold water keeps grease solid so it grinds up instead of coating the blades.
- Don’t put everything down there. Avoid bones, shells, fruit pits, fibrous vegetables, and grease. These jam the blades or create clogs downstream.
- Run it regularly, even if you don’t have much waste. A disposal that sits unused can rust internally.
- Clean it monthly by running ice cubes and rock salt through it, then flushing with hot water. This sharpens the blades and clears buildup.
- If it jams, turn it off immediately and don’t reach in. Use tongs or a flashlight to remove the blockage. If you can’t see it, call a plumber. A stuck disposal can overheat and burn out the motor.
According to Family Handyman’s garbage disposal troubleshooting guide, most issues stem from user error rather than equipment failure. Respect the machine, and it’ll serve you well.
For electrical safety, OSHA’s electrical safety guidelines recommend having a licensed electrician handle any hardwired installations. It’s not expensive, and it’s worth the peace of mind.
Frequently Asked Questions
Can I install a garburator myself, or do I need a plumber?
– Most homeowners can install a garburator in 1–2 hours with basic tools. You don’t need a plumber unless your sink configuration is unusual or you need a hardwired electrical connection (in which case, hire a licensed electrician for that part only). If you’re uncomfortable with any step, call a pro. It’s cheaper than fixing mistakes.
What’s the difference between a continuous-feed and batch-feed disposal?
– Continuous-feed disposals run while the switch is on and you feed waste in gradually. Batch-feed disposals require you to load waste, insert a stopper, and then run them. Batch-feed is safer (no accidental hand contact), but continuous-feed is more common and convenient. Choose based on your comfort level.
Do I need a dishwasher connection if I don’t have a dishwasher?
– No. Leave the cap on the dishwasher inlet. Removing it unnecessarily creates a leak point.
How much does it cost to install a garburator?
– A disposal unit costs $150–$500 depending on horsepower and brand. Installation is free if you DIY it. A plumber charges $200–$400 for labor. So DIY saves you money, but only if you’re confident in your skills.
My disposal is leaking from the bottom. Can I fix it?
– A leak from the bottom usually means the internal seals have failed. This isn’t a DIY fix—you need a new unit. However, if water is dripping from the connection points (flange, P-trap), tighten those connections first. If tightening doesn’t stop it, you may need to redo the flange seal with fresh putty.
What should I never put in a garburator?
– Avoid bones, fruit pits, shells, fibrous vegetables (celery, corn husks), grease, coffee grounds in large amounts, and non-food items. These jam the blades, create clogs, or damage the motor. Soft foods like fruit peels, cooked vegetables, and leftover meals are fine.
How do I know if my disposal is jammed?
– A jammed disposal won’t spin (you’ll hear a buzzing sound) or makes a grinding-metal screech. Turn it off immediately. Don’t force it. Use a flashlight to look down the drain and remove the blockage with tongs. If you can’t see anything, the jam is deeper—call a plumber.
Do I need a special outlet for a garburator?
– Most disposals plug into a standard 120V outlet with a GFCI (ground fault circuit interrupter) breaker. Some high-powered models need a dedicated circuit. Check your manual. If you’re unsure about electrical requirements, let an electrician handle the outlet installation. It’s not worth electrocuting yourself to save $100.
For more detailed plumbing guidance, This Old House’s disposal installation article offers step-by-step photos. And if you’re dealing with older plumbing, Bob Vila’s garbage disposal reviews can help you pick a unit that fits your home’s setup.
Bottom line: How to install a garburator is a manageable project for most homeowners. Take your time, follow the manual, and don’t skip the safety steps. A properly installed disposal works reliably for over a decade. Rush it, and you’ll be calling a plumber in six months.


