
Learning how to insert a Roblox character into Studio is one of the first skills you’ll need as a game developer. Whether you’re building your first obby, designing a roleplay world, or creating a combat game, getting a character model into your workspace is the foundation everything else builds on. The good news? It’s not complicated once you understand the workflow. This guide walks you through every method—from using pre-made templates to importing custom characters—so you can get your character into Studio and start building around it.
Understanding Roblox Studio Basics
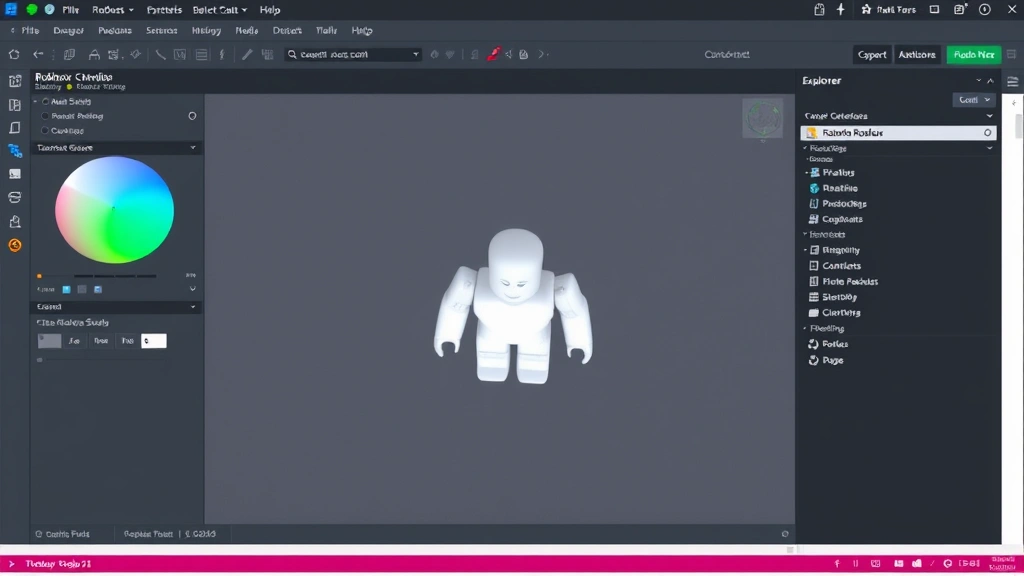
Before you insert anything, you need to know what you’re looking at. Roblox Studio is the development environment where all games are built. Think of it like a 3D workspace where you can place objects, write code, and test gameplay. When you open Studio, you’ll see the main viewport in the center, the Explorer panel on the right (showing your game’s hierarchy), and the Properties panel below it.
The character you insert becomes a Model in your workspace—essentially a folder containing multiple parts (head, torso, limbs) and scripts that make it animate and respond to player input. Understanding this structure is crucial because you’ll often need to modify these parts later (changing colors, adding accessories, adjusting hitboxes).
One thing that trips up beginners: there’s a difference between inserting a character model for testing and inserting a character that players will spawn as when they join your game. We’ll cover both, but the core insertion process is the same.
Pro Tip: Always work on a copy of your game first. Test character insertion and modifications in a separate place before applying changes to your live game. It saves headaches when something breaks.
Using Built-In Character Templates
The easiest way to insert a Roblox character into Studio is using the built-in templates. Roblox provides a default humanoid character model that’s ready to use immediately.
Here’s how to do it:
- Open Roblox Studio and load your game or create a new one.
- In the top menu, click Insert.
- Look for Model or Character options (depending on your Studio version).
- Select Humanoid Description or Character Model from the dropdown.
- Click in your workspace to place the character.
This drops a basic character into your game—a simple humanoid with a head, torso, two arms, two legs, and a humanoid object that handles animations and health. It’s not fancy, but it works.
If you want something slightly more polished without hunting through the catalog, try the StarterPlayer approach. In the Explorer panel, expand StarterPlayer, then StarterCharacterScripts. This is where the default character template lives. You can clone this and modify it, or use it as a reference for building custom characters.
Safety Warning: Don’t delete the StarterCharacterScripts folder unless you know what you’re doing. It contains essential scripts that make your character work. If you mess it up, players won’t spawn correctly.
Inserting Characters from the Catalog
Roblox has a massive catalog of pre-made character models. Many are free; some are premium. Here’s how to browse and insert them:
- In Studio, go to the Home tab at the top.
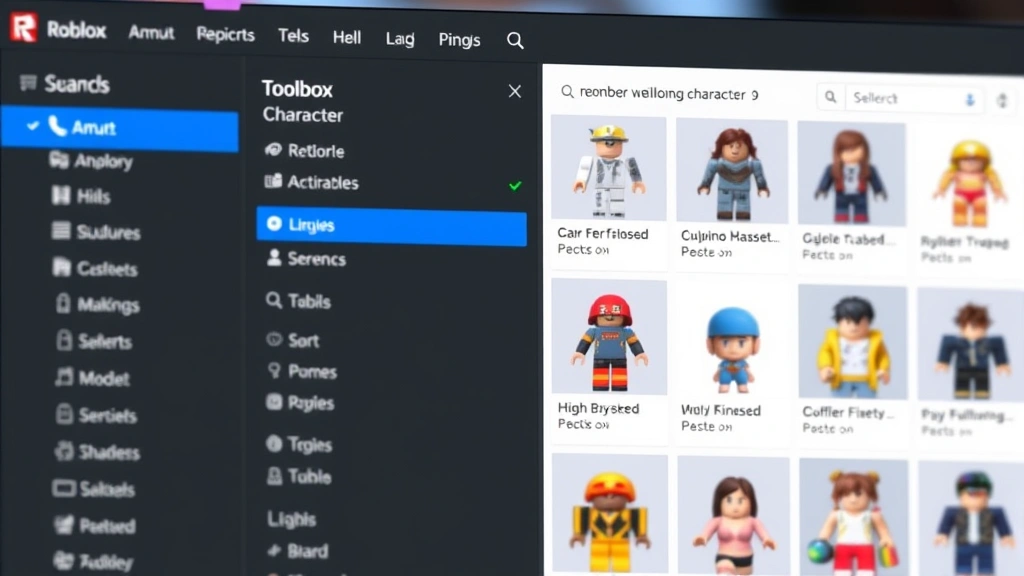
- Click Toolbox (you’ll see it on the left sidebar).
- In the Toolbox panel, make sure you’re viewing Models.
- Search for character names or types (e.g., “anime character,” “zombie,” “knight”).
- Browse results. Click on any model to see a preview.
- Click the model, then click in your workspace to insert it.
The catalog is genuinely useful. You’ll find everything from realistic humanoids to fantasy creatures. The quality varies—some models are professionally made; others are rough. Read the comments and check the creator’s other work to gauge quality before inserting.
One important note: many catalog characters are Models, not Humanoids. This means they might not have built-in animations or the ability to move around like a player character. If you find a cool-looking character but it doesn’t animate when you test it, you’ll need to add a Humanoid object and scripts to make it functional. We’ll cover that later.
For more detailed information on understanding game asset libraries, check out resources like Family Handyman’s approach to building foundations—the principle of understanding your base materials applies to game development too.
Adding Custom or Purchased Characters
If you’ve bought a character from a third-party creator or downloaded one from a modeling site, the process is slightly different.
Importing a Custom Character Model:
- Export your character model as an .rbxm file (Roblox Model format) or .obj file.
- In Studio, go to File → Insert Object.
- Navigate to your character file and select it.
- Click Open. Studio will import it into your workspace.
If you’re working with an .obj file (common for 3D models from Blender or Maya), Roblox will convert it automatically. However, the conversion isn’t always perfect—you might need to adjust textures, scale, or part positioning afterward.
Common issues with imported characters:
- Scale is wrong: The character might be tiny or massive. You can fix this by selecting the character and adjusting its Size property in the Properties panel.
- Missing textures: Sometimes colors don’t import correctly. You’ll need to manually re-apply textures or colors to each part.
- No animations: Imported models often lack the scripts and animations that make them move. You’ll need to add these manually or use a template as a base.
Here’s a real-talk moment: importing custom characters is where things get tricky. If you’re new to this, stick with catalog models or templates until you’re comfortable with Studio’s structure. Custom imports require knowledge of Roblox’s part system, scripting, and sometimes mesh editing.
Setting Up Your Character in the Workspace
Once you’ve inserted a character, you need to set it up properly so it works in your game. This involves a few key steps.
Step 1: Position Your Character
Characters spawn wherever you place them in the workspace. Use the Move tool (press W on your keyboard) to drag your character to where you want players to start. Make sure it’s standing on a solid surface (like a baseplate) so it doesn’t fall through the map when you test.
Step 2: Check the Humanoid Object
Select your character in the Explorer panel. Look for a Humanoid object inside it. This is what makes the character alive—it handles health, animations, and player input. If your character doesn’t have a Humanoid, it won’t work as a playable character.
If it’s missing, you can add one:
- Right-click the character model in the Explorer.
- Click Insert Object → Humanoid.
- Adjust the Humanoid’s properties (health, walk speed, etc.) in the Properties panel.
Step 3: Add a HumanoidRootPart
This is an invisible part that acts as the character’s center. It’s what the camera follows and what handles collision detection. Most characters come with this already, but if yours doesn’t:
- Right-click the character model.
- Click Insert Object → Part.
- Rename it to HumanoidRootPart.
- Set its Transparency to 1 (makes it invisible).
- Adjust its size to match your character’s body roughly.
Step 4: Parent Everything Correctly
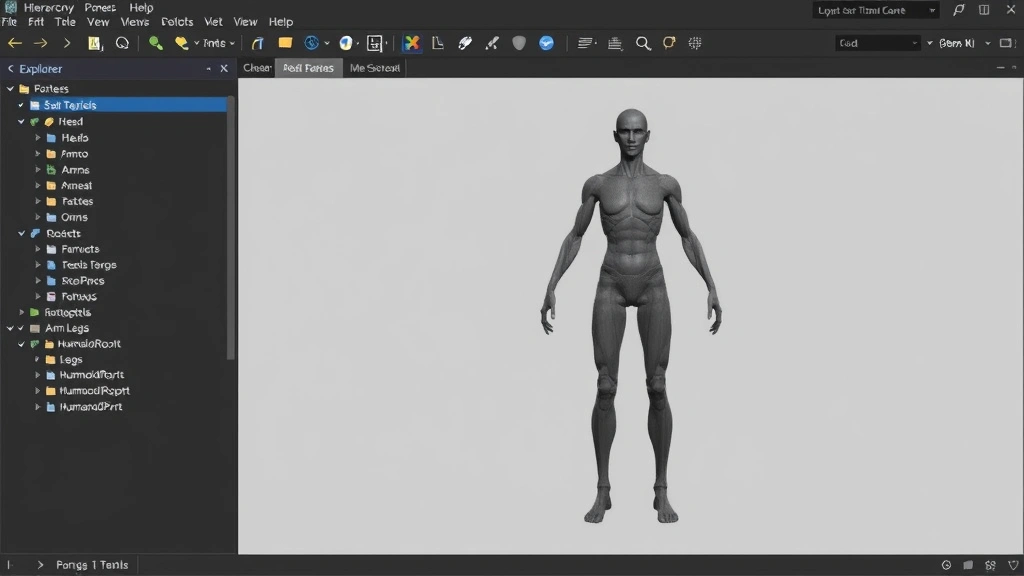
This is critical. In the Explorer panel, your character structure should look like this:
- Character (the main model folder)
- Head
- Torso
- Left Arm
- Right Arm
- Left Leg
- Right Leg
- HumanoidRootPart
- Humanoid
If parts are nested incorrectly or missing, the character won’t animate or move properly. This is where imported characters often fail—the hierarchy gets scrambled during import.
Pro Tip: Use the Humanoid Description feature to quickly set up a character with correct hierarchy. In the Insert menu, select Humanoid Description, then customize it. It’s faster than manually fixing an imported model.
Testing Your Character Model
Before you finalize anything, test your character in-game. This catches issues early.
How to test:
- Click the Play button at the top of Studio (or press F5).
- Your game will launch in a test window. If you’ve set up a spawn point correctly, your character should appear.
- Use WASD to move, Space to jump, and the mouse to look around.
- Check that animations work (walking, jumping, idle poses).
- Make sure the character doesn’t fall through the map or get stuck on geometry.
- Click Stop to exit test mode.
If your character doesn’t appear or moves strangely, check these things:
- Is there a spawn location? Add a SpawnLocation part to your workspace where you want players to appear.
- Does the Humanoid exist? Select the character and verify the Humanoid object is there.
- Is the character parented to Workspace? In the Explorer, the character should be under Workspace, not nested inside another model.
- Are animations loading? Check the Output console (View → Output) for error messages.
For more insight into testing workflows and best practices in development environments, This Old House’s approach to testing construction quality mirrors how you should test game mechanics—thoroughly and repeatedly.
Common Issues and Fixes
Character Is Invisible or Texture-Less
This usually means the model didn’t import correctly or textures failed to load. Try:
- Selecting each part and checking its Color property in the Properties panel.
- Re-downloading the character model from the catalog and re-inserting it.
- Manually applying colors or textures to each part.
Character Is Huge or Tiny
Scale issues are common with imported models. Fix it by:
- Selecting the entire character model.
- In the Properties panel, find the Size property.
- Adjust the X, Y, Z values proportionally (e.g., multiply all by 2 to double size).
- Test in-game to see if it looks right.
Character Won’t Move or Animate
This means the Humanoid isn’t connected to the parts properly. Check:
- That the Humanoid object exists inside the character model.
- That all body parts (Head, Torso, Arms, Legs) are parented to the character model, not nested elsewhere.
- That the HumanoidRootPart exists and is the right size.
- The Output console for error messages—they’ll tell you exactly what’s wrong.
Character Falls Through the Map
Your baseplate or spawn location might not have collision enabled. Make sure:
- The baseplate is solid (not transparent or set to CanCollide = false).
- There are no invisible parts blocking the spawn point.
- The character’s HumanoidRootPart size isn’t too small (it needs to detect the ground).
Animations Look Weird or Don’t Play
This happens when animation IDs are broken or missing. You can:
- Use the default Roblox animations (they’re built-in and reliable).
- Download animation packs from the catalog and apply them to your character.
- Write custom animation scripts if you know Lua scripting.
For deeper understanding of troubleshooting complex systems, Bob Vila’s systematic approach to problem-solving applies here—isolate variables, test one thing at a time, and document what works.
Frequently Asked Questions
Can I use the same character model multiple times in my game?
– Yes, absolutely. You can clone a character model and place multiple copies in your workspace. Each clone is independent, so you can customize them differently if needed. Just right-click the character in the Explorer and select Duplicate.
How do I make a character that looks different from the default humanoid?
– You have three options: (1) Use a pre-made character from the catalog, (2) Import a custom model, or (3) Modify the default character by changing part colors, sizes, and adding accessories. The easiest is option 1 if you find something you like.
Do I need to script anything for a character to work?
– Not for basic movement and animation. The Humanoid object handles that automatically. You only need scripts if you want custom behavior (special abilities, health systems, etc.).
What’s the difference between a character model and a humanoid?
– A character model is the visual representation (the parts you see). A Humanoid is the invisible object that controls how the character moves, animates, and responds to damage. You need both for a functional player character.
Can I insert a character that’s already rigged and animated?
– Yes. If you have a character from Blender, Maya, or another 3D tool that’s already rigged (bones set up for animation), you can export it as an .obj or .fbx file and import it into Studio. However, you’ll still need to add a Humanoid and connect it to the rig for it to work in Roblox.
Why does my imported character have wrong proportions?
– This usually happens because the original model was created at a different scale than Roblox expects. You can fix it by selecting the character and adjusting its Size property, or by re-exporting the model at the correct scale from your 3D software.
How do I change the character that players spawn as?
– In the Explorer, find StarterPlayer → StarterCharacterScripts. Replace the default character model here with your custom character. When players join your game, they’ll spawn as your custom character instead of the default.
Can I have multiple character options for players to choose from?
– Yes, but it requires scripting. You’d create a GUI (graphical user interface) that lets players select a character, then use scripts to spawn the appropriate character model. This is more advanced and requires knowledge of Lua scripting.
What if my character’s head is on backward or rotated wrong?
– Select the part in the Explorer, go to the Properties panel, and find the Rotation property. Adjust the X, Y, Z rotation values until it’s facing the right way. Common rotations are 0, 90, 180, and 270 degrees.
Is there a character size limit in Roblox?
– Technically no, but practical limits exist. Extremely large characters can cause performance issues. Most games keep humanoid characters between 5 and 10 studs tall (Roblox’s default unit). Anything much bigger or smaller looks odd and can break gameplay.


