

Learning how to grow vanilla beans might seem intimidating, but trust me—if you can keep a houseplant alive, you can cultivate these fragrant orchids in your own space. Vanilla is one of the most expensive spices on the planet, and growing it yourself means you’ll have fresh beans for cooking, baking, and that unmistakable vanilla extract you can’t find in stores.
Why Grow Vanilla Beans at Home?
Before we dig into the how-to, let’s talk about why this project is worth your time. Commercial vanilla production is concentrated in a few regions—Madagascar, Tahiti, and Mexico—making it pricey and sometimes hard to source quality beans. When you grow vanilla beans yourself, you control everything: no pesticides, no middlemen markups, and the satisfaction of using something you literally grew with your hands.
Plus, vanilla orchids are absolutely beautiful. The flowers are delicate and fragrant, and watching them bloom is genuinely rewarding. It’s not just about the end product; it’s about the journey.
Understanding Vanilla Bean Orchids: The Basics
Vanilla planifolia is the species that produces the vanilla beans we all know and love. It’s an orchid, which means it has specific needs—but nothing impossible. Unlike typical orchids you might see at a garden center, vanilla orchids are vining plants that need support and humidity. They’re tropical, so they love warmth and moisture.
The plant itself can grow 10-15 feet tall if you let it, though you can manage it in a container. The flowers are small, pale green, and bloom for just one day—that’s why hand-pollination is crucial for bean production. Without pollination, no beans. With proper care, a single vine can produce 50-100 beans per year once mature.
Setting Up the Perfect Growing Environment for Vanilla Beans
Temperature and humidity are non-negotiable when learning how to grow vanilla beans successfully. Vanilla orchids need daytime temperatures between 75-85°F and nighttime temps around 60-70°F. That 15-degree drop at night actually triggers flowering, so don’t skip it.
Humidity should sit between 50-70%. If your home is dry, use a humidifier or set your pot on a pebble tray with water. Mist the vines regularly, but avoid wetting the flowers directly—wet flowers can rot before they’re pollinated.
For light, vanilla orchids want bright, indirect light. An east or west-facing window is ideal. Six to eight hours of filtered sunlight daily keeps them happy. Direct afternoon sun can scorch the leaves, so use a sheer curtain if needed.
Choosing Your Growing Medium and Container
Vanilla orchids aren’t fussy about soil, but they hate sitting in water. Use an orchid bark mix—the chunky kind you find at garden centers. You can also blend orchid bark with sphagnum moss and perlite in equal parts. This creates airflow around the roots while retaining just enough moisture.
Your container needs drainage holes, obviously. A 6-8 inch pot works for a young plant, but as it grows, you might move it to a larger container or use a moss pole system where the vine climbs and aerial roots attach to moist moss. This mimics how vanilla grows in the wild, clinging to trees in tropical rainforests.
Watering and Feeding Your Vanilla Orchid
Water when the top inch of your growing medium feels dry. In growing season (spring and summer), that might be every 5-7 days. In winter, dial it back. The key is consistency—vanilla orchids don’t like drying out completely, but they’ll rot if waterlogged.
Use room-temperature water, preferably rainwater or distilled. Tap water works, but filtered is better if you’re in a hard-water area. Feed every two weeks during growing season with a balanced orchid fertilizer (like 20-20-20). Reduce feeding in winter to once a month.
For more detailed storage and preservation tips once you’ve harvested, check out our guide on how to store dry ice, which discusses proper temperature management for specialty items.
Hand-Pollinating Vanilla Flowers
Here’s where things get hands-on and honestly pretty cool. Vanilla flowers bloom early morning and close by afternoon. You’ve got one shot per flower to pollinate it. Use a small paintbrush or your fingertip to gently move pollen from the male part (anther) to the female part (stigma). It’s delicate work, but not difficult.
The flower has a little flap called a rostellum that naturally separates the male and female parts. When you hand-pollinate, you’re essentially doing the job that hummingbirds or specific bees do in nature. Once pollinated, the flower will close and begin developing into a bean pod over the next few months.

Timing matters. Pollinate in the early morning, ideally between 8-10 AM when flowers are fully open. Mark pollinated flowers with a small tag so you remember which ones to watch. Not every flower will set fruit—maybe 10-30% will develop into beans, which is totally normal.
Waiting for Bean Development and Maturation
After successful pollination, the bean pod develops slowly. It takes 6-9 months for a vanilla bean to mature on the plant. During this time, keep up your regular care routine. The pod will grow from a thin green stick to a plump, dark green bean about 6-8 inches long.
Don’t harvest early. Patience here separates great vanilla from mediocre stuff. When the bean starts turning yellowish at the tip, it’s getting close. Ripe beans have a slight give when you squeeze them gently and smell faintly vanilla-like.
Harvesting and Curing Your Vanilla Beans
Once your bean is mature, cut it from the vine with clean scissors. Now comes the curing process—this is what develops the actual vanilla flavor and aroma. Fresh vanilla beans taste bitter and have no scent.
The traditional method takes months. Blanch the bean in hot water (around 160°F) for 30 seconds, then wrap it in a towel and let it sweat for 24 hours. After that, lay it in the sun for several hours daily, then wrap it back up at night. Repeat this for 4-6 weeks until the bean is dark brown and pliable. It’s labor-intensive but produces the best results.
Alternatively, you can oven-cure at very low heat (around 140°F) for several hours, checking frequently. It’s faster but requires attention to prevent over-drying.
Troubleshooting Common Vanilla Growing Problems
Spider mites love vanilla orchids—watch for tiny webs on the undersides of leaves. Spray with neem oil if you spot them. Scale insects also show up sometimes; pick them off manually or use insecticidal soap.
If your flowers aren’t setting fruit, it’s usually a pollination issue. Make sure you’re hand-pollinating during the right window. Low humidity can also prevent flowering, so keep that mister handy.
Yellowing leaves often mean overwatering. Let the medium dry out a bit more between waterings. Brown leaf tips suggest low humidity or fluoride in tap water—switch to filtered or distilled.
For other household challenges that require patience and attention to detail, check out our guide on how to get rid of mouse in house—it teaches similar problem-solving skills.
Year-Round Care Calendar for Vanilla Orchids
Spring (March-May): Increase watering and feeding as new growth appears. Start hand-pollinating flowers as they bloom. This is your main growing season.
Summer (June-August): Maintain consistent humidity and warmth. Continue pollinating. Watch developing pods for any issues. Some beans may be ready to harvest late summer.
Fall (September-November): Reduce feeding gradually. Water slightly less as growth slows. Harvest mature beans and begin curing.
Winter (December-February): Minimal feeding and watering. The cooler nights trigger next year’s flowering. Keep humidity up despite lower temperatures.
Making Vanilla Extract at Home
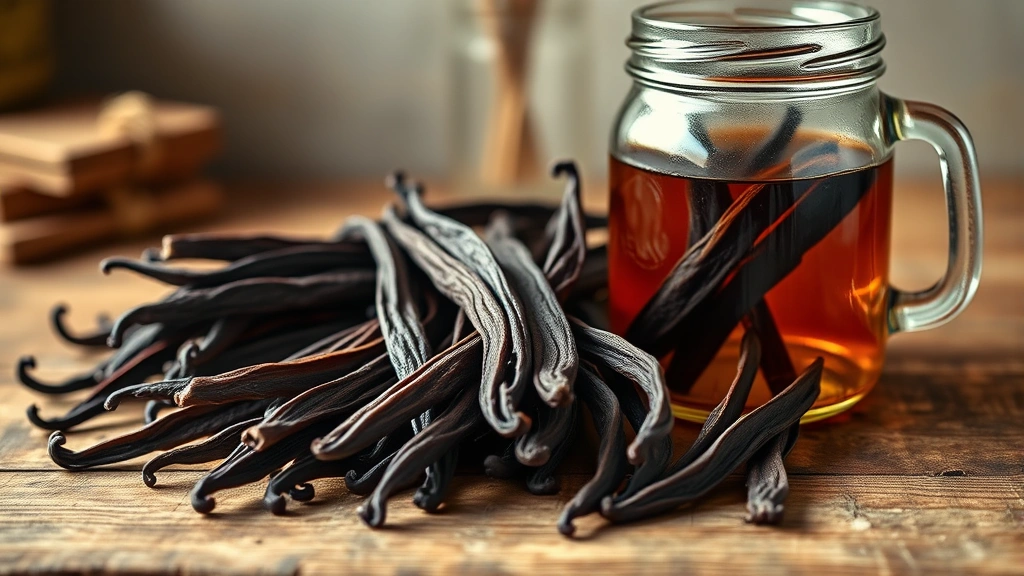
Once you’ve cured your beans, the real magic happens when you make extract. Split a cured bean lengthwise and scrape out the tiny seeds. Put the split bean and seeds in a glass jar with vodka or other high-proof alcohol (at least 35% ABV). Use roughly one bean per cup of alcohol.
Seal the jar and store it in a cool, dark place. Shake it occasionally. After 3-6 months, you’ll have beautiful, fragrant vanilla extract that tastes infinitely better than store-bought. It keeps indefinitely, getting better with age.
If you’re interested in culinary projects using your homegrown vanilla, our article on how to make ramen in the microwave includes tips on infusing flavors into dishes.
Scaling Up: Growing Multiple Vines
Once you’ve mastered one vine, you might want more. Multiple vines increase your bean yield and give you flexibility with staggered harvests. They also pollinate each other’s flowers if they’re close together, though hand-pollination is still more reliable.
Space vines so they get adequate air circulation. A greenhouse or grow tent with controlled humidity and temperature makes managing multiple plants easier. You can also propagate vanilla orchids from cuttings—take a 12-inch section with aerial roots and pot it up in your orchid bark mix.
Frequently Asked Questions
How long does it take to get beans from a new vanilla orchid plant?
Most vanilla orchids take 3-4 years to mature enough to flower reliably. Once flowering starts, it takes another 6-9 months for beans to develop and cure. So patience is essential—this isn’t a quick project. But once your plant is established, it’ll produce for decades.
Can I grow vanilla beans in a cold climate?
Vanilla needs consistent warmth, so in cold climates, you’ll need a greenhouse or controlled indoor space. A grow tent with a heat mat and humidity dome works well. You can’t leave it outside year-round in zones below 10, but you can absolutely grow it indoors anywhere.
Why do vanilla beans cost so much if I can grow them myself?
Commercial vanilla production is labor-intensive. Each flower must be hand-pollinated, beans are cured for months, and yields per plant aren’t huge. Plus, there’s a limited supply from a few regions, which keeps prices high. Growing at home eliminates middlemen, but you’re still putting in significant work.
Do I need more than one vanilla plant to get beans?
No, one plant is fine. You hand-pollinate the flowers yourself, so you don’t need a second plant for cross-pollination. Multiple plants increase your yield, but a single mature vine can produce 50-100 beans annually.
What’s the difference between vanilla planifolia and other vanilla species?
Vanilla planifolia produces the classic vanilla flavor we all know. Vanilla tahitensis has a slightly fruity note and is grown in Tahiti. Vanilla pompona is larger but less aromatic. For home growing and traditional vanilla extract, stick with planifolia—it’s the most reliable and flavorful.
Can I use artificial pollination methods instead of hand-pollinating?
Hand-pollination with a brush or finger is the most reliable method for home growers. Some people try vibrating the flowers with an electric toothbrush, but it’s less effective. The traditional method works best and honestly isn’t that time-consuming once you get the hang of it.
Conclusion: Your Vanilla Growing Journey Starts Now
Learning how to grow vanilla beans is a rewarding long-term project that combines horticulture, patience, and culinary payoff. You’re not just growing a plant; you’re producing one of the world’s most valuable spices in your own home. Start with one healthy orchid plant, nail the basics of temperature and humidity, hand-pollinate those flowers, and let time do its thing.
The first year or two might feel slow, but once your plant matures and starts producing, you’ll have fresh vanilla beans that make every baked good, dessert, and cup of coffee taste better. Plus, you’ll have an amazing story about where your vanilla came from. Ready to start? Grab a vanilla orchid and get growing.


