
If you’re tired of typing the same email addresses over and over, or you’re managing a team and need to send updates to everyone at once, you need to know how to create a distribution list in Outlook. It’s one of those features that saves you massive amounts of time once you understand it—but it’s also one that a lot of people overlook or get stuck on.
Here’s the real talk: setting up a distribution list takes maybe five minutes, but it’ll save you hours every month. Whether you’re coordinating with a project team, sending newsletters, or just keeping a group of friends in the loop, a distribution list is your shortcut to sanity.
What Is a Distribution List in Outlook?
A distribution list (also called a distribution group) is basically a saved collection of email addresses bundled under one name. Instead of manually adding five, ten, or fifty people to an email every single time, you just type one name. Think of it like a speed dial for email.
The beauty here is flexibility. You can create distribution lists for:
- Department teams (Marketing, Sales, HR)
- Project groups (Website Redesign Team, Q4 Planning Committee)
- Regular contacts (Monthly book club, family group, friends list)
- Client lists or vendor groups
- Event attendees or volunteer coordinators
When you send an email to a distribution list, everyone on that list gets a copy. It’s not a group chat—it’s just a way to blast emails efficiently. And here’s a pro tip: if someone replies to an email sent to a distribution list, only the sender sees the reply (unless they hit “Reply All,” which is a whole different conversation).
One thing to note: distribution lists work best when you’re using Outlook with a Microsoft Exchange account (like an Office 365 or corporate email account). If you’re using a basic Outlook.com account, you have fewer options, but we’ll cover that too.
How to Create a Distribution List in Outlook (Windows)
Let’s walk through the Windows version first, because this is where most people are working.
Step 1: Open Outlook and Head to Contacts
Launch Outlook and click on the “People” icon in the bottom-left navigation bar (or go to File > Open & Export > Open Outlook Data File if you need to access your contacts folder). You should see your Contacts folder appear.
Step 2: Create a New Contact Group
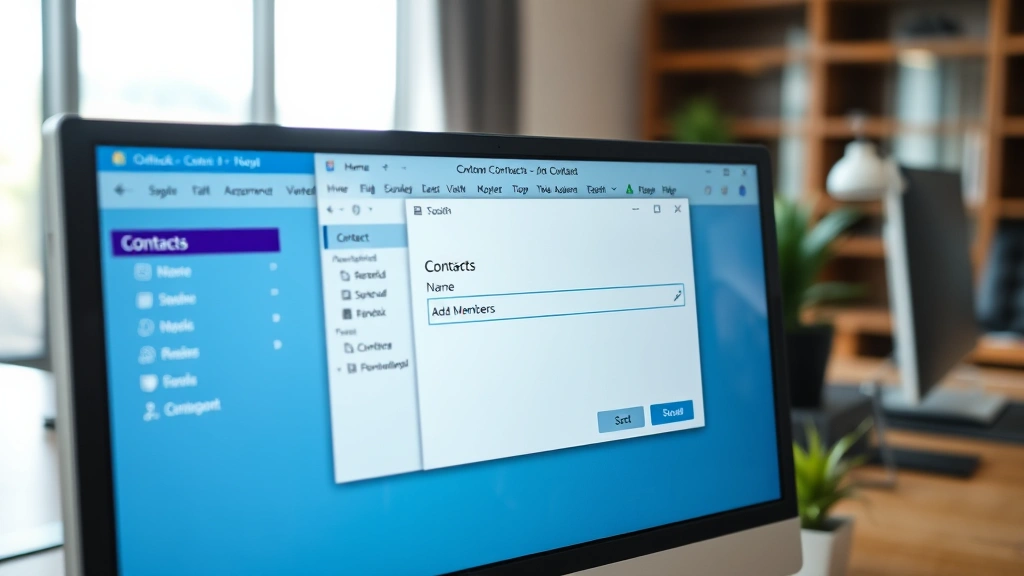
Right-click in the empty space of your Contacts folder and select “New Contact Group.” Alternatively, you can go to the Home tab at the top and click “New Contact Group” (it might be labeled “New Group” depending on your Outlook version).
Step 3: Name Your Distribution List
A dialog box will pop up asking you to name your group. Be descriptive. “Team” is vague. “Marketing Team Q4 2024” or “Client Update List – Johnson Account” is much better. You’ll thank yourself later when you’re scrolling through dozens of lists.
Step 4: Add Members
Once you’ve named your group, click “Add Members” (or the plus icon, depending on your version). You’ll get options:
- From Outlook Contacts: Select people already in your contacts folder
- From Address Book: Search your company’s Global Address List (GAL) if you’re on Exchange
- New Email Contact: Type in an email address for someone not yet in your contacts
Click whichever option applies, then select the people you want to add. You can add multiple people at once by holding Ctrl and clicking each name.
Step 5: Save Your Distribution List
Once you’ve added everyone, click “OK” and then “Save & Close.” Your distribution list is now live and ready to use.
How to Create a Distribution List in Outlook (Mac)
The Mac version is slightly different, but just as straightforward.
Step 1: Open Contacts
Click on the “People” icon at the bottom of the Outlook window. This opens your Contacts view.
Step 2: Create a New Group
Go to File > New > Contact Group. (Or use the keyboard shortcut: Command + Shift + G.)
Step 3: Name and Customize
A new contact group window opens. Type your group name in the “Name” field. You’ll see options to add notes or customize settings—feel free to skip these unless you want to add context.
Step 4: Add Members
Click the plus (+) icon at the bottom of the window. A dialog appears where you can search for and select contacts from your address book. Again, you can multi-select by holding Command and clicking multiple names.
Step 5: Finish Up
Once you’ve added everyone, close the window. Mac will prompt you to save—click “Save,” and you’re done.
Important Mac Note: On Mac, if you’re using an Exchange account through your company, you might have the option to create a “Distribution Group” (which syncs across your organization) versus a “Contact Group” (which is local to your computer). For personal or small team use, a Contact Group is usually fine. For company-wide distribution, ask your IT department about creating an Exchange Distribution Group.
Adding and Managing Contacts in Your Distribution List

After you’ve created your distribution list, you’ll likely need to add, remove, or swap out members. This is where things get really practical.
Adding New Members Later
Double-click your distribution list to open it. Click “Add Members” again and follow the same process as before. You can add as many people as you need—there’s no hard limit, though sending to lists with 500+ people can sometimes trigger spam filters, so keep that in mind.
Removing Members
Open the distribution list, find the person you want to remove, right-click their name, and select “Delete” (or just click their name and hit the Delete key). Save the list when you’re done.
Organizing Large Lists
If you’re managing multiple distribution lists, consider creating nested lists. For example, you might have a “Company” list that contains “Marketing,” “Sales,” and “Operations” sub-lists. This takes a bit more setup but saves time when you need to email multiple departments at once. Just add the sub-lists as members of the master list.
Here’s a pro tip from the field: keep your distribution lists updated. Dead email addresses and people who’ve left the team clutter things up and can cause delivery issues. Set a quarterly reminder to audit your lists and clean out inactive members.
Using Your Distribution List to Send Emails
This is the payoff moment. Using your distribution list is almost embarrassingly simple—that’s the whole point.
Sending an Email to Your List
- Click “New Email” to start composing a message
- In the “To” field, start typing the name of your distribution list
- Outlook will auto-complete and show you the list name—click it to select it
- Type your subject and message, then hit Send
Everyone on that list gets the email. Done.
Checking Who’s on a List Before Sending
If you want to verify who’s actually going to receive your email before you hit Send, hover over the distribution list name in the “To” field. A small popup will show you the member count. To see the full list, click the arrow next to the list name in the recipient field, and it will expand to show everyone.
Combining Multiple Lists in One Email
You can add multiple distribution lists to a single email. Just keep typing names in the “To” field, separating them with semicolons. So if you want to email both your “Marketing Team” and “Client Contacts” lists, you’d put both names in the To field. Everyone gets one email.
Security and Privacy Consideration
When you send to a distribution list, recipients can see the list name but not necessarily all the other members (depending on your Outlook settings and company policy). If you want to keep member lists private, check with your IT department about how your organization handles distribution list visibility. For sensitive communications, you might also want to explore how to encrypt email in Outlook to ensure your messages stay confidential.
Editing and Deleting Distribution Lists
Lists aren’t permanent. You can modify or remove them whenever you need.
Editing an Existing List
Go to your Contacts folder, find the distribution list you want to edit, and double-click it. From here, you can:
- Change the list name (click in the name field and edit)
- Add new members (click “Add Members”)
- Remove members (select and delete)
- Add notes or change other settings
When you’re done making changes, click “Save & Close.”
Deleting a Distribution List
If you no longer need a distribution list, right-click it in your Contacts folder and select “Delete.” Outlook will ask you to confirm—click “Yes.” The list is gone, but it doesn’t affect any emails you’ve already sent to that list.
Archiving vs. Deleting
Here’s a workflow tip: instead of deleting old lists, consider renaming them with a date prefix, like “[ARCHIVE] 2023 Q3 Planning Committee.” This way, you can still reference them if needed, but they’re clearly inactive. Keep these archived lists in a separate folder if your Outlook setup allows it.
Common Issues and Troubleshooting
Even straightforward features hit snags sometimes. Here are the most common problems and how to fix them.
Distribution List Not Showing Up When I Type It
This usually means Outlook hasn’t indexed it yet, or it’s saved in a folder Outlook isn’t searching. Try:
- Wait a few minutes and try again (Outlook sometimes needs time to index)
- Go to File > Options > Advanced > Search and check that your Contacts folder is being indexed
- Restart Outlook
- If you’re on an Exchange account, make sure the list was created in the right location (ask your IT team if you’re unsure)
Getting “Undeliverable” Errors When Sending to the List
This usually means one or more email addresses in your list are invalid or the account has been deleted. Open the list and check for typos. If an address looks correct but still fails, try removing that contact and re-adding them with the correct email.
You might also want to review our guide on how to stop getting spam emails, since sometimes delivery issues are related to email filtering or spam settings.
Can’t Edit a Distribution List (Greyed Out Options)
If you’re on an Exchange account, you might be trying to edit a company-wide distribution group that only your IT department can modify. Check with them before assuming it’s broken. If it’s a personal contact group and it’s still greyed out, try:
- Right-click the list and select “Edit” instead of double-clicking
- Make sure you’re not trying to edit it while an email is being composed (close that email first)
- Restart Outlook
Distribution List Shows Different Members for Different People
This can happen if you’re sharing a list name with someone else on your Exchange network, or if you’ve created a local contact group that syncs across devices differently. On Exchange accounts, talk to IT about whether you need a company-managed distribution group instead. For personal lists, make sure you’re using unique, specific names to avoid confusion.
List Works on Desktop but Not on Mobile
Outlook mobile apps have limited distribution list support. If you’ve created a local contact group (not an Exchange distribution group), it might not sync to your phone. Create an Exchange distribution group through Outlook Web Access or ask your IT team to do it for you. This ensures it works everywhere.
According to Microsoft’s official Outlook support documentation, distribution lists are one of the most underutilized features for improving email efficiency. The same principle applies across email platforms—proper email organization saves time and reduces the risk of missed communications.
Frequently Asked Questions
Can I create a distribution list in Outlook.com or Hotmail?
– Outlook.com and Hotmail have a feature called “Contact Groups” which works similarly to distribution lists, but with fewer features. You can create them by going to Contacts > New Contact Group. However, if you need advanced features like nested groups or Exchange integration, you’ll need an Office 365 or corporate email account.
What’s the difference between a distribution list and a contact group?
– Technically, “distribution list” usually refers to Exchange-based lists (managed by IT departments for companies), while “contact group” refers to local lists you create in Outlook. In practice, they work the same way for most users. For this guide, we’ve used the terms somewhat interchangeably because the end result is the same: you type one name and email goes to multiple people.
Can I see who’s on a distribution list after I send an email to it?
– Yes. Open the email you sent, and in the “To” field, click the arrow next to the distribution list name. It will expand to show all recipients. You can also open the list itself from your Contacts folder to see the full member list anytime.
How many people can I add to a distribution list?
– Technically, there’s no hard limit in Outlook itself. However, email providers and corporate systems often have limits (commonly 500–5,000 members depending on your setup). If you’re managing a huge list, check with your IT department about best practices. Also, very large lists can sometimes trigger spam filters, so consider breaking them into smaller, logical groups.
What happens if someone on my distribution list has an invalid email address?
– When you send an email to the list, Outlook will try to deliver to that address and fail. You’ll get a non-delivery report (NDR) for that specific address. Go back into your distribution list, find the bad address, and either correct it or remove that contact. Then resend if needed.
Can I password-protect a distribution list?
– Not directly. However, if you’re concerned about who can edit your list, make sure you’re the only one with access to your Contacts folder. For company-wide distribution groups managed by IT, they can set permissions so only certain people can modify the list.
Do distribution lists work with Outlook’s mobile app?
– Yes, but only if they’re Exchange-based distribution groups. Local contact groups created on your desktop might not sync to mobile. If you’re relying on distribution lists across devices, ask your IT department to set up an Exchange distribution group, or use an Office 365 account where groups sync automatically.
Can I export a distribution list to share with someone else?
– Exporting is a bit manual. The easiest way is to have the other person create the same distribution list and add the members themselves, or you can right-click the list, select “Copy,” and paste it into an email (though this might not work perfectly depending on your Outlook version). For company lists, IT can usually handle sharing distribution groups more cleanly.
What if I want to send an email to a distribution list but hide the list name from recipients?
– Put the distribution list in the “Bcc” (Blind Carbon Copy) field instead of “To” or “Cc.” This way, recipients won’t see the list name or who else received the email. This is useful for newsletters or announcements where you want to protect member privacy. Just remember that if someone clicks “Reply All,” their reply will only go to you, not the entire list.
Can I create a distribution list that includes other distribution lists?
– Yes. This is called nesting. Add another distribution list as a member of your main list. For example, you could create a “Company” list that includes “Marketing,” “Sales,” and “Operations” lists. When you email the Company list, everyone in all three sub-lists gets it. This is powerful for large organizations but can get confusing, so document your structure.
How do I know if my distribution list is synced across all my devices?
– If it’s an Exchange-based distribution group, it will sync automatically. If it’s a local contact group, it might not sync to mobile or other computers. To be safe, create lists on the device you use most, and if you need them everywhere, ask your IT department to set up an Exchange distribution group. You can also test by creating the list on your desktop and checking if it appears on your phone after a few minutes.
One last thing: distribution lists are a small feature with big payoff. Once you’re in the habit of using them, you’ll wonder how you ever managed email without them. Start with one list for your most frequent email group, get comfortable with the process, then expand from there. The time you save will add up fast.


