
Building an enchantment table in Minecraft sounds intimidating if you’ve never done it before. But here’s the real talk: it’s actually one of the most straightforward crafting recipes in the game, and once you understand the “why” behind each ingredient, you’ll never forget how to do it. This guide walks you through everything you need to know to craft an enchantment table, gather the right materials, and set up a functional enchanting station that’ll boost your gameplay for the long haul.
What Is an Enchantment Table?
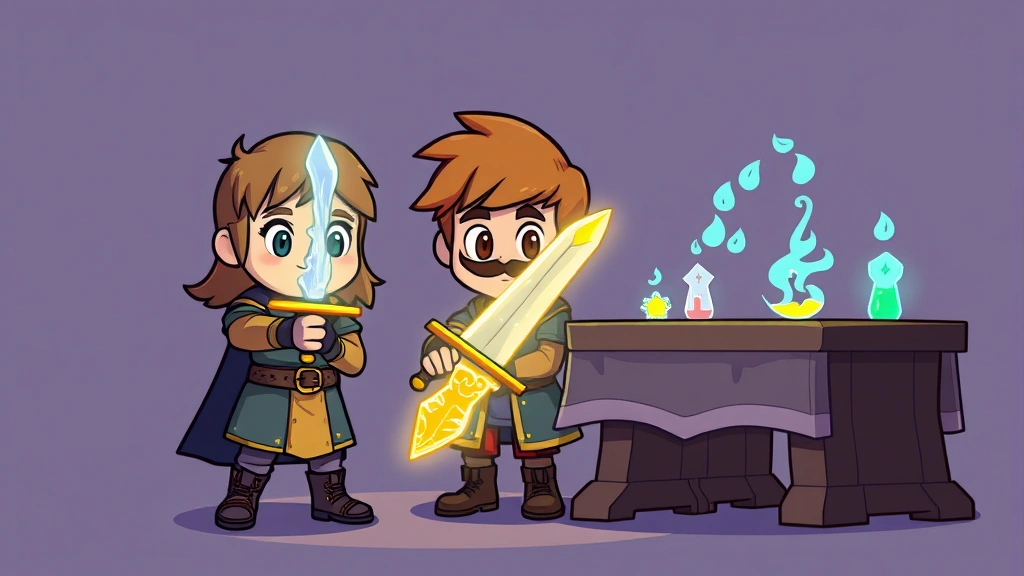
An enchantment table is a block in Minecraft that lets you apply magical enhancements to your tools, weapons, and armor. Think of it like a workbench for adding superpowers to your gear. When you place an item in the enchantment table’s interface, you’ll see three random enchantment options at different cost levels (measured in experience levels). The higher the cost, the better the enchantment tends to be.
The enchantment table itself is purely decorative and functional—it doesn’t do anything special just sitting in your world. You need to interact with it to see the enchantment options. This is different from, say, making paper mache, where the final product stands on its own. Your enchantment table is a tool you’ll use repeatedly.
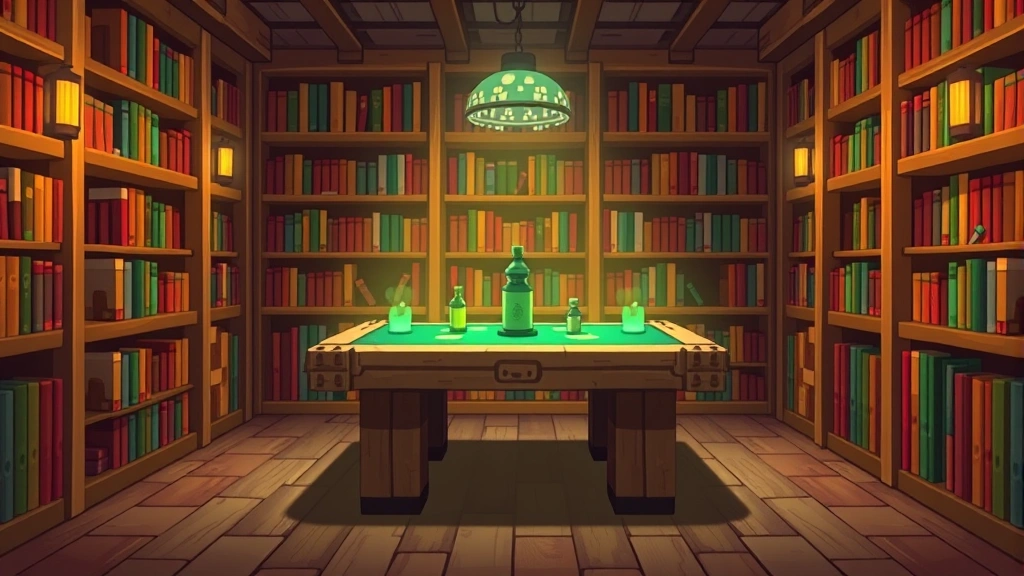
Pro Tip: Enchantment tables look awesome in a library or study room. They fit perfectly into fantasy-themed builds, but they’re also functional enough to place in your main base without looking out of place.
Materials You’ll Need to Craft an Enchantment Table
Here’s what you need to gather before you can craft an enchantment table. This is the make-or-break step—get the wrong stuff, and you’re stuck. Get it right, and you’re five minutes away from enchanting.
- 1 Book – This is your key ingredient. You can craft a book from 3 pieces of paper and 1 piece of leather, or find books in villages, strongholds, and libraries. Paper comes from sugar cane (3 sugar cane = 3 paper), and leather drops from cows, horses, llamas, and donkeys.
- 2 Diamonds – These are the premium materials that make the enchantment table special. Mine them from diamond ore at Y-level 16 and below (in newer versions). A pickaxe with at least iron quality is required to break diamond ore.
- 4 Obsidian – Obsidian forms when water meets flowing lava. You can mine it with a diamond or netherite pickaxe. It’s heavy and slow to break, but it’s essential for this recipe. You’ll often find obsidian in the Nether or by creating your own obsidian farm.
Total recipe: 1 Book + 2 Diamonds + 4 Obsidian = 1 Enchantment Table
The real bottleneck for most players is gathering diamonds. If you’re early-game and don’t have diamonds yet, focus on mining deep. According to mining best practices from Family Handyman, consistency and the right technique matter. In Minecraft, that means strip mining or branch mining at the right Y-levels.
Step-by-Step Crafting Instructions
Once you have all four ingredients, the actual crafting is quick. Here’s how to do it:
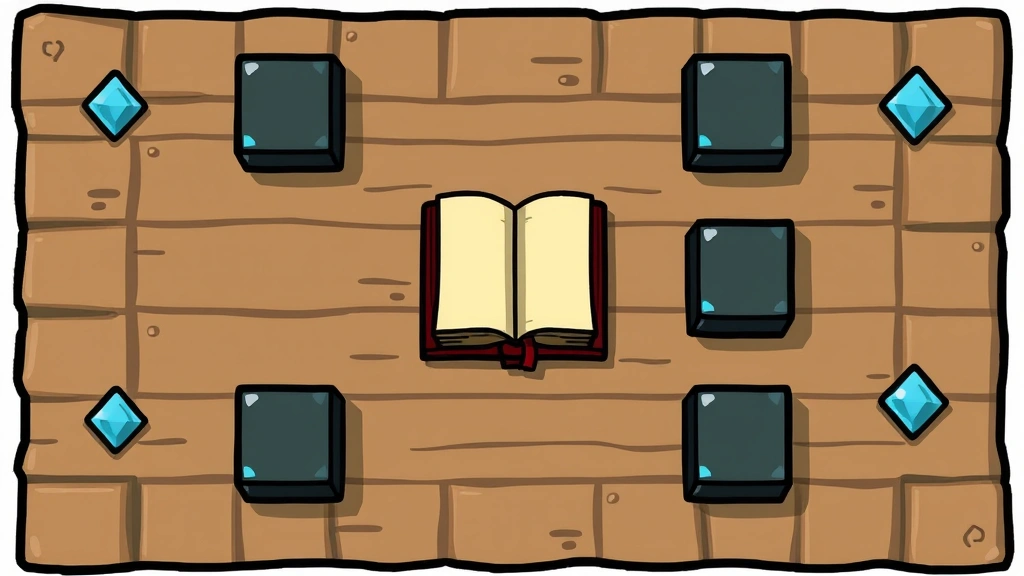
- Open your crafting table. Right-click (or interact with) a crafting table to open the 3×3 grid.
- Arrange the obsidian. Place obsidian in all four corner slots of the crafting grid (top-left, top-right, bottom-left, bottom-right). Corners only—the middle and edge slots stay empty.
- Place the book in the center. Put your book in the very middle slot (the 5th slot) of the crafting grid.
- Place the diamonds. Put one diamond in the middle-left slot and one diamond in the middle-right slot. These flank your book on either side.
- Collect your enchantment table. The enchantment table will appear in the result slot on the right. Click it to grab it, and it’s yours.
That’s it. Seriously. The whole process takes maybe 10 seconds once you’ve got the ingredients lined up.
Safety Note (Real-World Parallel): Just like following a woodworking plan to the letter prevents mistakes, following the exact slot arrangement for the enchantment table recipe matters. One wrong placement and the recipe won’t work. Double-check your grid before clicking.
How to Place and Set Up Your Enchantment Table
After you’ve crafted your enchantment table, you need to place it somewhere useful. This isn’t just about aesthetics—placement affects functionality.
- Choose a location. Pick a spot in your base where you’ll have easy access. A dedicated room, library, or workshop area works great. Make sure there’s enough space around it so you can walk up and interact with it from any angle.
- Place the block. Hold the enchantment table in your hotbar, aim at the ground or a block where you want it, and right-click. The table will place immediately.
- Add bookshelves nearby. This is crucial. Bookshelves boost your enchantment table’s power. Place them in a 1-block radius around the table (including diagonals). Each bookshelf adds enchantment power, up to a maximum of 15 bookshelves for full effect.
- Test it out. Right-click the enchantment table with an item you want to enchant (a sword, pickaxe, armor, etc.). You should see three enchantment options. If the options look weak, you need more bookshelves.
The bookshelf placement is where most new players mess up. They’ll craft an enchantment table, place it, and wonder why the enchantment options are terrible. The answer is always: “You need more bookshelves.” Each bookshelf must be directly adjacent (horizontally or diagonally) to the table, with nothing blocking the line of sight between them.
Understanding Enchantment Power Levels
Your enchantment table has an invisible “power level” that determines what enchantments you can access. This power level is calculated based on how many bookshelves surround your table.
- 0 bookshelves: Power level 0. You get weak enchantments only.
- 1-5 bookshelves: Power level increases gradually. Enchantments improve but are still limited.
- 6-10 bookshelves: Power level reaches 10-20. Much better enchantments become available.
- 11-15 bookshelves: Power level maxes out at 30. This is the sweet spot. You unlock the best enchantments in the game, including level V enchantments like Sharpness V or Efficiency V.
The three enchantment options you see are also based on the experience level you have. Higher experience levels unlock better options, even if the power level is maxed. So if you’re level 5, you might see weak options even with 15 bookshelves. But at level 30+, you’ll see the cream of the crop.
Pro Tip: Build your enchanting room with space for 15 bookshelves from day one. You don’t need to place them all immediately, but having the framework ready means you can expand as you gather more books. It’s like building a garage with extra wall space for future tool storage—planning ahead saves frustration.
Pro Tips for Optimizing Your Enchanting Station
Bookshelf Efficiency: You only need 15 bookshelves maximum for full power. Don’t waste resources building 20 or 30. Fifteen is the magic number. Arrange them in a 2-block-high ring around your table for a clean look and maximum coverage.
Combine with an Anvil: An anvil lets you combine enchanted items and repair them. Pair your enchanting table with an anvil nearby for a complete enchanting station. You can create powerful gear by combining multiple enchanted items.
Use a Grindstone Nearby: A grindstone removes enchantments from items. Sometimes you’ll enchant something and get a terrible result. Instead of throwing it away, pop it in a grindstone to strip the enchantment and reclaim some experience. Then re-enchant it.
Farm Experience Efficiently: The best enchantments cost 30 experience levels. To afford them, you need to farm XP. Mob grinders, furnace smelting, and fishing all give experience. According to This Old House’s approach to planning projects, thinking ahead about your XP farm before you need it saves time. Build one early if you plan to enchant a lot of gear.
Enchantment Luck: The three options you see are random. If you don’t like the options, close the enchantment table and try again. Each time you interact with it, new options appear. This is RNG (random number generation), so sometimes you’ll get lucky and sometimes you won’t. Patience is key.
Silk Touch vs. Fortune: If you’re mining obsidian for more enchantment tables (or other builds), a pickaxe with Silk Touch will let you harvest obsidian blocks directly. A Fortune pickaxe boosts ore drops. Plan which enchantment you want before you start mining.
Common Mistakes to Avoid
Forgetting the Book: The book is the most overlooked ingredient. Players gather diamonds and obsidian, then realize they don’t have a book. Make a book early and keep spares in your storage system.
Placing Bookshelves Too Far Away: Bookshelves must be directly adjacent (1 block away) from the enchantment table. If they’re 2 blocks away or blocked by walls, they don’t count. Check your placement carefully.
Not Enough Bookshelves: This is the most common complaint. “Why are my enchantments so bad?” Answer: You need more bookshelves. Build up to 15 and your enchantments will be world-class.
Placing It in the Wrong Location: Don’t bury your enchantment table in a basement where you forget about it. Put it somewhere accessible and visible. You’ll use it constantly once you have it set up properly.
Using Wrong Pickaxe for Obsidian: You need a diamond or netherite pickaxe to mine obsidian. Stone, iron, and wooden pickaxes won’t work. If you try with the wrong tool, you’ll break the obsidian and lose it. Always use the right tool for the job.
According to Bob Vila’s Minecraft tips, planning your resource gathering before you start saves enormous amounts of time and frustration.
Frequently Asked Questions
Can you craft an enchantment table in Survival mode?
– Yes, absolutely. This guide is for Survival mode. In Creative mode, you can just grab one from the inventory. But in Survival, you need to gather the four ingredients and craft it yourself. That’s the fun part, honestly—the resource gathering makes the enchantment table feel earned.
How many enchantment tables do I need?
– Technically, you only need one. A single enchantment table with 15 bookshelves is powerful enough for any gear you’ll ever enchant. Some players build multiple tables for aesthetic reasons (like one in a library and one in a workshop), but functionally, one is plenty.
Do I need to be a certain level to use an enchantment table?
– No level requirement to use the table itself. However, the better enchantments require higher experience levels to afford. You need at least 30 experience levels to access the best enchantments. Grind mobs or use a furnace to build up XP.
What’s the difference between enchanting at level 30 vs. level 1?
– At level 1, you see weak enchantment options. At level 30, you unlock the highest-tier enchantments (level V). The power level of your enchantment table (determined by bookshelves) also matters, but having 30 levels is crucial for the best results.
Can you move an enchantment table after placing it?
– Yes. Break it with any pickaxe and it’ll drop as an item. Pick it up and place it wherever you want. No experience is lost, and the table retains its functionality.
Do bookshelves need to be in a specific pattern?
– No specific pattern required. As long as each bookshelf is within 1 block of the table (horizontally, vertically, or diagonally) and not blocked by solid blocks, it counts toward the power level. A ring around the table is the most efficient layout.
What enchantments are worth getting?
– Sharpness (for swords), Efficiency (for pickaxes), Protection (for armor), and Unbreaking (for any tool) are the most useful. Mending is incredibly valuable but can only be found in loot, not through enchanting. Silk Touch is essential for mining certain blocks like obsidian or ice.
Can you enchant enchanted items again?
– You can combine two enchanted items at an anvil to merge their enchantments, but you can’t re-enchant an already-enchanted item at the table. You’d need to strip the enchantment with a grindstone first.
How long does it take to gather materials for an enchantment table?
– If you’re mid-game with basic mining gear, probably 30 minutes to an hour. The bottleneck is finding two diamonds. Obsidian and books are easier to obtain. Early-game players might take longer, but by the time you can afford to spend time on this, you’ll have the resources.
Is there a faster way to get enchanted gear without an enchantment table?
– You can find enchanted items in loot chests (dungeons, temples, shipwrecks, etc.), but these are random and often not what you want. An enchantment table gives you control over what enchantments you get. Fishing also yields enchanted books, which you can apply to gear at an anvil. But an enchantment table is the most reliable method.
What if I place my enchantment table wrong and it’s not working?
– Check three things: (1) Do you have at least one bookshelf adjacent to the table? (2) Is the bookshelf not blocked by a solid block between it and the table? (3) Are you trying to enchant a valid item (not something that can’t be enchanted)? If all three check out, your table should work. If it still doesn’t, break the table and the bookshelves, then place them again more carefully.


