
Learning how to cook dried chickpeas is one of those kitchen skills that pays dividends forever. Once you master this straightforward technique, you’ll unlock access to dirt-cheap, protein-packed legumes that’ll transform your cooking game. Dried chickpeas cost a fraction of canned versions, taste better, and let you control the texture completely. Whether you’re building a batch for hummus, curry, salads, or just keeping them on hand for weeknight dinners, this guide walks you through every step without the fluff.
Table of Contents
Why Cook Dried Chickpeas
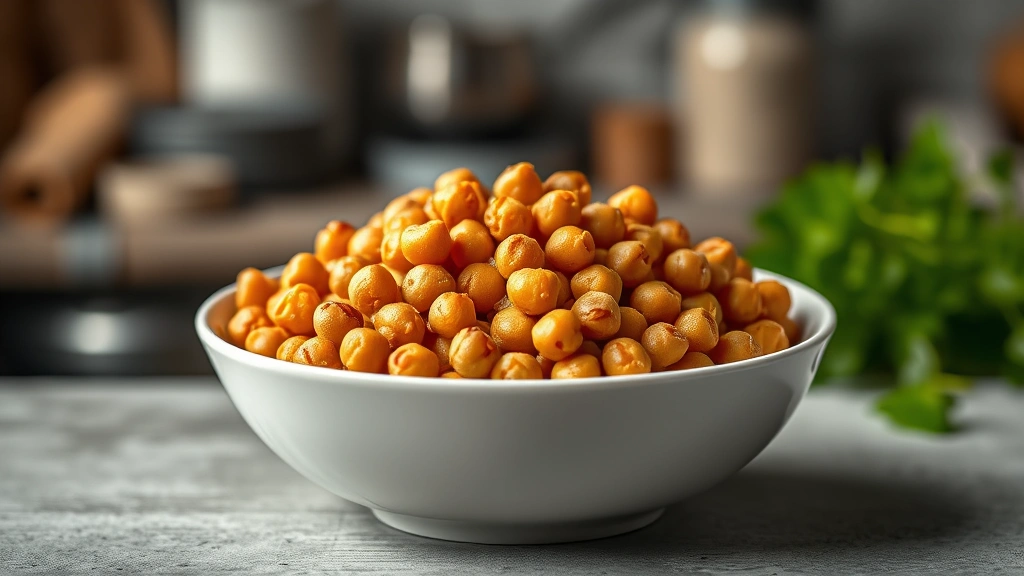
Let’s be real: canned chickpeas are convenient, but dried chickpeas are where the magic happens. A pound of dried chickpeas costs about two bucks and yields roughly six cups of cooked chickpeas. That same amount in cans? You’re dropping fifteen to twenty dollars easily. Beyond the wallet win, dried chickpeas let you nail the exact texture you want—creamy for hummus, firm for salads, or somewhere in between.
The flavor difference is noticeable too. Dried chickpeas have a cleaner, more delicate taste compared to the metallic tang some people detect in canned versions. Plus, you skip all those preservatives and excess sodium. Once you get comfortable with the process, you’ll batch-cook chickpeas like a pro and always have them ready to go.
Sorting and Rinsing Matters
Before anything else, dump your dried chickpeas onto a clean plate or shallow bowl. Spread them out and pick through them carefully. You’re hunting for rocks, shriveled beans, or debris that sneaked in during packaging. This takes five minutes and saves your teeth. It’s not glamorous, but it’s non-negotiable.
Once sorted, rinse the chickpeas thoroughly under cold running water. Use a fine-mesh strainer and let the water run clear. This removes dust and surface debris. Don’t skip this step—clean beans cook more evenly and taste better. The rinsing also helps reduce gas-producing compounds that some people find troublesome.
Two Soaking Methods Explained
Soaking is essential because it rehydrates the beans and reduces cooking time significantly. You’ve got two solid options here, and both work great.
Overnight Soak (The Easy Route): Place rinsed chickpeas in a large bowl and cover with cold water by about three inches. Let them sit at room temperature for eight to twelve hours or overnight. They’ll roughly double in size. Drain and rinse again before cooking. This method requires zero attention and fits naturally into meal prep routines.
Quick Soak (The Impatient Route): Combine rinsed chickpeas with water in a pot and bring to a boil. Let them boil hard for two minutes, then remove from heat. Cover the pot and let it sit for one hour. Drain and rinse. This method works just as well if you forgot to soak overnight, though some folks swear the overnight method produces slightly creamier results.
Either way, after soaking, your chickpeas should be noticeably plump. If any remain hard and shriveled, toss them—they won’t cook properly and might ruin the batch.
The Actual Cooking Process
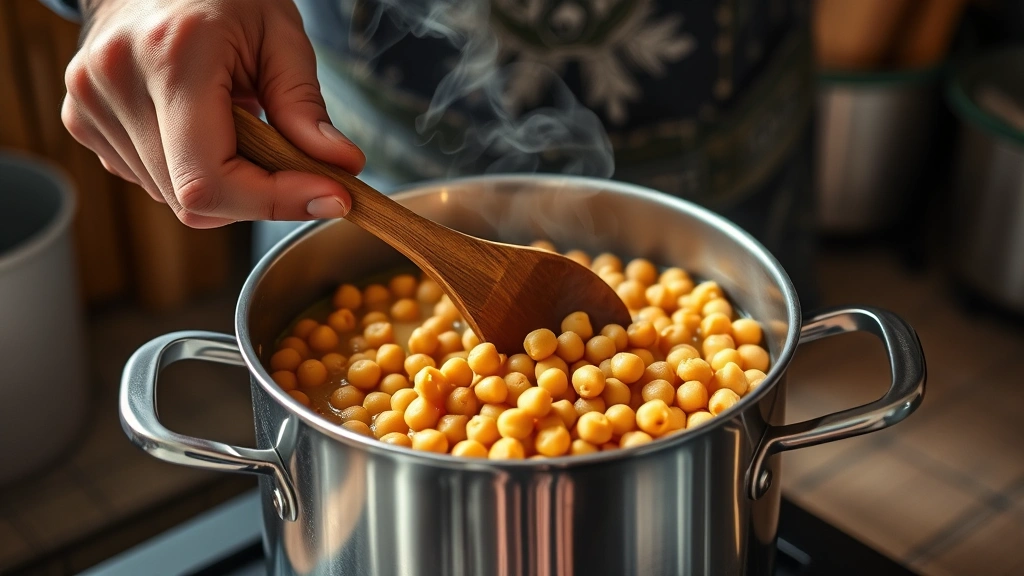
After soaking and draining, place your chickpeas in a large pot. Cover with fresh water by about two inches—don’t skip the fresh water step, as the soaking liquid contains compounds that can cause digestive issues. Bring to a boil over high heat.
Once boiling, reduce heat to medium-low and maintain a gentle simmer. Don’t cover the pot completely; leave the lid slightly ajar or use a partial cover. This prevents the pot from boiling over and allows steam to escape. Skim off any foam that rises to the surface during the first ten minutes of cooking.
Cooking time typically ranges from forty-five minutes to ninety minutes, depending on the age of your dried chickpeas and how soft you like them. Older beans take longer. Stir occasionally and check water levels—you want them just covered throughout cooking. If water gets low, add more hot water rather than cold.
For delicate dishes like aglio olio, you might pair cooked chickpeas alongside pasta, so consistency matters. Keep tasting as you go.
Testing for Perfect Doneness
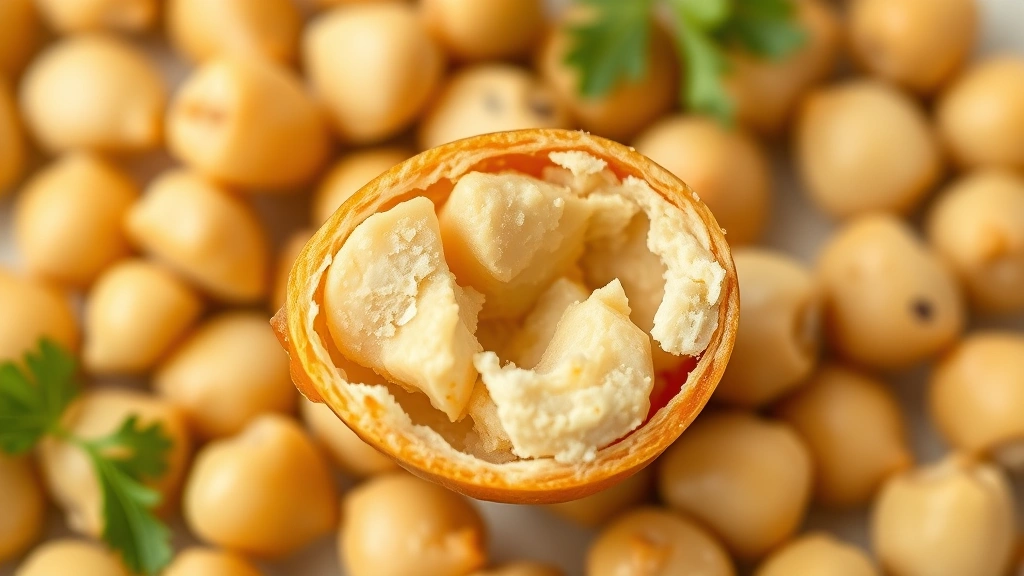
Around the forty-five-minute mark, start testing. Grab a chickpea and blow on it to cool it, then bite it. It should be creamy inside but not mushy. The skin should be intact but easy to break. If it’s chalky or hard in the center, keep cooking and test again in five to ten minutes.
The “spoon test” works too: press a cooked chickpea against the side of the pot with a spoon. It should break apart easily without resistance. If it’s still firm, give it more time.
Don’t overcook them. Mushy chickpeas fall apart when you stir them and create a gummy texture in dishes. It’s better to pull them slightly early than to fish out mush.
Storage and Make-Ahead Strategy
Once cooked and cooled, chickpeas keep in the refrigerator for up to five days in an airtight container, submerged in their cooking liquid. The liquid keeps them moist and prevents them from drying out.
For longer storage, freeze them. Drain cooked chickpeas, spread them on a baking sheet, and freeze until solid (about two hours). Transfer to freezer bags and they’ll last three to four months. No need to thaw before using—just add them straight to soups, stews, or curries.
Many home cooks batch-cook a big pot of chickpeas on Sunday and portion them into containers for the week. It’s a game-changer for weeknight cooking. Grab a container and you’re already halfway to dinner.
Common Problems Solved
Chickpeas Won’t Soften: This usually means they’re old. Dried chickpeas have a shelf life of about a year; older ones take much longer to cook. Try adding a pinch of baking soda (about 1/4 teaspoon) to the cooking water—it raises pH and speeds softening. Just don’t overdo it or they’ll fall apart.
Skins Slipping Off: If lots of skins are floating loose, your water is too hard or you’re cooking too vigorously. Use softer water if possible and maintain a gentle simmer. A little skin loss is normal; excessive loss means adjust your technique.
Still Crunchy After Hours: If you’re past ninety minutes and they’re still hard, the beans are likely too old or stored in poor conditions. Start fresh with a new batch. Old dried goods aren’t worth the frustration.
Too Mushy: You overcooked them. Next time, start testing at forty minutes and remove from heat the moment they’re tender. Remember, they’ll firm up slightly as they cool.
What to Make With Them
Cooked chickpeas are endlessly versatile. Make creamy hummus by blending them with tahini, lemon juice, garlic, and olive oil. Toss them into arroz caldoso recipes for extra protein and heartiness. Roast them with spices for a crunchy snack. Blend them into soups for body and nutrition.
Try them in grain bowls with roasted vegetables and tahini dressing. Add them to curries during the last fifteen minutes of cooking. Mash them into patties for veggie burgers. Toss them into salads for texture and staying power. Use them in al pastor recipe variations if you’re feeling creative with plant-based twists.
The beauty is that cooked chickpeas work in cuisines from Mediterranean to Indian to Middle Eastern. Once you’ve got a pot ready, inspiration hits naturally.
Frequently Asked Questions
Do I have to soak dried chickpeas?
Technically no, but you should. Unsoaked chickpeas take three to four hours to cook, while soaked ones take forty-five to ninety minutes. Soaking also reduces compounds that cause digestive discomfort and produces more even cooking. It’s worth the overnight wait.
Can I cook chickpeas in a slow cooker?
Absolutely. After soaking, add drained chickpeas to a slow cooker with fresh water (covering by two inches) and cook on low for six to eight hours or high for three to four hours. Slow cookers work great for batch cooking and free up your stovetop.
Why do chickpeas cause gas?
Dried legumes contain oligosaccharides, complex sugars your body struggles to digest. Soaking and rinsing removes some of these compounds. Cooking them thoroughly helps too. Starting with small portions and gradually increasing intake also helps your digestive system adapt.
How long do dried chickpeas last?
Properly stored dried chickpeas (cool, dry place in airtight containers) last about a year. After that, they’re still safe but take progressively longer to cook. Check the date on your package and use older stock first.
Can I use the cooking liquid?
Yes! That liquid, called aquafaba, is liquid gold for plant-based cooking. It whips into meringues, thickens soups, and works as an egg replacer in baking. Save it instead of discarding it.
What’s the difference between chickpeas and garbanzo beans?
They’re the same thing. Chickpea is the English name, garbanzo bean is the Spanish name. Both refer to Cicer arietinum. You’ll see them used interchangeably on packages and in recipes.
The Bottom Line
Cooking dried chickpeas isn’t complicated—it just requires patience and attention. Sort them, soak overnight or use the quick method, simmer until tender, and you’re done. The payoff in flavor, cost, and versatility makes this skill worth mastering. Start with a small batch to get comfortable with the timing and texture preferences, then scale up to batch cooking. Before long, you’ll have cooked chickpeas on hand like a seasoned home cook, ready to transform weeknight meals into something special. The technique is straightforward, the results are delicious, and your wallet will thank you.


