
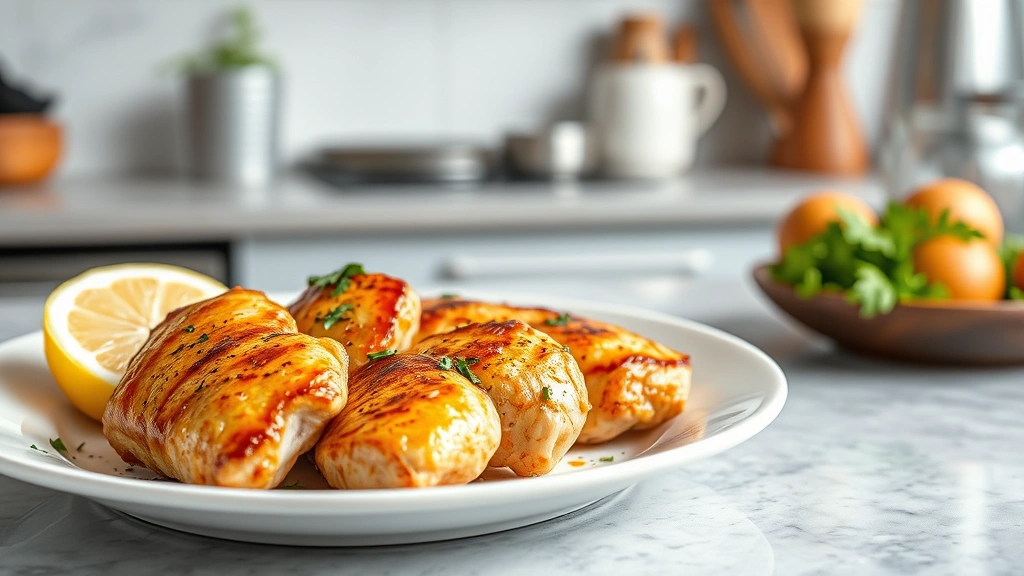
Learning how to cook chicken tenderloins is one of those kitchen skills that’ll make weeknight dinners way easier and way tastier. These little strips of tender chicken breast are forgiving, quick to cook, and honestly, they’re perfect whether you’re pan-searing them, baking them, or throwing them in an air fryer. I’m going to walk you through three solid methods that’ll get you consistently juicy, flavorful results every single time.
Table of Contents
Prep Work Matters Most
Before you even think about heat, you need to get your chicken tenderloins ready. Pull them out of the fridge about 15 minutes before cooking—this is non-negotiable if you want even cooking. Cold chicken straight from the package will cook unevenly, with the outside done before the inside gets warm.
Pat them completely dry with paper towels. Moisture is the enemy of browning, so don’t skip this step. If your tenderloins are thicker than about three-quarters of an inch, gently pound them to even thickness using a meat mallet. You want uniform thickness so they cook at the same rate. Season generously with salt and pepper right before cooking, not hours ahead—salt draws out moisture if you let it sit too long.
Pan-Searing for Golden Crust
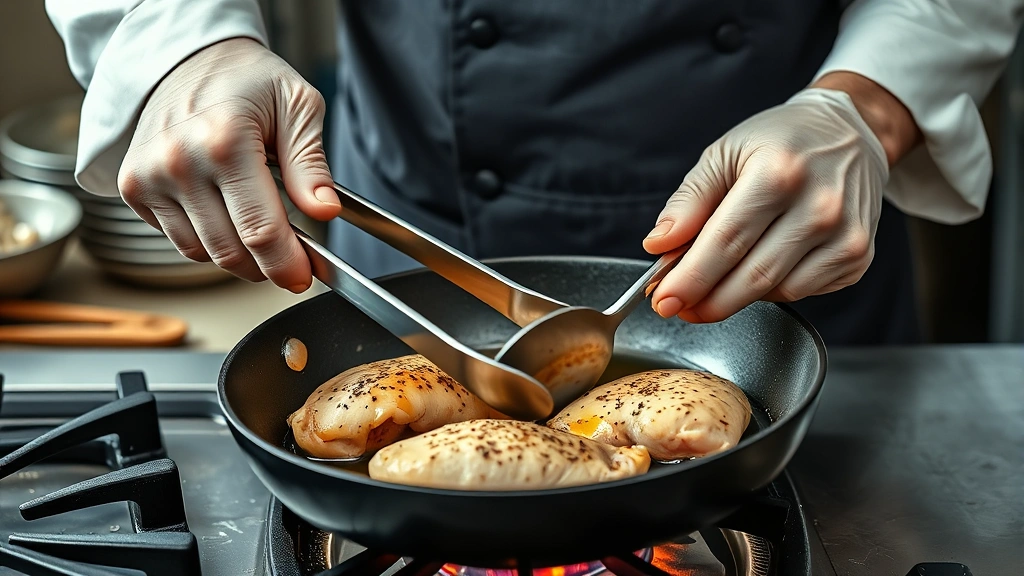
This is the method I reach for most often because it’s fast, gives you that beautiful golden crust, and you can build a sauce right in the same pan. Heat a skillet (cast iron or stainless steel works best) over medium-high heat for a solid minute. You want it hot enough that a drop of water sizzles immediately.
Add about a tablespoon of oil—vegetable, canola, or avocado oil all work. Once it shimmers, lay your tenderloins in the pan without moving them. This is crucial. Let them sit undisturbed for 4-5 minutes. You’re building that crust, and moving them around breaks it apart. Flip once, then cook for another 3-4 minutes on the second side.
The whole process takes about 8-10 minutes depending on thickness. If you’re cooking thicker pieces, you might need to lower the heat slightly and add another minute or two. After you pull them out, you can deglaze that pan with chicken broth or wine to make a quick pan sauce—perfect over rice or with steamed vegetables like how to steam carrots on the side.
Oven Baking the Easy Way
Baking is your friend when you’re cooking for a crowd or want hands-off cooking. Preheat your oven to 400°F. Line a baking sheet with foil or parchment paper—makes cleanup painless. Arrange your seasoned tenderloins in a single layer, making sure they’re not touching.
Drizzle lightly with oil—just enough to help them cook evenly and brown slightly. Bake for 12-15 minutes depending on thickness. You’re not looking for a crust like pan-searing gives you, but you’ll get gentle browning on the edges and perfectly cooked meat inside. This method is also great if you want to prep a batch for meal prep or add other ingredients to the sheet pan.
Consider adding vegetables to the same pan—bell peppers, zucchini, or onions work great. Just make sure everything is cut to similar sizes so it cooks evenly. You can finish with a drizzle of au poivre sauce recipe or your favorite seasoning blend like Cajun seasoning recipe.
Air Fryer Magic
If you’ve got an air fryer, this is honestly the easiest method. Set it to 380°F and preheat for 3 minutes. Arrange your tenderloins in the basket in a single layer—they can touch slightly but shouldn’t be stacked. Cook for 10-12 minutes, shaking the basket halfway through.
The air fryer gives you that crispy exterior without any oil (though a light spray doesn’t hurt), and the inside stays incredibly juicy. The circulating heat cooks them evenly and quickly. This method reminds me of how air fried tofu recipe works—the circulating hot air does the heavy lifting for you.
Seasoning and Flavor Builds
Simple salt and pepper is always solid, but you’ve got options. A light dusting of garlic powder and paprika adds depth without being complicated. If you want more punch, Cajun seasoning brings heat and complexity. Italian seasoning (oregano, basil, thyme) works beautifully if you’re serving them with pasta.
You can also marinate them for 30 minutes to an hour before cooking—a simple mix of olive oil, lemon juice, garlic, and herbs makes a huge difference. Don’t marinate longer than that or the acid starts breaking down the protein too much and you get mushy chicken. Dry rubs work great too: combine brown sugar, paprika, cumin, and chili powder for a sweet-spicy profile.
Getting Doneness Right
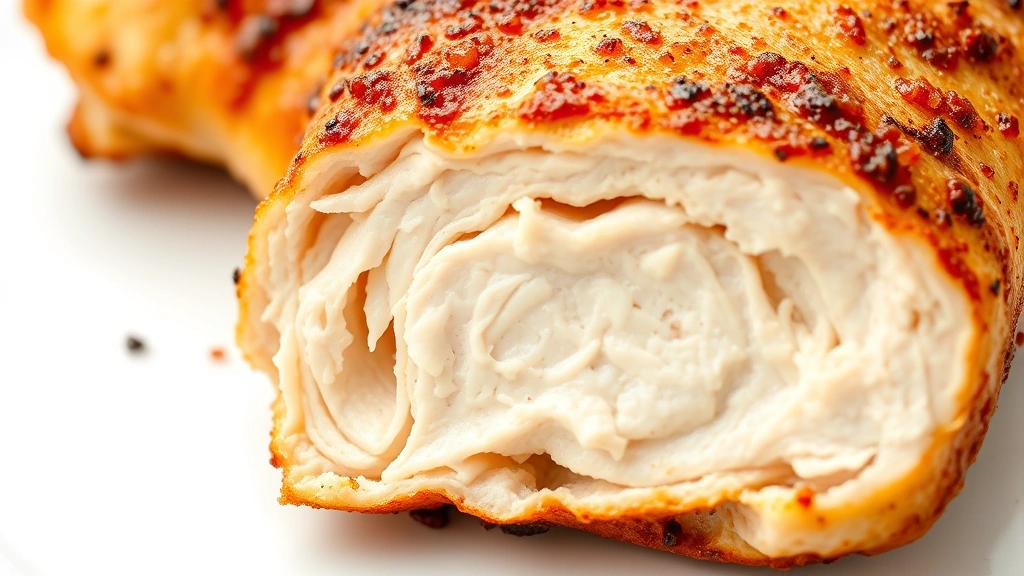
The only way to know for sure is with a meat thermometer. Chicken is safely cooked at 165°F internal temperature. Insert the thermometer into the thickest part of the tenderloin without touching the pan or baking sheet. This takes the guesswork out completely.
If you don’t have a thermometer, cut into the thickest piece—the juices should run clear and there should be no pink inside. The meat should be white throughout. Overcooked chicken is dry chicken, so don’t go much past 165°F. Even 5 degrees matters when you’re talking about tenderness.
Why Resting Matters
This is the step people skip and then wonder why their chicken is dry. After cooking, let your tenderloins rest for 5 minutes before cutting or serving. This allows the juices to redistribute throughout the meat instead of running all over your plate. It’s a small step that makes a real difference in the eating experience.
Tent them loosely with foil to keep them warm while resting. You can use this time to finish any sides or set the table. Five minutes might seem short, but it’s exactly what these smaller pieces need.
Storage and Leftovers
Cooked chicken tenderloins keep in the fridge for 3-4 days in an airtight container. They’re fantastic in salads, sandwiches, or chopped up for quick meals. You can also freeze them for up to 3 months—just let them cool completely first, then wrap individually before freezing to prevent sticking.
To reheat, use low heat in a skillet with a splash of broth, or warm them in a 350°F oven covered with foil for about 10 minutes. Microwaving works in a pinch but tends to dry them out more, so avoid it if you can.
Frequently Asked Questions
How long do chicken tenderloins take to cook?
Pan-searing takes 8-10 minutes, oven baking takes 12-15 minutes at 400°F, and air frying takes 10-12 minutes at 380°F. Exact time depends on thickness. Use a meat thermometer to check for 165°F internal temperature.
Can you cook frozen chicken tenderloins?
You can, but they’ll take longer and cook less evenly. Pan-searing frozen tenderloins takes about 15-18 minutes. Baking takes 18-22 minutes at 400°F. Thawing them first (even quickly in warm water) gives better results. Air frying frozen tenderloins works surprisingly well at 390°F for 15-17 minutes.
What’s the difference between tenderloins and chicken breast?
Chicken tenderloins are the small strip of meat on the underside of the chicken breast. They’re more tender naturally and cook faster because they’re thinner. A whole chicken breast is larger and takes longer to cook through.
Should you pound chicken tenderloins?
Only if they’re noticeably thicker than three-quarters of an inch. Gentle pounding helps them cook more evenly. Don’t pound them aggressively—you want to even out thickness, not pulverize the meat.
What’s the best oil for cooking chicken tenderloins?
Vegetable, canola, or avocado oil all work well. They have higher smoke points than olive oil, which is important for pan-searing at higher temperatures. Olive oil is fine for lower-heat methods or finishing.
Can you cook chicken tenderloins in a slow cooker?
You can, but they’ll be tender and moist rather than having any crust or browning. Cook on low for 2-3 hours or high for 1-1.5 hours. They’re better suited to the three methods I covered—they give you more texture variety.
The Bottom Line
Mastering how to cook chicken tenderloins gives you a reliable protein that works for weeknight dinners, meal prep, or quick lunches. Pan-searing gives you that restaurant-quality crust, baking keeps things simple and hands-off, and air frying is the fastest route if you’ve got the equipment. The key is proper prep, dry heat, and using a thermometer to nail the doneness. Start with whichever method fits your kitchen setup, and you’ll have perfectly cooked chicken every time. Pair them with sides like how to make ramen in the microwave for a complete meal, or get creative with toppings like fried pickles recipe for something different.


