
Learning how to cook buckwheat is one of those kitchen skills that opens up a whole world of nutritious, delicious meals. Whether you’re looking for a gluten-free grain alternative or just want to expand your cooking repertoire, buckwheat is a fantastic choice that’s easier to master than you might think. In this guide, I’ll walk you through everything you need to know to cook buckwheat like a pro, from selecting quality groats to troubleshooting common mistakes.
Table of Contents
Understanding Buckwheat Basics
Before diving into the how-to, let’s talk about what you’re actually working with. Despite its name, buckwheat isn’t wheat at all—it’s a seed from a flowering plant, making it naturally gluten-free. You’ll typically find it sold as groats (the hulled seeds) or as kasha (roasted groats). The roasted version has a deeper, nuttier flavor that many home cooks prefer, while raw groats offer a milder taste. Both work beautifully, but they cook slightly differently, so knowing which you’ve got is your first step to success.
Buckwheat has been a staple grain in Eastern European, Russian, and Asian cuisines for centuries. It’s packed with protein, fiber, and essential minerals, making it not just tasty but genuinely good for you. The nutty flavor pairs wonderfully with savory dishes, and it works equally well in breakfast bowls or as a side grain.
Choosing Quality Buckwheat Groats
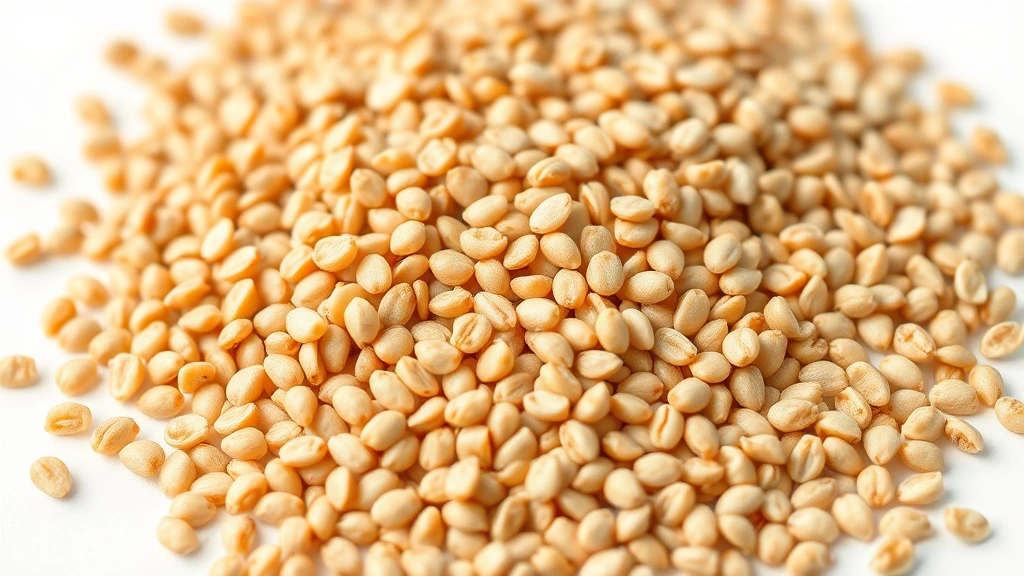
Not all buckwheat is created equal. When you’re at the store, look for groats that are uniform in color and free from debris. Fresh buckwheat should smell slightly earthy and nutty—if it smells musty or off, skip it. I always check the date on the package because buckwheat’s oils can go rancid over time, especially if it’s been sitting on a shelf for months. Buy from stores with good turnover, and consider specialty food shops or bulk sections where you can inspect the product before purchasing.
The difference between raw and roasted groats matters more than you’d think. Roasted kasha (the darker variety) has a more pronounced, toasty flavor and cooks slightly faster. Raw groats have a lighter, grassier taste. For beginners, I recommend starting with roasted kasha—it’s more forgiving and delivers better flavor without extra effort.
Essential Preparation Steps
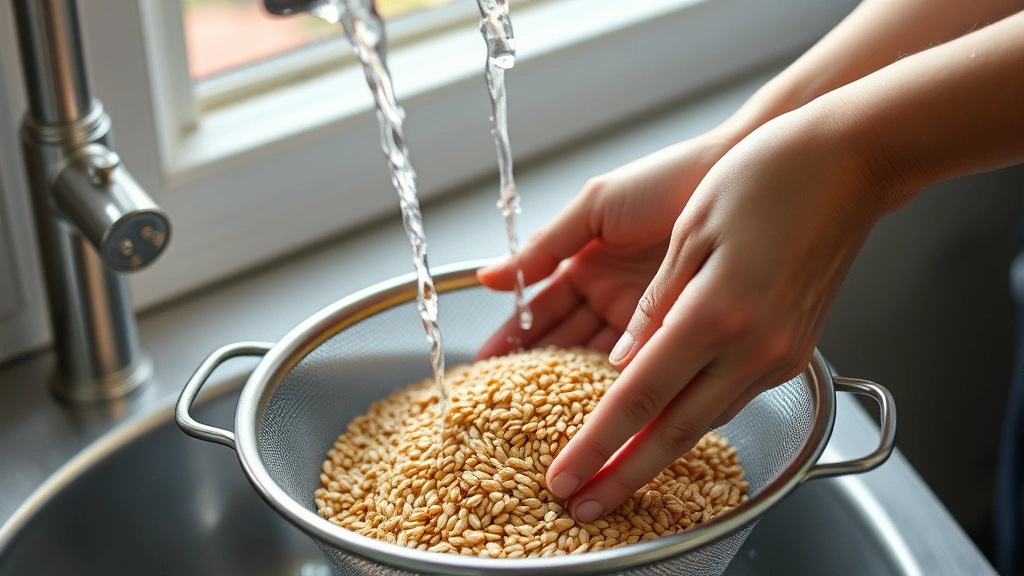
This is where many home cooks stumble. Buckwheat needs rinsing before cooking, and this step genuinely impacts your final result. Place your groats in a fine-mesh strainer and rinse under cool running water for about 30 seconds, stirring gently with your fingers. You’ll notice the water running off gets clearer—that’s debris and dust washing away. This rinsing removes any bitter compounds and helps prevent mushiness.
After rinsing, some cooks like to toast their groats in a dry pan for a minute or two before cooking. This extra step deepens the flavor and helps keep the grains separate. It’s optional, but if you want restaurant-quality results, it’s worth the 60 seconds of effort. Just stir constantly over medium heat until fragrant—don’t let them burn.
Water Ratio and Measurements
The golden ratio for how to cook buckwheat properly is 1 part groats to 2 parts water. This is your baseline, though you might adjust slightly depending on whether you like your buckwheat fluffy or slightly more tender. Some cooks prefer 1:1.75 for firmer grains, while others go 1:2.25 for softer results. Start with the standard 1:2 ratio, cook it once, and adjust next time based on your preference.
Measure your groats carefully. A standard measuring cup of dry groats (about 200 grams) will yield roughly 3 cups of cooked buckwheat. This is helpful when planning meals or batch-cooking for the week. For precision, a kitchen scale is your best friend—it removes guesswork and delivers consistent results every time.
Three Proven Cooking Methods
You’ve got options here, and each has merits depending on your kitchen setup and time constraints. The stovetop method is the most traditional and gives you the most control. The rice cooker method is foolproof if you’ve got one sitting on your counter. The instant pot method is fastest if you’re in a hurry. Pick whichever fits your workflow, but I’ll walk you through the stovetop technique in detail since it’s the most versatile.
All three methods start with rinsed groats and the correct water ratio. The difference is in heat management and timing. Whichever method you choose, the key is respecting the cooking time and resisting the urge to stir constantly—buckwheat needs a little undisturbed time to cook evenly.
Stovetop Cooking Technique
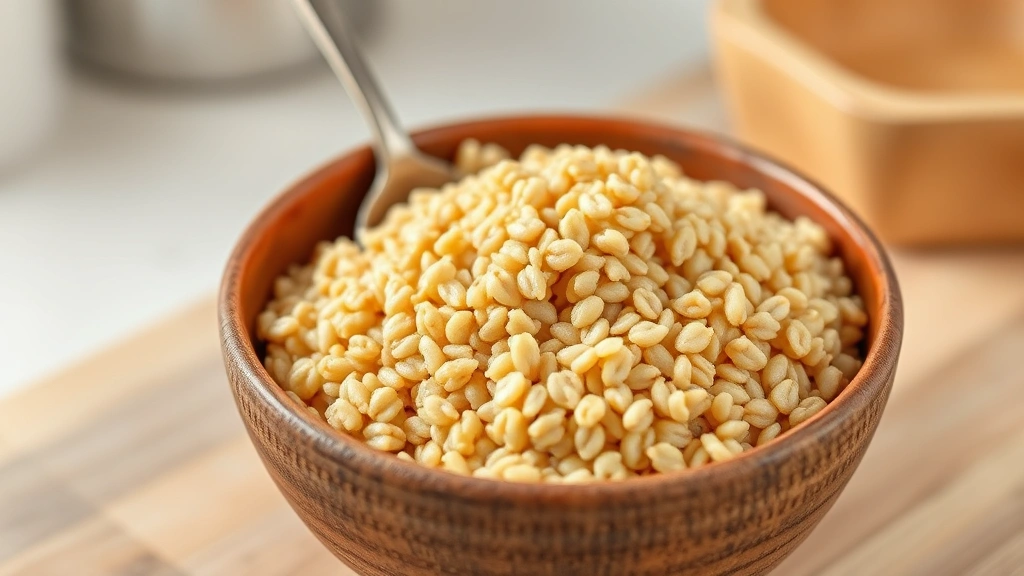
Bring your water to a boil in a medium saucepan over high heat. Add a pinch of salt (about ½ teaspoon per cup of groats) and your rinsed buckwheat. Stir once to distribute evenly, then reduce heat to low and cover with a tight-fitting lid. Set a timer for 15 minutes—this is critical. Resist the urge to peek or stir. The covered pot creates steam that cooks the groats evenly.
After 15 minutes, remove from heat but keep the lid on. Let it sit undisturbed for another 5 minutes. This resting period allows residual heat to finish cooking and helps the groats firm up. Remove the lid, fluff with a fork, and taste. The groats should be tender but still hold their shape, with a slight nutty bite. If they’re still too firm, add a splash of water, cover, and let sit another 2-3 minutes. If they’re mushy, you’ve either overcooked or used too much water—note this for next time.
Getting Perfect Texture
Texture is everything with buckwheat, and nailing it comes down to three factors: water ratio, cooking time, and resting period. Too much water and you get mush. Too little and you get crunchy, undercooked groats. The 1:2 ratio is your starting point, but variables like your stove’s heat output and your altitude can affect results.
If you consistently get mushy buckwheat, reduce water to 1:1.75 next time. If you get crunchy results, bump it up to 1:2.25. Keep notes in a kitchen notebook or your phone—this sounds obsessive, but after two or three batches, you’ll dial in your perfect ratio and never think about it again. The resting period after cooking is non-negotiable; it’s what separates mushy results from perfectly fluffy grains.
Storage and Make-Ahead Tips
Cooked buckwheat keeps beautifully in the refrigerator for up to 5 days in an airtight container. This makes it perfect for meal prep. Cook a big batch on Sunday, portion it into containers, and you’ve got grain bases ready for steamed vegetables, proteins, and sauces all week long.
You can also freeze cooked buckwheat for up to 3 months. Spread it on a baking sheet to freeze individually, then transfer to freezer bags. This way, you can thaw exactly what you need without defrosting a whole container. To reheat, add a splash of water and warm in a covered pan over low heat, or microwave in a covered bowl with a tablespoon of water for 2-3 minutes.
Raw buckwheat groats store well in a cool, dry pantry for several months, or in the refrigerator for up to a year. If you buy in bulk, transfer to airtight containers and label with the date. This prevents rancidity and keeps pests out.
Flavor Variations and Pairings
Plain cooked buckwheat is wonderful, but it’s also a blank canvas. Try cooking it in vegetable or chicken broth instead of water for instant flavor depth. Add a bay leaf, a few peppercorns, or a sprig of thyme to the cooking water. These aromatics infuse the groats without overpowering them.
For fall recipes, cook buckwheat in apple cider or add cinnamon and nutmeg. For Asian-inspired bowls, cook it in vegetable broth and finish with a drizzle of sesame oil and soy sauce. For Mediterranean preparations, finish with olive oil, lemon juice, and fresh herbs. The groats absorb flavors beautifully, so don’t be shy about seasoning the cooking water.
Buckwheat pairs wonderfully with roasted vegetables, grilled meats, and rich sauces. It’s hearty enough to serve as a main course base and subtle enough not to compete with delicate flavors. Think of it as the workhorse grain that plays well with others.
Frequently Asked Questions
Can I cook buckwheat in a rice cooker?
Absolutely. Use the same 1:2 water-to-groats ratio, rinse your groats first, and use the regular white rice setting. Rice cookers are incredibly reliable for this—just set it and forget it. The cooker will switch to warm when done, and your buckwheat will stay perfect for hours.
Why does my buckwheat taste bitter?
Bitterness usually means you skipped the rinsing step or didn’t rinse thoroughly enough. Always rinse buckwheat groats under cool water before cooking. Also, ensure you’re buying fresh product—old buckwheat can develop bitter, rancid flavors. If you’ve already cooked a bitter batch, try finishing it with a squeeze of lemon juice or a drizzle of good olive oil to balance the flavor.
Is buckwheat really gluten-free?
Yes, buckwheat is naturally gluten-free since it’s not a grain—it’s a seed. However, if you have celiac disease or severe gluten sensitivity, check packaging carefully. Some facilities process buckwheat alongside wheat products, which can cause cross-contamination. Look for certified gluten-free labels if this is a concern for you.
How much buckwheat should I cook per person?
Plan on about ½ cup of raw groats per person as a side dish, or ¾ cup if you’re serving it as a main course base. One cup of dry groats yields about 3 cups cooked, which serves 4-6 people as a side or 3-4 as a main.
Can I eat buckwheat raw?
Raw buckwheat groats are edible but tough and not particularly appetizing. Some people soak raw groats to sprout them, which increases nutritional value and makes them more digestible. But for eating as-is, cooking is definitely the way to go.
What’s the difference between buckwheat flour and groats?
Groats are whole seeds, while flour is ground buckwheat. You can’t substitute one for the other in recipes. Groats cook as a grain side dish; flour is used in baking. This guide focuses on groats, but if you’re interested in baking with buckwheat flour, that’s a different adventure entirely.
Final Thoughts
Mastering how to cook buckwheat is genuinely simple once you understand the fundamentals: rinse your groats, use a 1:2 water ratio, cook for 15 minutes covered, and let it rest. From there, you can build endless variations with different broths, seasonings, and pairings. Start with the stovetop method, nail your technique, and you’ll have a reliable, nutritious grain in your regular rotation.
The beauty of buckwheat is that it’s forgiving once you understand the basics. You’ll find your rhythm quickly, and soon you’ll be cooking it as naturally as rice or pasta. Pair it with creative grain bowls, serve it alongside hearty bean dishes, or use it as the foundation for vegetable-forward meals. The groats are ready when you are, and they’ll deliver consistent, delicious results every single time you cook them.


