
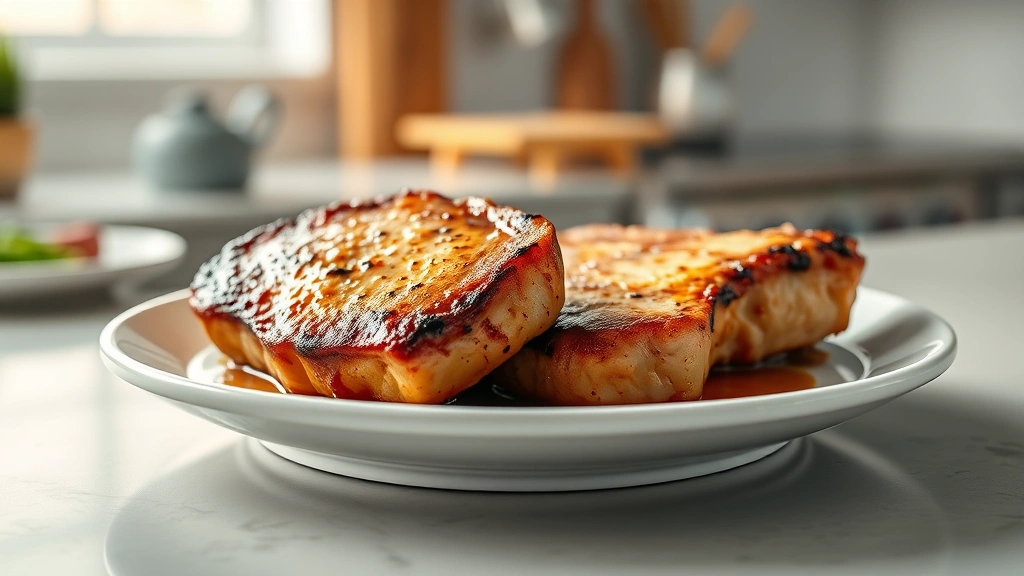
Learning how to cook boneless pork chops is one of those kitchen skills that separates dry, rubbery disasters from restaurant-quality dinners. The trick isn’t complicated—it’s about understanding your meat, respecting the cooking process, and knowing when to stop before you overcook the thing. I’ve made plenty of mistakes so you don’t have to, and I’m going to walk you through the exact methods that deliver juicy, tender results every single time.
Table of Contents
Choose Quality Chops
Before you even think about heat, you need the right raw material. Walk into your butcher counter and look for boneless pork chops that are at least three-quarters of an inch thick—thinner cuts dry out faster than you can blink. The meat should be pale pink with some marbling (those little white lines of fat running through), not bright red and not grayish.
Fresh is always better than frozen, but if you’re using frozen chops, thaw them properly in the refrigerator overnight. Never thaw at room temperature—that’s how bacteria throws a party on your dinner. Look for chops that feel firm to the touch and don’t have excess liquid pooling in the package. That liquid is a sign the meat’s been sitting around too long or has been thawed and refrozen.
Prep and Seasoning Basics
Take your chops out of the fridge 20-30 minutes before cooking. This matters more than most people realize. Cold meat doesn’t cook evenly, and you’ll end up with a gray band near the surface while the center’s still cold. Room temperature meat cooks consistently throughout.
Pat the chops completely dry with paper towels. Moisture is the enemy of a good sear—it creates steam instead of a golden crust. Season generously with salt and pepper on both sides, or use your favorite dry rub. I’m partial to a simple mix of kosher salt, cracked black pepper, and a pinch of garlic powder. Don’t be shy with seasoning; boneless pork chops need it.
Pan Searing Method
Heat a cast iron or stainless steel skillet over medium-high heat for about 2-3 minutes. You want it hot enough that a drop of water sizzles immediately but not smoking like a tire fire. Add a tablespoon of high-heat oil—I use avocado or vegetable oil, not olive oil which burns too easily.
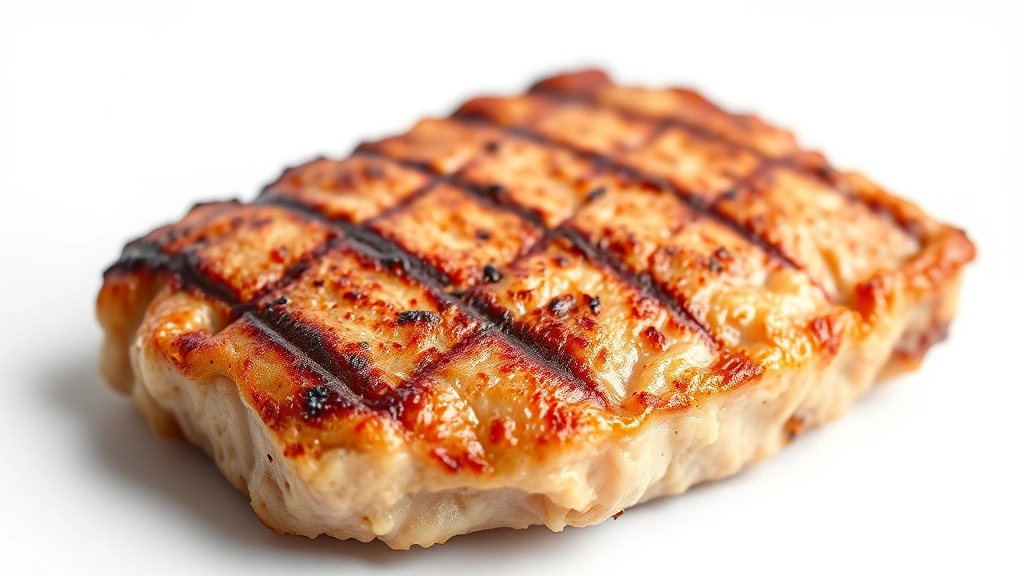
Once the oil shimmers, carefully place your seasoned chops in the pan. Don’t move them. Seriously, leave them alone for 3-4 minutes. This is when the Maillard reaction happens—that chemical process that creates the brown, flavorful crust. Flip once and cook another 3-4 minutes on the second side. The chops should have a rich golden-brown color, not pale or blackened.
For thicker chops (over an inch), you might need a hybrid approach. Sear them hard on both sides for the crust, then reduce heat to medium and finish cooking in the pan for another 5-7 minutes, turning occasionally. This prevents the outside from burning while the inside catches up.
Oven Finishing Technique
Here’s the pro move: sear your chops in the skillet, then transfer the whole pan to a preheated 400°F oven for 5-8 minutes. This gives you a perfect crust and ensures even cooking through the middle. The oven’s surrounding heat cooks the interior gently while the pan bottom stays in contact with the heat source.
If your skillet handle isn’t oven-safe (some plastic handles aren’t), transfer the chops to a baking dish after searing. Add a splash of broth or wine to the pan, then pop it in the oven. This method is especially forgiving because the oven’s gentle heat is harder to overcook with than direct stovetop flame.
Temperature is Everything
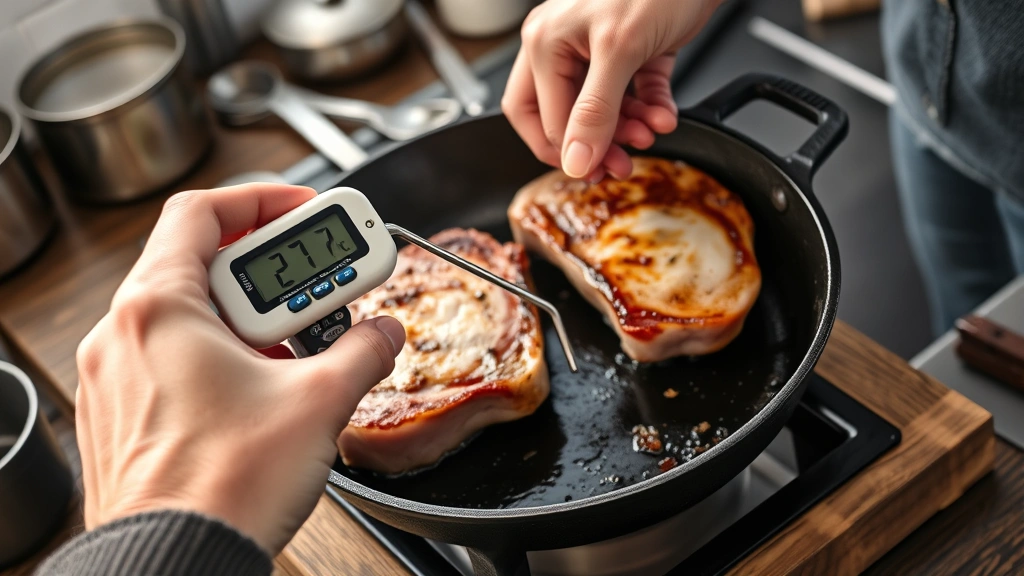
This is the absolute most critical factor. Pork is safe to eat at 145°F (63°C) according to the USDA, and that’s the target. Not 160°F like your grandmother told you—modern pork is handled better and that temperature is overkill and will give you dry, tough meat.
Use an instant-read meat thermometer, and I mean always. Stick it into the thickest part of the chop horizontally, making sure it’s not touching bone. Check at around the 8-10 minute mark depending on thickness. The moment it hits 145°F, pull it off heat. The residual heat will carry the temperature up another 3-5 degrees while it rests.
Guessing is how you end up with either undercooked pork or overdone hockey pucks. A decent thermometer costs $20 and will change your cooking forever.
Resting the Meat
After you pull the chops from heat, let them rest for 5 minutes on a warm plate. This isn’t just about being patient—it’s about redistribution of juices. When meat cooks, the muscle fibers contract and squeeze moisture toward the center. Resting allows those fibers to relax and reabsorb that moisture, keeping it in the meat instead of running onto your plate.
Tent them loosely with foil if your kitchen is cold, but don’t cover them tightly or you’ll trap steam and soften that crust you worked to create. Just let them sit undisturbed for those five minutes. I know it’s hard to wait, but this step is what separates juicy chops from dried-out ones.
Sauce and Sides Pairing
A simple pan sauce takes your chops from good to restaurant-quality. After removing the chops, leave about a tablespoon of fat in the skillet and add a splash of broth, wine, or apple juice. Scrape the browned bits off the bottom—that’s pure flavor. Simmer for 2-3 minutes, then whisk in a teaspoon of butter and fresh herbs if you want to get fancy. You can also make gravy from drippings if you’re feeling ambitious.
For sides, asparagus steamed for 4-5 minutes is a classic pairing. Roasted vegetables, mashed potatoes, or a simple green salad all work beautifully. The chops are rich enough that they don’t need heavy sides—keep it balanced.
Troubleshooting Common Issues
If your chops came out dry, the problem was either overcooking (temperature went above 150°F) or they were too thin to begin with. Next time, buy thicker chops and use that thermometer religiously. If they were overcooked, there’s not much to salvage, but you can slice them thin and use them in a stir-fry or chop them up for a hearty pasta sauce.
If the outside burned before the inside cooked, your heat was too high. Go medium-high instead of screaming hot, and don’t skip the oven-finishing step for thicker chops. If the crust is pale and flabby, your pan wasn’t hot enough or your chops weren’t dry before cooking. Make sure you’re getting a proper sizzle when the meat hits the pan.
If you’re getting unevenly cooked chops, make sure they’re all roughly the same thickness. Pound thinner sections gently with a meat mallet to even them out, or just hand-select chops that are uniform at the butcher counter.
Frequently Asked Questions
How long does it take to cook boneless pork chops?
Total time depends on thickness. For three-quarter-inch chops, expect 8-10 minutes total (4 minutes per side in a skillet). Thicker chops might need 12-15 minutes with the oven-finishing method. Always rely on internal temperature rather than time.
Can I cook boneless pork chops in the oven without searing?
Technically yes, but you’ll miss out on that delicious crust. Bake them at 400°F for 12-15 minutes without searing, but they won’t have as much flavor. The sear-and-finish method takes only a few extra minutes and is worth it.
What’s the best way to season boneless pork chops?
Simple salt and pepper works beautifully. If you want more flavor, add garlic powder, smoked paprika, or dried herbs like thyme or rosemary. Avoid wet marinades for more than 2 hours—they can make the meat mushy.
Should I cover pork chops while cooking?
No. Covering traps steam and prevents browning. Keep the pan uncovered for searing and finishing. If using the oven method, you can cover loosely with foil if the chops are browning too fast, but keep it vented.
Why is my pork chop tough and chewy?
Overcooking is the main culprit. Pork continues cooking after you remove it from heat, so pull it at 145°F, not 160°F. Also make sure you’re resting the meat for 5 minutes before cutting into it.
Can I cook frozen boneless pork chops directly?
Not recommended. Frozen chops cook unevenly with a gray band near the surface. Thaw them properly in the fridge overnight for best results. If you’re in a rush, use the defrost setting on your microwave, but thaw in the fridge if possible.
What oil is best for searing pork chops?
Use oils with high smoke points like avocado oil, vegetable oil, or peanut oil. Avoid olive oil for high-heat searing—it burns too easily and will taste bitter. Butter can work for lower heat if you’re finishing in the oven.
Cooking boneless pork chops doesn’t require fancy techniques or expensive equipment. It’s about respecting the ingredient, understanding the science, and using a thermometer. Master these fundamentals and you’ll never serve a dry pork chop again. Start with quality meat from your butcher, season boldly, sear hard, finish in the oven, and pull at exactly 145°F. Your family dinners are about to level up significantly.


