
Learning how to cook a new york strip steak is one of those skills that separates the folks who just eat dinner from the people who actually *enjoy* dinner. I’ve spent years perfecting this technique, and I’m going to walk you through exactly what I’ve learned—no fancy restaurant secrets, no pretentious nonsense, just straightforward methods that work every single time.
Table of Contents
Selecting Your Steak
You can’t cook a great steak if you start with a mediocre one. When you’re shopping for a New York strip, look for meat that’s bright red with white marbling running through it. That fat is flavor, and it’s non-negotiable. I always grab steaks that are at least 1.5 inches thick—anything thinner and you’ll struggle to get a proper crust without overcooking the inside.
The USDA Prime grade is ideal, but Choice works just fine if that’s what your budget allows. Avoid anything that looks gray or has excessive liquid in the package. You want that meat fresh and ready to perform.
Prep Work Matters
Here’s where most people mess up: they cook their steak straight from the fridge. Don’t do that. Pull your New York strip out 30-40 minutes before cooking and let it sit on the counter. Room temperature meat cooks evenly. Cold meat from the refrigerator will have a cold center by the time the outside gets a proper sear.
While that’s happening, pat your steak completely dry with paper towels. Moisture is the enemy of a good crust. You want that surface as dry as possible so it can brown properly instead of steaming. Don’t skip this step—it makes a genuine difference in your final result.
Seasoning Strategy
Salt your steak generously about 10 minutes before cooking, or right before you put it in the pan. This timing matters because salt draws moisture to the surface initially, but then that moisture gets reabsorbed. If you salt too far in advance (like 5 minutes), you’ll trap that moisture on the surface and ruin your crust.
Black pepper goes on right before cooking too. I use kosher salt and freshly cracked pepper—nothing fancy, nothing complicated. Some folks add garlic powder or other seasonings, and that’s fine, but honestly, a perfect New York strip doesn’t need much. You’re cooking a steak, not masking it.
Pan Searing Technique
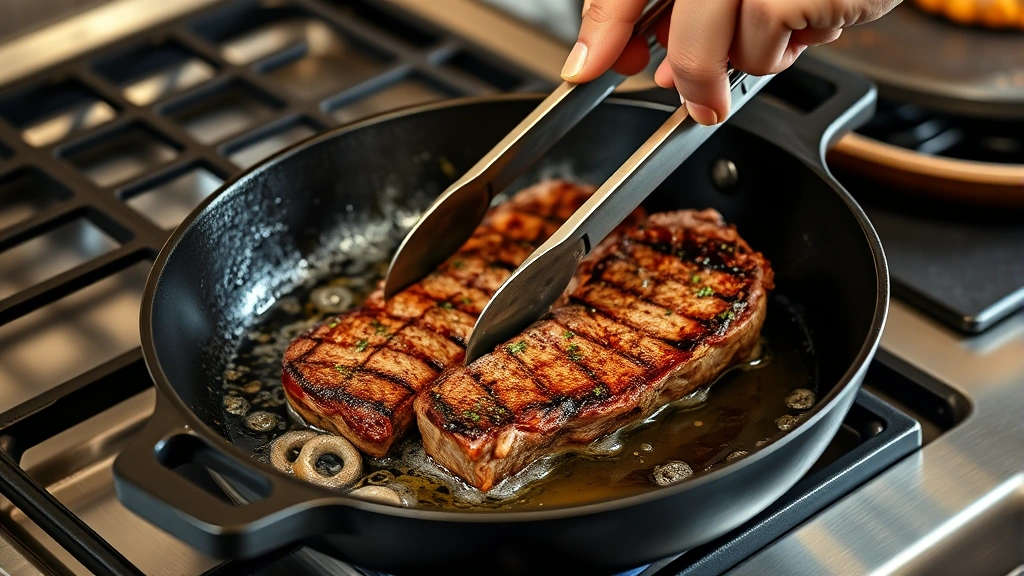
Use a cast iron skillet or heavy stainless steel pan. Nonstick won’t get hot enough. Get your pan screaming hot—and I mean genuinely hot. You want it so hot that when you put the steak down, it sears immediately with an aggressive sizzle.
Add a high-smoke-point oil like avocado or vegetable oil. Butter will burn at these temperatures, so save it for later. Once the oil is shimmering, lay your steak away from you (to avoid splatter) and don’t touch it. Let it sit for 3-4 minutes to develop that crust. Flip once, and cook another 3-4 minutes on the second side.
This is similar to how you’d approach how long to BBQ chicken thighs—understanding your heat source is crucial to success. The difference here is we’re going for a sear instead of slow cooking.
Temperature Control
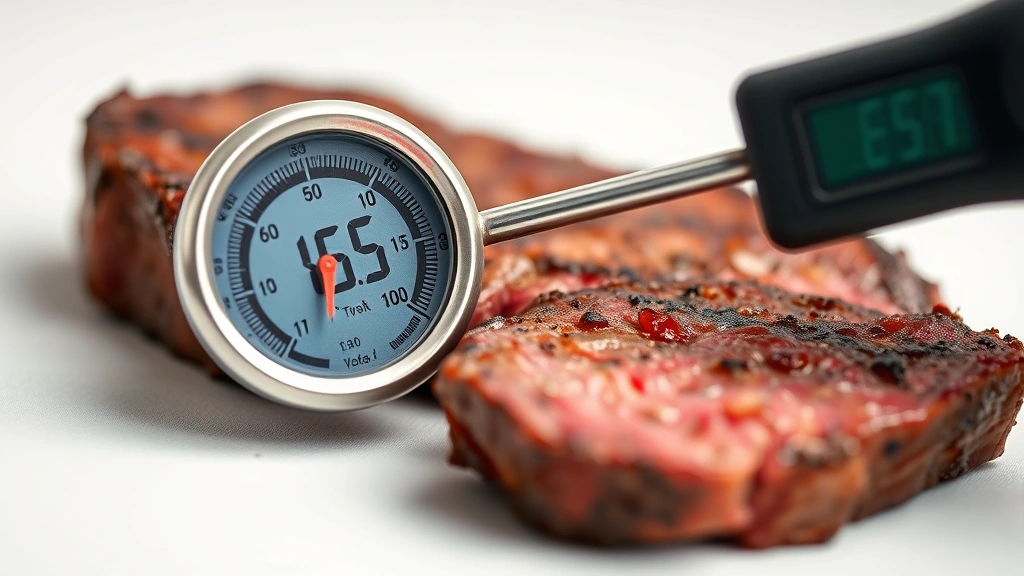
Use a meat thermometer. I’m not joking. Stick it into the thickest part of the steak horizontally. For a New York strip, pull it at 120-125°F for rare, 130-135°F for medium-rare, 140-145°F for medium. Most people prefer medium-rare, and honestly, that’s where this cut shines.
Remember: the steak continues cooking after you remove it from heat due to carryover cooking. So pull it at 5°F below your target temperature. That steak will coast up to perfect as it rests.
If you don’t have a thermometer, you can use the hand test, but it’s less reliable. Press the fleshy area below your thumb when your hand is relaxed—that feels like rare. Touch your thumb to your index finger and press again—that’s medium-rare. It’s not as accurate as a thermometer, but it works in a pinch.
Resting Period
This is absolutely critical and people skip it constantly. Remove your steak from the pan and place it on a cutting board. Let it rest for at least 5-10 minutes. During cooking, the heat pushes all the juices toward the center of the meat. Resting allows those juices to redistribute throughout the steak. If you cut into it immediately, all those juices run out onto your plate instead of staying in your meat.
Tent it loosely with foil if you want to keep it warm, but don’t wrap it tightly or you’ll steam the crust you just worked so hard to create.
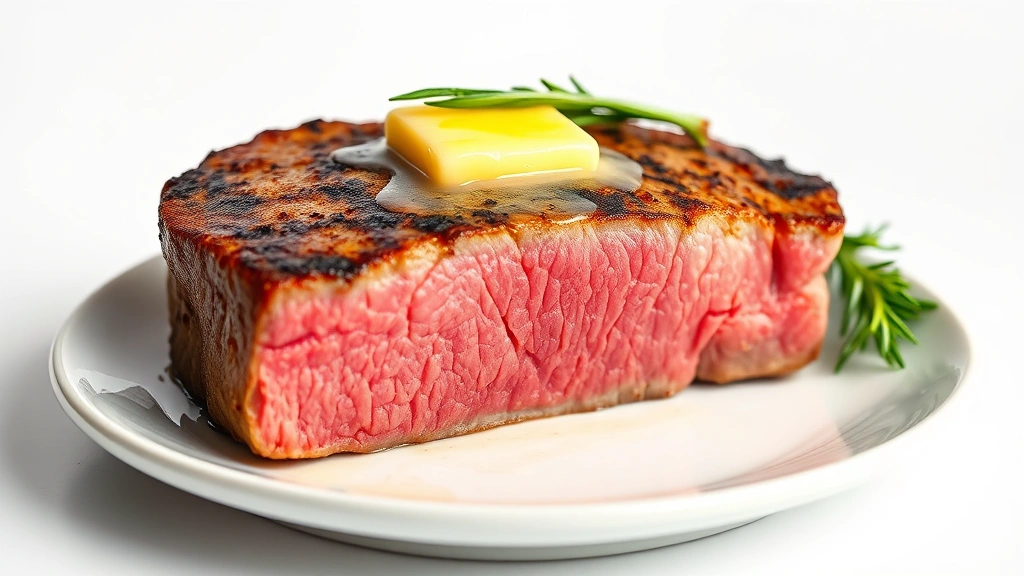
Finishing Touches
Once your steak has rested, top it with a pat of butter and let it melt over the surface. This is where you can add fresh herbs like rosemary or thyme if you want. Some people finish with a sprinkle of fleur de sel or finishing salt for extra texture.
You could also make a compound butter ahead of time—that’s butter mixed with herbs and seasonings. Check out how homemade butter recipe techniques apply here. A simple herb butter on top of your steak is restaurant-level finishing without any extra work.
Common Mistakes
Don’t flip your steak constantly. I see people doing this and it drives me crazy. You flip once, maybe twice. That’s it. Constant flipping prevents proper crust development.
Don’t use a fork to flip it either. Use tongs. A fork pokes holes in your meat and lets juices escape. Tongs are your friend.
Don’t skip the thermometer. Guessing is how you end up with overcooked or undercooked steak. A good instant-read thermometer costs fifteen bucks and will transform your cooking.
Don’t cook from cold. That room-temperature rest period isn’t optional if you want even cooking.
Don’t skip the resting period. I know it’s tempting to cut right in, but those 5-10 minutes make a measurable difference in juiciness and texture.
Frequently Asked Questions
Can I cook a New York strip in the oven instead of on the stovetop?
Absolutely. Sear it in a cast iron skillet for 2-3 minutes per side on the stovetop, then transfer the whole skillet to a 400°F oven. Cook until your thermometer reads your target temperature—usually 5-8 minutes depending on thickness. This method is actually excellent and gives you more control over the final temperature.
What’s the difference between a New York strip and a ribeye?
A ribeye has more marbling throughout the meat, making it more forgiving if you slightly overcook it. A New York strip is leaner with a fat cap on one side. The strip has a cleaner, beefier flavor while the ribeye is richer. Both are excellent cuts—it comes down to personal preference.
How long does a New York strip steak stay good in the refrigerator?
Raw steak keeps for 3-5 days in the fridge in its original packaging. Cooked steak lasts 3-4 days in an airtight container. If you’re not cooking it within a couple days, freeze it. Frozen steak keeps for several months.
Should I marinate my New York strip?
Not really. A quality New York strip doesn’t need it. Marinating can actually make the outside mushy if you go too long. Salt and pepper are genuinely all you need. If you want more flavor, focus on that butter finish instead.
Can I cook a frozen New York strip directly from the freezer?
You can, but you’ll get uneven cooking. The outside will overcook before the inside thaws properly. Thaw it in the refrigerator overnight instead. If you’re in a time crunch, use the cold water method: seal the steak in a bag and submerge it in cold water for 30 minutes to an hour.
Final Thoughts
Learning how to cook a New York strip steak properly is genuinely straightforward once you understand the fundamentals. Get good meat, prep it right, sear it hot, check the temperature, and rest it properly. That’s the entire formula. You don’t need expensive equipment or complicated techniques. You need attention to detail and patience.
The first time you nail it—when you cut into that steak and see that perfect pink center, taste that crust, and feel that butter-soaked tenderness—you’ll understand why people pay $40+ for this cut at restaurants. And you’ll realize you can do it better at home for a fraction of the cost.
Start with these fundamentals and you’ll be cooking steaks that rival any steakhouse. For more cooking inspiration, explore authentic bolognese recipe techniques or learn about how long does chicken take to boil for other proteins. And if you’re curious about meal timing, check out how long after eating to workout for post-dinner fitness questions.


