
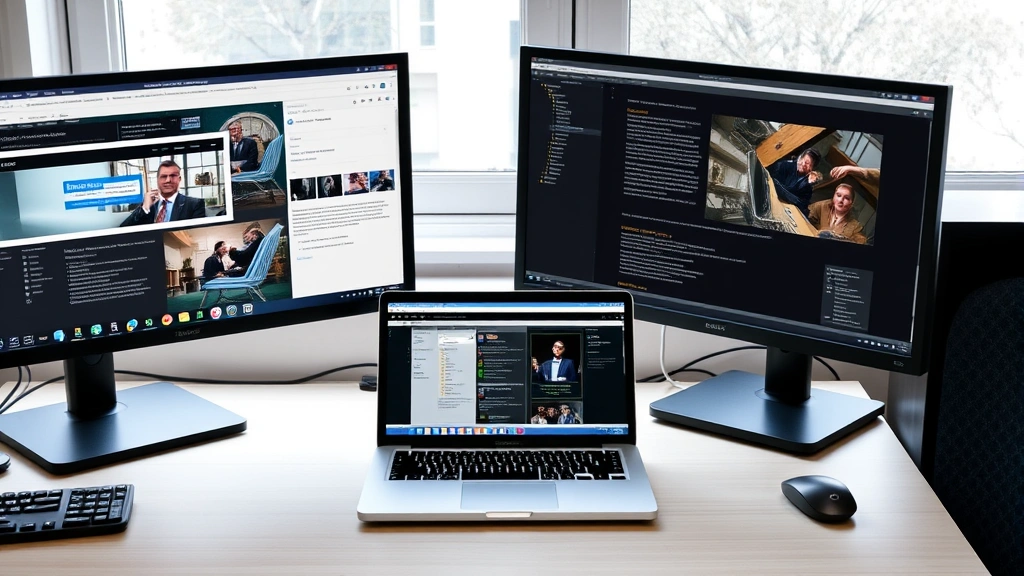
Staring at your laptop screen while juggling multiple windows is a productivity killer. You’re constantly alt-tabbing, shrinking windows, and losing your train of thought. The fix? Learning how to connect two monitors to a laptop is one of the smartest upgrades you can make for your workspace—and it’s way easier than you think.
Whether you’re working from home, gaming, video editing, or just tired of the digital shuffle, dual monitors transform how you work. This guide walks you through every connection type, troubleshooting step, and setup hack you need to know.
Check Your Laptop’s Video Outputs
Before you buy cables or monitors, you need to know what your laptop can actually do. This is the foundation of the whole operation. Most laptops have at least one external video output, but some have multiple—and that changes everything.
Here’s what to look for on your laptop:
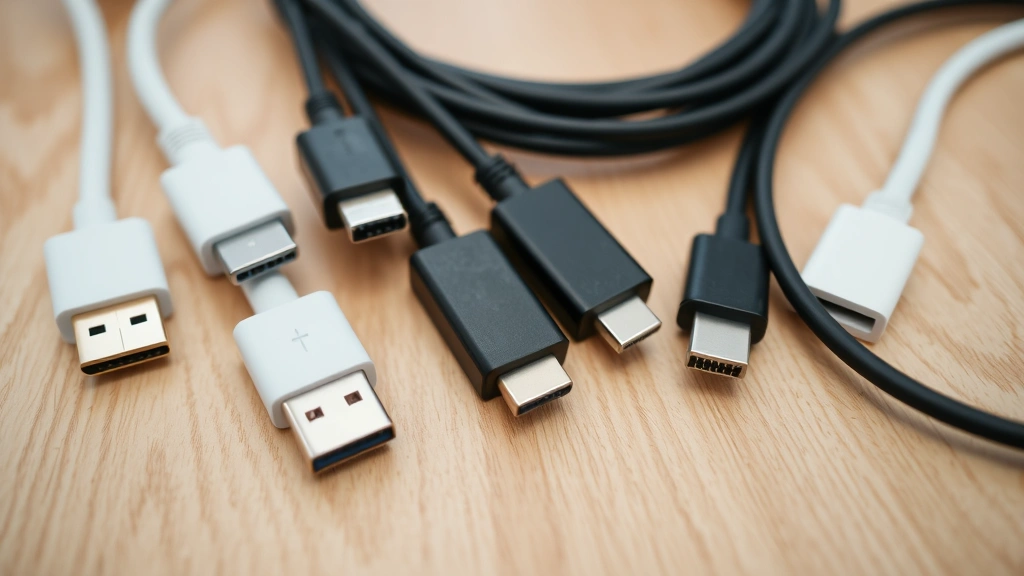
- HDMI port – The most common connection type. Rectangular, flat connector that carries both video and audio.
- DisplayPort – Smaller, more rectangular than HDMI. Often found on newer laptops and supports higher resolutions and refresh rates.
- USB-C – Modern laptops (especially MacBooks and newer Windows ultrabooks) use USB-C for video output. Some support Thunderbolt 3 or Thunderbolt 4, which offer even more bandwidth.
- Mini DisplayPort – Older MacBooks and some professional laptops use this smaller version of DisplayPort.
- VGA – Older laptops only. Looks like a trapezoid with three rows of pins. Avoid if possible—it’s analog and lower quality.
Count how many ports you have. If your laptop has two video outputs (like HDMI + USB-C), you can connect two monitors directly. If it only has one, you’ll need a docking station or USB hub with video output capability.
Pro Tip: Check your laptop’s manual or manufacturer website to confirm which ports support video output. Some USB-C ports on older laptops are charging-only.
Real talk: This step determines everything. Get it wrong, and you’ll waste money on incompatible cables or a monitor that won’t work. Spend 5 minutes here and save yourself hours of frustration.
Understand Connection Types and Cables
Not all cables are created equal. You need to match your laptop’s output to your monitor’s input, and there are a lot of options.
HDMI (High-Definition Multimedia Interface)
HDMI is the workhorse of connections. It’s cheap, reliable, and almost every monitor has one. If your laptop has HDMI, this is usually your easiest path. HDMI carries video and audio in one cable, so you don’t need separate audio cables. A standard HDMI 2.0 cable costs $5-15 and handles 4K resolution at 60Hz, which is plenty for most work.
DisplayPort
DisplayPort is the performance option. It supports higher resolutions and refresh rates than HDMI, making it ideal for gaming or creative work. DisplayPort cables are slightly more expensive ($10-20) but offer more future-proofing. If you’re connecting two monitors to a single DisplayPort, you can use daisy-chaining (if your monitors support it), which means connecting them in series rather than parallel.
USB-C and Thunderbolt
This is where modern laptops are heading. USB-C is incredibly versatile—it carries video, audio, data, and power all in one cable. Thunderbolt 3 and 4 (found on newer MacBooks and premium Windows laptops) offer even more bandwidth. A good USB-C video cable runs $15-30. The major advantage: you can charge your laptop and connect monitors with a single docking station.
Docking Stations and USB Hubs
If your laptop only has one video output, a docking station is your best friend. Think of it like a hub that expands your laptop’s capabilities. A solid docking station costs $50-200 and typically includes:
- Multiple HDMI or DisplayPort outputs
- USB ports for peripherals
- SD card readers
- Ethernet for faster internet
- Charging capability
Popular options include docking stations from brands like Lenovo, Dell, and Kensington. If you’re using a MacBook, look for Thunderbolt docking stations specifically—they’ll give you the most flexibility.
Connect Your First Monitor
Now for the practical stuff. Let’s get that first monitor up and running.
- Power off your laptop (optional but safer). You don’t have to, but shutting down prevents driver conflicts.
- Choose your cable type based on what your laptop and monitor have. If both have HDMI, use HDMI. If your monitor has USB-C and your laptop does too, that’s even better.
- Connect the cable to your laptop’s video output port. Push firmly until you hear a click (if it’s a locking connector like DisplayPort or VGA).
- Connect the other end to your monitor’s input port. Again, match the connector type.
- Power on your monitor first, then your laptop. This gives Windows or macOS time to detect the new display.
- Wait 10-15 seconds for your operating system to recognize the monitor. You’ll usually see a notification or hear a sound.
Your laptop screen and the external monitor should now show the same image (this is called “mirroring” mode). Don’t worry if the resolution looks off or the image is stretched—we’ll fix that in the configuration section.
Safety Note: If you’re using a USB-C docking station that also charges your laptop, connect it to power first before connecting monitors. This ensures stable power delivery.
Connect Your Second Monitor
Here’s where it gets interesting. You have three scenarios:
Scenario 1: Your Laptop Has Two Video Outputs
Lucky you. Just repeat the process from the previous section with your second monitor using your laptop’s second video port. Connect the cable, power on the monitor, and wait for your OS to detect it. Simple as that.
Scenario 2: Your Laptop Has One Video Output + USB-C
Use your HDMI (or DisplayPort) for the first monitor and your USB-C port for the second. USB-C video adapters are cheap ($15-30) and widely available. Just plug the adapter into your USB-C port and connect your monitor cable to the adapter. Your OS will detect both displays independently.
Scenario 3: Your Laptop Only Has One Video Output
This is where a docking station or USB hub shines. Buy a docking station with multiple video outputs (most have at least 2 HDMI or DisplayPort outputs). Connect the docking station to your laptop via USB-C or Thunderbolt, then connect both monitors to the docking station. Your laptop will see both displays as if they were directly connected.
Real talk: If you’re on a budget, you can also buy a cheap USB-to-HDMI adapter ($20-40) for your second monitor. It won’t be as elegant as a docking station, but it works.
Configure Display Settings on Windows
Your monitors are now physically connected, but Windows probably doesn’t know what to do with them yet. Time to tell it.
Detect and Arrange Your Displays
- Right-click on your desktop and select Display Settings. (Or go to Settings > System > Display.)
- Scroll down and click Detect. Windows will scan for connected monitors.
- You should now see thumbnails of all your displays. Windows will number them (1, 2, 3, etc.).
- Under “Multiple displays,” choose your preferred mode:
- Extend displays – Your monitors act as one large workspace. Move your mouse between them seamlessly. This is what most people want.
- Duplicate displays – Both monitors show the same image. Useful for presentations.
- Show only on 1 – Use only one monitor and disable the others.
Arrange Your Displays
Windows needs to know the physical layout of your monitors so your mouse moves correctly between them. In Display Settings, you’ll see small rectangles representing each display. Drag them to match your actual setup. If your right monitor is physically to the right of your left monitor, arrange them that way on screen. This prevents your cursor from jumping around unexpectedly.
Set Resolution and Refresh Rate
- Click on the monitor you want to adjust.
- Scroll down to Resolution and select the highest option available. This is usually your monitor’s native resolution (1920×1080, 2560×1440, 3840×2160, etc.).
- For Refresh rate, choose the highest available. 60Hz is standard; gaming monitors often support 144Hz or higher.
- Click Apply and confirm the changes.
Repeat for each monitor. If a monitor doesn’t have a native resolution option, it might be using a generic driver. You can often improve this by updating your graphics driver (see the troubleshooting section).
Pro Tip: If you have one 4K monitor and one 1080p monitor, Windows might struggle with scaling. Go to Settings > System > Display > Advanced display settings and adjust the scale percentage for each monitor independently. This prevents text from looking blurry on one display.
Configure Display Settings on Mac
macOS handles multiple monitors beautifully. Here’s how to set it up.
Detect Your Displays
- Click the Apple menu > System Preferences (or System Settings on newer Macs).
- Select Displays.
- macOS automatically detects connected monitors. You’ll see a separate window for each display.
Arrange Your Displays
- Still in Displays settings, look for the Arrangement tab (or click the “Arrangement” button).
- You’ll see rectangles representing each display. Drag them to match your physical layout.
- The white bar at the top indicates your menu bar. Drag it to whichever monitor you want to be your primary display.
Set Resolution and Refresh Rate
- Click on each display window.
- Under Resolution, choose Scaled for more options, or Default for the monitor’s native resolution.
- For newer Macs with ProMotion displays, you can adjust the refresh rate here too.
macOS is more forgiving with mixed resolutions than Windows, so you can usually just set both to their native resolutions and forget about it.
Troubleshooting Common Connection Issues
Not everything works perfectly on the first try. Here’s what to do when things go sideways.
Monitor Not Detected
This is the most common issue. Your laptop sees nothing when you plug in the cable.
- Check the cable first. Swap it with a known-good cable. Cables fail more often than ports.
- Try a different port on your laptop. Some ports are damaged or disabled.
- Update your graphics driver. Go to your GPU manufacturer’s website (NVIDIA, AMD, or Intel) and download the latest driver. Outdated drivers cause detection failures.
- Restart your laptop. I know it sounds cliché, but it works. A fresh boot forces your OS to re-scan for hardware.
- Check your monitor’s input source. Most monitors have an input button on the back or side. Cycle through HDMI 1, HDMI 2, DisplayPort, etc. until you see a signal.
- Try a docking station. If you’re using a USB-C adapter, it might be defective. A proper docking station is more reliable.
Resolution Is Wrong or Blurry
Your monitor is detected, but the image looks stretched or fuzzy.
- Set the correct native resolution. Check your monitor’s specs (usually on a sticker on the back) and match that resolution in your display settings. If your 1440p monitor is running at 1080p, everything will look soft.
- Update your monitor’s driver. Windows sometimes uses a generic display driver. Visit your monitor manufacturer’s website and download the specific driver for your model.
- Adjust scaling on Windows. If you have mixed monitor sizes or resolutions, right-click your desktop > Display Settings > Advanced display settings. Set the scale percentage individually for each monitor.
Second Monitor Won’t Connect
Your first monitor works fine, but the second one won’t show up.
- Check your docking station or USB hub. Not all USB hubs support video output. Make sure yours explicitly says it does.
- Verify daisy-chaining capability. If you’re using DisplayPort daisy-chaining, both monitors must support it. Check their manuals.
- Use different cable types. Connect one monitor via HDMI and the other via DisplayPort. Sometimes one connection type works better than another.
- Update your graphics driver. Seriously. This fixes 70% of multi-monitor issues.
Mouse Cursor Jumps or Gets Stuck
Your monitors are detected, but moving your cursor between them is glitchy.
- Rearrange your displays in settings. If your monitors aren’t arranged correctly in your OS, your cursor will jump. Match the on-screen arrangement to your physical setup exactly.
- Check your mouse driver. Update it from your mouse manufacturer’s website.
- Disable mouse acceleration. On Windows, go to Settings > Devices > Mouse > Additional mouse options > Pointer Options and uncheck “Enhance pointer precision.”
One Monitor Keeps Disconnecting
A monitor keeps dropping and reconnecting randomly.
- Check the cable connection. Wiggle the cable gently. If the monitor reconnects, the connection is loose. Secure it better or try a different cable.
- Test with a different monitor. If a different monitor works fine, your original monitor might be failing.
- Update your graphics driver. Yes, again. Driver issues cause random disconnections.
- Check your USB hub’s power supply. If you’re using a USB hub, it might not have enough power. Plug it into a powered USB port or use a powered hub instead.
Optimize Your Dual Monitor Setup
Now that your monitors are working, let’s make them actually useful.
Use Window Snapping to Organize Your Workspace
Windows 11 and modern versions of macOS support window snapping, which lets you tile windows across your monitors automatically. On Windows, drag a window to the edge of your screen and hold it there—Windows will snap it to fill half the screen. You can tile multiple windows across multiple monitors this way.
Create a Keyboard Shortcut for Monitor Switching
If you frequently switch between using one monitor and two monitors (like when you’re working at your desk vs. traveling), create a shortcut to toggle your display mode. On Windows, right-click your desktop > Display Settings > Multiple displays > and select your preferred mode. On Mac, you can use keyboard shortcuts to manage displays.
Adjust Color Calibration
If you have two different monitor brands or models, they might display colors differently. This is especially annoying for photo editing or design work. Use color calibration tools like Spyder X2 to match them, or manually adjust brightness, contrast, and color temperature in each monitor’s on-screen menu.
Consider a Monitor Arm or Stand
Two monitors take up desk space. A dual monitor arm ($50-150) mounts both monitors on a single base, freeing up valuable desk real estate. This also lets you adjust height, tilt, and angle for ergonomics. According to OSHA guidelines for computer workstations, your monitors should be at eye level when you’re sitting upright.
Use Software to Manage Multiple Monitors
Tools like DisplayFusion (Windows) or Spaces (Mac) let you create virtual desktops and assign them to specific monitors. This is incredibly useful if you’re juggling multiple projects. You might have your email on monitor 1, your design work on monitor 2, and switch between them with a keyboard shortcut.
Cable Management
With multiple monitors, cables get messy fast. Use cable clips, sleeves, or a cable box to keep things organized. This prevents accidental disconnections and makes your setup look professional.
Pro Tip: Label your cables with masking tape. When you inevitably need to troubleshoot, you’ll know which cable goes where without unplugging everything.
Frequently Asked Questions
Can I connect two monitors to a laptop with only one video output port?
– Yes, absolutely. Use a docking station or USB hub with multiple video outputs. A USB-C docking station is your best bet for modern laptops. You connect the docking station to your laptop’s single USB-C port, and the docking station has multiple HDMI or DisplayPort outputs for your monitors. Alternatively, you can use a USB-C to HDMI adapter for one monitor and a separate USB-C hub for the second, though a proper docking station is cleaner and more reliable.
Do I need special cables to connect two monitors?
– Not really. Use whatever cables match your laptop and monitor ports: HDMI, DisplayPort, USB-C, or Mini DisplayPort. Standard cables from any reputable brand work fine. You don’t need expensive “gaming” or “premium” cables—a $10 HDMI cable does the same job as a $50 one. Just make sure the cable is rated for the resolution and refresh rate you’re using (HDMI 2.0 for 4K 60Hz, for example).
Will connecting two monitors slow down my laptop?
– No. The monitors themselves don’t consume CPU power. However, displaying content on two monitors does use more GPU resources than one. If your laptop has an integrated graphics chip (Intel UHD, AMD Radeon), you might notice slight slowdowns in demanding tasks like gaming or video editing. If you have a dedicated GPU (NVIDIA GeForce, AMD Radeon), you’ll barely notice any performance impact. For office work, web browsing, and typical tasks, two monitors have zero noticeable impact on speed.
Can I use monitors with different resolutions at the same time?
– Yes. You can run a 1080p monitor and a 1440p monitor side by side without issues. Windows and macOS handle mixed resolutions well. The only minor annoyance is scaling—text might look slightly different sizes on each monitor. You can adjust the scale percentage for each monitor independently in your display settings to minimize this.
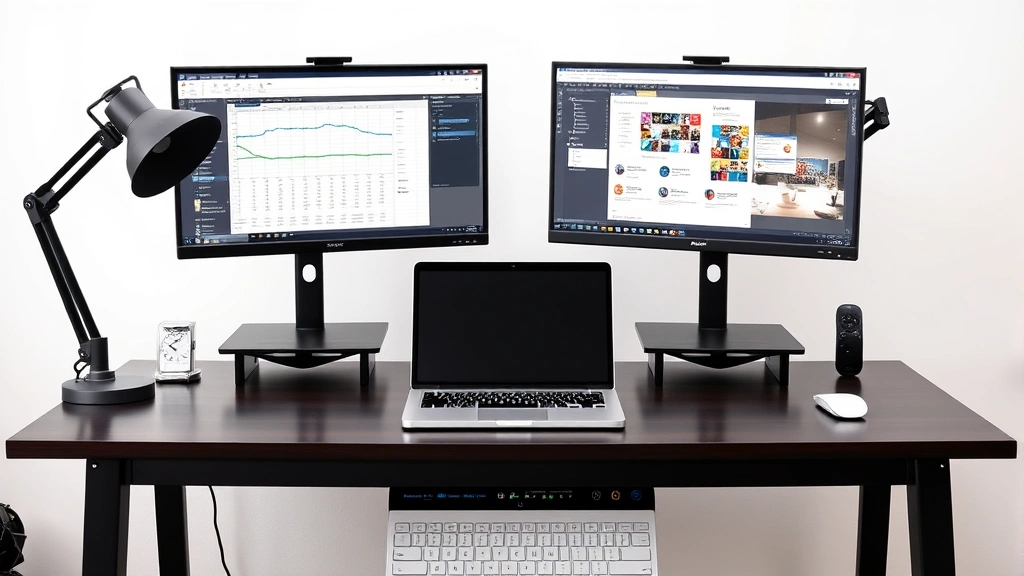
What’s the best way to arrange two monitors on my desk?
– The most common setup is side-by-side (both landscape, touching or nearly touching). This creates one wide workspace. Some people prefer one landscape and one portrait (rotated 90 degrees) for specific workflows like coding or document editing. Experiment and see what feels natural. Just make sure they’re both at eye level when you’re sitting upright—this reduces neck strain and eye fatigue. A monitor arm helps with this.
Do both monitors need to be the same brand or model?
– No. You can mix and match brands, sizes, and resolutions. Having two identical monitors is nice for consistency, but it’s not required. A 24-inch Dell and a 27-inch LG work together just fine. The only consideration is color calibration—if you’re doing color-critical work like photo editing, you might want to calibrate them to match.
Can I connect two 4K monitors to my laptop?
– It depends on your laptop’s GPU and ports. Connecting two 4K displays (3840×2160 resolution) requires significant bandwidth. If your laptop has two Thunderbolt 3/4 ports, you can do it. If it has HDMI + DisplayPort, you might be able to do it depending on the specific GPU. Older laptops with integrated graphics might struggle. Check your GPU’s specifications on the manufacturer’s website (NVIDIA, AMD, Intel) to see if it supports dual 4K displays.
What if my monitor doesn’t have HDMI or DisplayPort?
– Older monitors sometimes only have VGA (the blue trapezoid connector) or DVI. You can use a USB-C to VGA or HDMI to DVI adapter, but these are analog conversions and the image quality won’t be as good. If you’re upgrading your setup anyway, it’s worth investing in a modern monitor with HDMI or DisplayPort. They’re cheap now ($100-200 for a solid 1080p or 1440p monitor).
Do I need to install drivers for my monitors?
– Usually not. Windows and macOS automatically detect most monitors and use generic drivers. However, for best results (especially if resolution or refresh rate options are limited), download the specific driver from your monitor manufacturer’s website. This is especially important if you have a high-end gaming or professional monitor. Graphics driver updates (from NVIDIA, AMD, or Intel) are more critical and should be done regularly.


