
Learning how to connect Deluxe with QuickBooks is one of those tasks that sounds more complicated than it actually is—kind of like wiring a light switch for the first time. Once you get the hang of it, you’ll wonder why you ever worried. This integration lets you sync your Deluxe business tools directly into QuickBooks, saving you hours of manual data entry and keeping your financial records squeaky clean.
Table of Contents
- Why Connect Deluxe and QuickBooks
- Before You Start: Prerequisites
- Step 1: Set Up Your Accounts
- Step 2: Authorize the Connection
- Step 3: Configure Your Settings
- Step 4: Map Your Data Fields
- Step 5: Test and Activate Sync
- Troubleshooting Common Issues
- Best Practices for Seamless Integration
- Frequently Asked Questions
Why Connect Deluxe and QuickBooks
Before we dive into the nuts and bolts, let’s talk about why this integration matters. Deluxe offers robust business solutions—from checks and forms to marketing materials—but your financial hub lives in QuickBooks. When you connect them, data flows automatically between platforms. No more copying numbers by hand. No more wondering if your records match. It’s like having a reliable assistant who never forgets and never makes typos.
The real payoff? You reclaim time. Your bookkeeper stops playing data-entry robot. Your financial reports stay current. And your business runs smoother because everyone’s working with the same up-to-date information. That’s worth the 20 minutes it takes to set up.
Before You Start: Prerequisites
You’ll need a few things in place before you connect Deluxe with QuickBooks. First, you need active accounts with both services. Your Deluxe account should be set up and ready to go—whether that’s for checks, marketing materials, or business services. On the QuickBooks side, you’ll want admin access to your account. Don’t try this with a limited user login; you need full permissions to authorize integrations.
Also, make sure your internet connection is solid. Seriously. A dropped connection mid-setup can create headaches. And have your login credentials handy for both platforms—you’ll be switching between them. Finally, set aside about 30 minutes in a quiet moment. This isn’t a task to rush through while handling customer calls.
Step 1: Set Up Your Accounts
Start by logging into your QuickBooks account with your admin credentials. Navigate to the integrations or apps section—the exact location depends on whether you’re using QuickBooks Online or Desktop, but look for “Apps,” “Integrations,” or “Connected Services.” This is your control center for third-party connections.
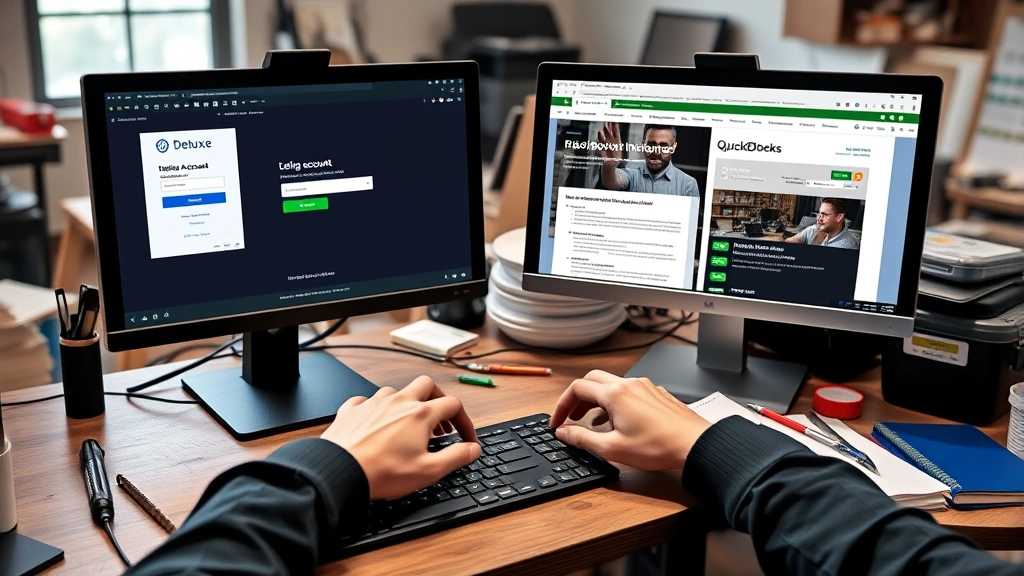
In that section, search for Deluxe. You should see the official Deluxe integration option. Before clicking anything, open a second browser tab and log into your Deluxe account. Keep both windows open side by side. This setup makes the authorization process smoother because you won’t have to log in and out repeatedly. Think of it like having both the instruction manual and your tools within arm’s reach.
Step 2: Authorize the Connection
In your QuickBooks integrations section, click on the Deluxe option and select “Connect” or “Authorize.” QuickBooks will ask for permission to access certain data from your Deluxe account. Read through what it’s requesting—typically things like customer information, order history, and transaction data. This is normal and necessary for the sync to work.
When prompted, you might be redirected to Deluxe’s authorization page. This is where your second browser tab comes in handy. Confirm that you’re logged into Deluxe, then approve the connection request. You’re essentially telling Deluxe, “Hey, it’s okay to share my data with QuickBooks.” Once approved, you’ll be redirected back to QuickBooks with a confirmation message. Don’t close either tab yet—you’ve got more setup to do.
Step 3: Configure Your Settings
Now comes the customization part. QuickBooks will ask you which Deluxe data you want to sync and how often. Do you want customer records synced? Order information? Payment details? Select what makes sense for your business. Most users sync customer data and transaction history, but your needs might differ.
Set your sync frequency. Daily is standard for most small businesses—it keeps things current without overwhelming your system. Some folks prefer weekly if they’re dealing with smaller volumes. You can always adjust this later, so don’t agonize over the perfect setting. Just pick something reasonable and move forward. This is also where you’ll specify which QuickBooks accounts should receive Deluxe data. Make sure these are the right accounts for your business structure.
Step 4: Map Your Data Fields
This step is crucial and worth taking slowly. Data mapping means telling the system, “Deluxe’s ‘Customer Name’ field should match up with QuickBooks’ ‘Customer Name’ field.” Sounds obvious, but different systems sometimes use different naming conventions or organize data differently.
QuickBooks will walk you through a series of dropdown menus where you match Deluxe fields to QuickBooks fields. If you’re not sure what a field represents, hover over the info icons—most platforms include helpful tooltips. If something doesn’t match logically, don’t force it. Leave it unmapped and move on. You can always add it later. Bad data mapping creates messy records, so it’s better to sync less data correctly than more data incorrectly. Take your time here; this is where most integration problems originate.
Step 5: Test and Activate Sync
Before you flip the switch to full automation, run a test sync. QuickBooks usually offers a “Test Connection” or “Sync Test” option. Use it. Let the system pull a small sample of data from Deluxe into QuickBooks. Check that the information looks right. Are customer names spelled correctly? Are amounts accurate? Are dates in the right format?
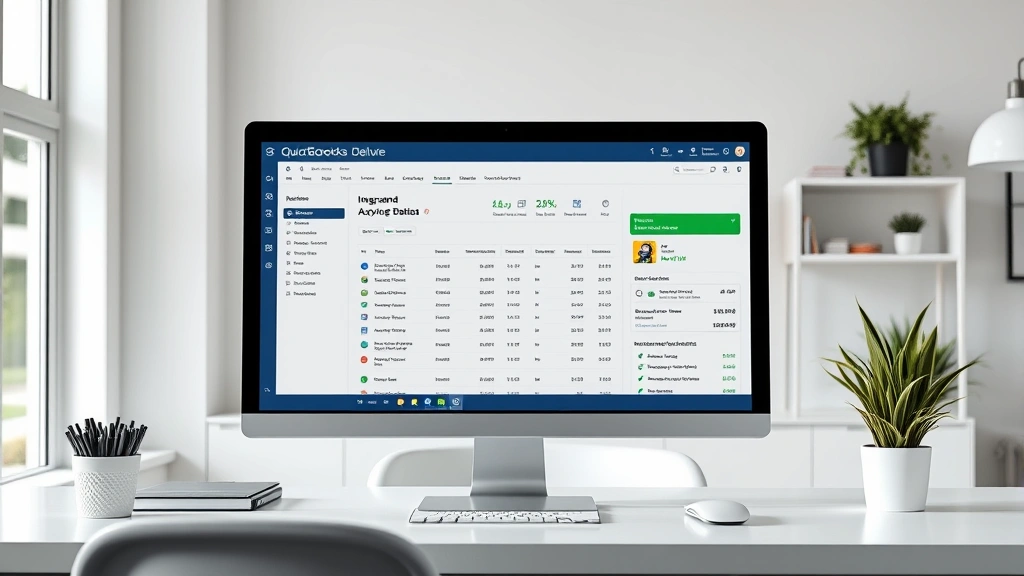
If everything looks good, activate the integration. If something’s off, pause and troubleshoot before going live. Once activated, the system will begin syncing on your chosen schedule. You’ll usually see a confirmation message and maybe even a sync log you can review. Bookmark that sync log location—you’ll want to check it occasionally to make sure everything’s running smoothly.
Troubleshooting Common Issues
Sometimes the connection hiccups. The most common issue? Mismatched account credentials. If you’ve recently changed your Deluxe or QuickBooks password, the integration might lose its connection. Simply re-authorize by going back to your integrations settings and clicking “Reconnect” or “Re-authorize.” You’ll log in again, and the system will remember your preferences.
Another frequent problem is duplicate records. If you manually entered data into QuickBooks before setting up the sync, you might end up with two entries for the same customer. The fix is to clean up your QuickBooks records first before activating the sync, or map the integration to a separate area of your QuickBooks account and merge records manually afterward. It’s tedious but worth doing right.
Permission errors usually mean your QuickBooks user account doesn’t have admin rights. Only an admin can authorize integrations. If you’re not the admin, ask whoever is to complete this setup. Data not syncing? Check your sync frequency settings and make sure the integration shows as “Active” or “Connected.” Sometimes a simple toggle off and back on refreshes the connection.
Best Practices for Seamless Integration
Once your integration is live, treat it like a system that needs occasional maintenance. Check your sync log monthly. Most integrations will show you the last sync time and any errors that occurred. If you see repeated errors, investigate immediately rather than hoping they’ll fix themselves.
Keep your account information current. If you change your Deluxe or QuickBooks password, update it in your integration settings. If you add new user accounts to either platform, verify that permissions are set correctly—you don’t want unexpected people accessing integrated data.
Document your setup. Write down which fields you mapped, what your sync frequency is, and which accounts receive synced data. This sounds like busy work, but when you need to troubleshoot six months from now or hand off this task to someone else, you’ll be grateful for your notes. Also, consider doing a quarterly audit—spot-check a few records to make sure the sync is still working accurately.
For more detailed guidance on managing your business data, check out resources like Family Handyman’s approach to systematic organization, or explore how other integrations work by reading about how to add a second chart to TopStepX. Understanding different system connections helps you manage all your business tools more effectively.
Frequently Asked Questions
How long does it take to sync data between Deluxe and QuickBooks?
Initial syncs can take anywhere from a few minutes to a couple of hours, depending on how much historical data you’re pulling over. Ongoing syncs typically complete within 30 minutes to an hour, depending on your sync frequency settings and the volume of new data. You can usually check the status in your sync log.

Can I sync only specific types of data?
Absolutely. During the configuration step, you choose exactly what data syncs. You might sync customer records but not transaction history, or vice versa. You control what flows between systems, so customize it to match your business needs.
What happens if there’s a conflict between Deluxe and QuickBooks data?
Most integrations have conflict-resolution rules built in. Typically, the most recently updated record wins, or you can set it to prioritize one system over the other. Check your integration settings to see how conflicts are handled. You can usually change this preference.
Do I need to maintain both Deluxe and QuickBooks accounts?
Yes. The integration connects them, but they’re still separate platforms. You’ll continue using Deluxe for ordering checks and marketing materials, and QuickBooks for accounting. The integration just ensures they talk to each other.
Is my data secure when syncing between platforms?
Both Deluxe and QuickBooks use industry-standard encryption and security protocols. Data in transit is encrypted, and both companies take security seriously. That said, only authorize data sharing with platforms you trust, and keep your login credentials secure.
Can I undo the integration if I change my mind?
Yes. Go to your QuickBooks integrations section, find Deluxe, and click “Disconnect” or “Remove.” The integration will stop immediately. Your historical data in QuickBooks remains—you’re just stopping future syncs. If you want to reconnect later, you can re-authorize without losing anything.
What if my Deluxe account is used by multiple team members?
The integration is tied to your QuickBooks account, not individual Deluxe users. Any activity in Deluxe will sync to QuickBooks regardless of who performed it. Make sure your team understands this so everyone’s working with the same expectations about data flow.
How often should I check that the integration is working?
Check your sync log monthly at minimum. If you notice discrepancies in your QuickBooks records or suspect data isn’t syncing, investigate immediately. Most issues are easy to fix if caught early.
For additional insights on managing business systems and integrations, explore This Old House’s systematic approach to project management, or learn more about data organization by checking out how to create labels in Word for your record-keeping system.
Wrapping It Up
Connecting Deluxe with QuickBooks isn’t rocket science, but it does require attention to detail. Take your time through each step, especially the data mapping phase. Once it’s set up, the integration works quietly in the background, keeping your business data synchronized and saving you countless hours of manual work. Your future self—and your bookkeeper—will thank you for getting it right the first time. Now go forth and integrate with confidence.


