
Learning how to connect controller to Azahar emulator opens up a whole new level of gaming experience on your PC. Instead of fumbling with keyboard controls, you’ll have the smooth, responsive feel of a real gamepad in your hands. Whether you’re reliving classic console games or exploring retro titles, getting your controller paired correctly makes all the difference between frustration and pure gaming bliss.
Table of Contents
What is Azahar Emulator
Azahar is a lightweight emulator designed to run retro games with impressive accuracy and minimal system overhead. It’s built for gamers who want authentic gameplay without the bloat of heavier emulation software. The beauty of Azahar lies in its straightforward approach—it does what it’s supposed to do without unnecessary bells and whistles. Many enthusiasts prefer it because it respects your hardware and delivers smooth performance even on older machines.
The emulator supports a wide range of classic game systems, making it versatile for various gaming libraries. Whether you’re into 8-bit adventures or 16-bit RPGs, Azahar handles them with respectable frame rates and audio quality. The real magic happens when you pair it with proper controller support, transforming your experience from keyboard awkwardness to genuine console-style gameplay.
Controller Compatibility Basics
Not all controllers work equally well with Azahar emulator. Your best bets are Xbox 360, Xbox One, PlayStation 4, and generic DirectInput-compatible controllers. These have solid driver support and work seamlessly with most emulation software. The key is understanding whether your controller uses DirectInput or XInput—this determines how Azahar recognizes and communicates with it.
Before diving into connection steps, check your controller’s specifications. Most modern controllers default to XInput mode, which Azahar handles beautifully. Older controllers or budget options might use DirectInput, requiring slightly different configuration. The good news? Azahar’s setup process guides you through controller detection automatically, so you won’t be left guessing.
Before You Start Setup
Preparation saves headaches later. First, ensure your Azahar emulator is fully updated to the latest version—older builds sometimes have controller recognition hiccups. Download the newest release from the official repository and install it fresh if you’re upgrading.
Next, gather your equipment. You’ll need your controller (obviously), a USB cable if going wired, or fresh batteries if wireless. Check that your controller’s battery level is healthy—low batteries cause connection drops that feel like software problems. Have your controller’s manual handy, even though you probably won’t need it. Finally, close any background controller-mapping software like Steam’s Big Picture or Joy2Key, as these can conflict with Azahar’s detection process.
Connection Methods Explained
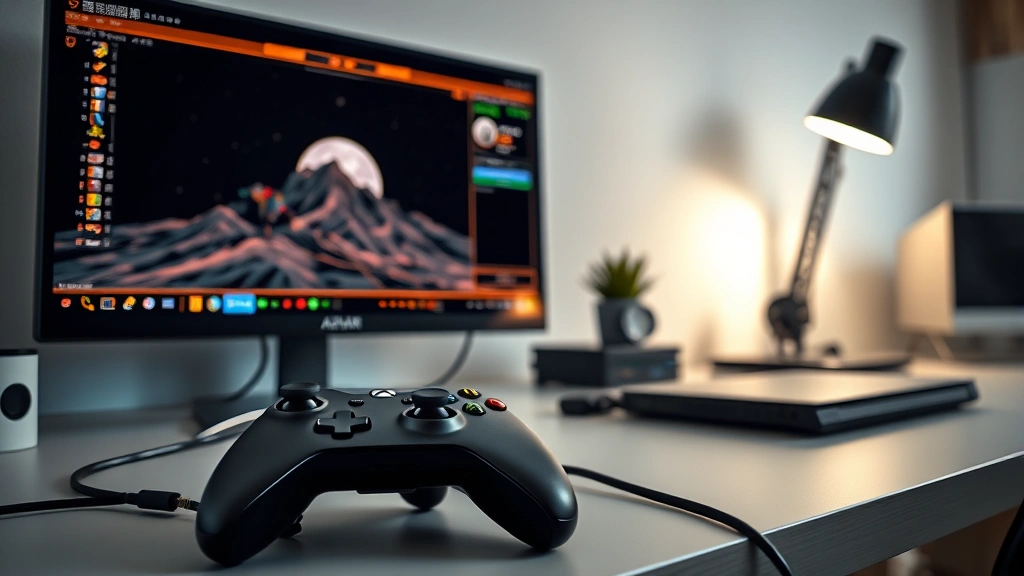
You’ve got two main paths: wired USB connection or wireless pairing. Each has advantages. USB connections are rock-solid and never drop, making them ideal for competitive gaming or when you need absolute reliability. Wireless gives you freedom of movement and looks cleaner on your desk, though it requires more initial setup work.
For wired connections, you simply plug in and Azahar usually recognizes your controller within seconds. No drivers needed for modern controllers—Windows handles that automatically. Wireless connections require your controller and receiver to be within range (usually 30 feet) and properly paired beforehand. The pairing process is similar to how to pair Firestick remote, involving a pairing button and a waiting period for synchronization.
USB Direct Connection Steps
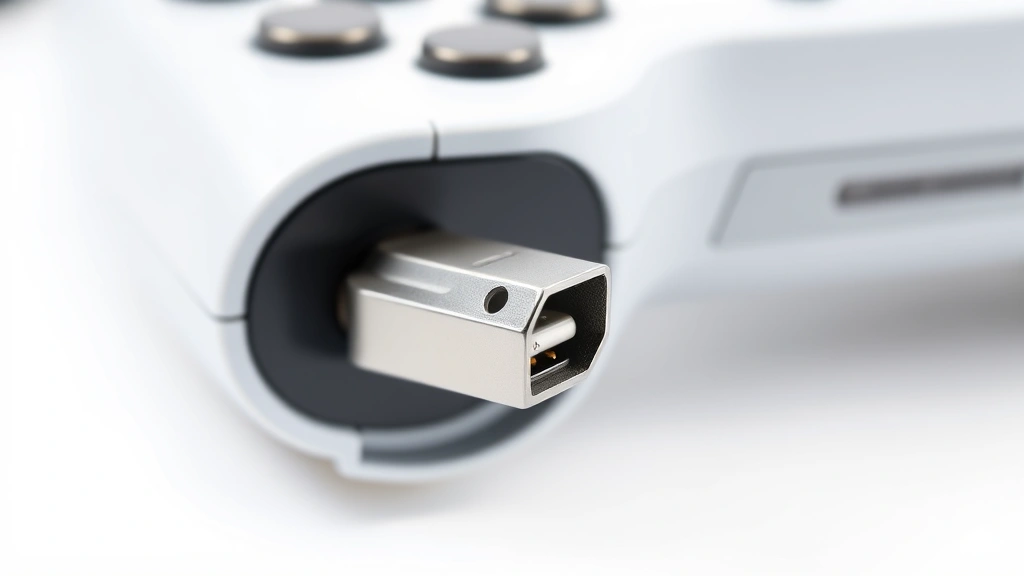
This is the straightforward path. Grab your USB cable and plug your controller into an available USB port on your computer. Windows will detect the device and install drivers automatically—you’ll see a notification in the taskbar. Wait about 10 seconds for the installation to complete.
Open Azahar emulator and navigate to Settings or Input Configuration (exact menu names vary by version). You should see a controller detection option. Click it and Azahar will scan for connected devices. Your controller should appear in the list. Select it and the software will begin the mapping process. Test each button—press them as prompted and Azahar logs the inputs. This typically takes 2-3 minutes. Once complete, save your configuration and you’re done.
Pro tip: If your controller doesn’t appear immediately, unplug it, wait 5 seconds, and reconnect. Sometimes Windows needs a moment to finalize the driver installation. If you’re still having trouble, check Device Manager to confirm Windows recognizes the controller as a game controller, not an unknown device.
Wireless Controller Pairing
Wireless setup requires an extra step before Azahar comes into play. First, put your controller into pairing mode. For Xbox controllers, hold the pairing button (small button on top) for 3 seconds until the light flashes. For PlayStation controllers, hold Share and PlayStation buttons simultaneously for a few seconds. Generic controllers vary—check the manual for your specific model.

On your PC, open Settings and go to Bluetooth & devices (or Devices on older Windows versions). Click “Add device” and select “Bluetooth.” Your controller should appear in the list within 10 seconds. Click it to pair. Windows will confirm the connection with a notification.
Once paired, open Azahar and follow the same input configuration steps as the USB method. The emulator doesn’t care whether your controller is wired or wireless—once Windows recognizes it, Azahar will too. The benefit of wireless pairing through Windows first is that your controller becomes a system-wide input device, working with any application, not just Azahar.
Button Mapping Configuration
This is where personal preference takes over. Azahar’s button mapping lets you assign controller buttons to emulator functions and game inputs. During initial setup, the software prompts you to press each button on your controller while it listens. Press them in order and Azahar creates a map.
Most gamers stick with the default mapping because it mirrors actual console layouts. But if you’re left-handed or prefer unconventional button layouts, you can customize everything. Go back into Input Settings after initial setup and you’ll find options to reassign any button. Some advanced users create multiple profiles for different game types—one for platformers, another for fighting games, etc.
A helpful approach: test your mapping in Azahar’s built-in test screen before launching games. This confirms every button works and responds correctly. You’ll see visual feedback showing which button you pressed, making it easy to spot any misconfiguration before you’re mid-game and frustrated.
Troubleshooting Common Issues
Controller not detected? First, check Device Manager. Right-click the Start menu, select Device Manager, and look under “Human Interface Devices.” Your controller should appear as a game controller. If it shows an unknown device with a warning icon, Windows doesn’t have proper drivers. Update your system or manually install controller drivers from the manufacturer’s website.
Buttons responding incorrectly? This usually means your mapping got corrupted or wasn’t saved properly. Delete the controller configuration file (usually in Azahar’s config folder) and redo the mapping process. Sometimes Azahar caches old settings that cause conflicts.
Wireless controller keeps disconnecting? Check battery level first—this is the #1 culprit. Move closer to your PC’s Bluetooth receiver. Interference from other wireless devices (microwaves, routers, cordless phones) can cause dropouts. Switch to wired connection temporarily to confirm the controller itself works fine.
Analog sticks drifting? This is a hardware issue, not software. The controller’s potentiometers are wearing out. You can apply a small deadzone in Azahar’s settings to reduce drift, but the controller likely needs repair or replacement. This is similar to troubleshooting issues with other wireless devices, as explained in our guide on how to sync Roku remote without pairing button.
Performance Optimization Tips
Once your controller works, fine-tune the experience. Adjust analog stick sensitivity in Azahar’s settings—higher values make the sticks more responsive, lower values reduce drift sensitivity. Find your sweet spot by testing in a game.
Enable vibration if your controller supports it and the game supports it. This adds immersion that keyboard players never experience. Most modern controllers vibrate by default once detected, but you can toggle it in settings if needed.
Create multiple controller profiles for different emulator systems. Some systems need different button layouts than others. Azahar lets you save profiles and switch between them, so you can optimize for each game system you emulate.
If you experience input lag, try these fixes: close background applications consuming CPU resources, disable any controller software running in the background (like Steam), and ensure your USB port has adequate power (use a powered hub if necessary for wireless receivers).
Advanced Configuration Options
Azahar’s advanced settings offer fine-grained control for power users. Access the configuration file directly (usually a .cfg or .ini file in Azahar’s folder) to adjust parameters that the GUI doesn’t expose. This includes analog stick curves, trigger sensitivity thresholds, and button debounce timing.
For serious emulation enthusiasts, understanding these settings transforms your experience. You can create near-perfect controller feel that matches the original hardware. Just back up your configuration file before experimenting—one wrong value and you’ll need to reconfigure everything.
Frequently Asked Questions
Can I use multiple controllers with Azahar emulator?
Absolutely. Azahar supports multiple controllers for multiplayer games. Connect each controller (wired or wireless) and configure them in sequence through the input settings. The emulator assigns each one a player number, and most games automatically detect them.
What if my controller brand isn’t listed in compatibility?
If your controller uses standard DirectInput or XInput protocols, it’ll likely work even if not officially listed. Try connecting it anyway—Windows’ generic game controller drivers often handle unknown brands. Worst case, you can manually assign button mappings if detection fails.
Do I need separate drivers for my controller?
Modern controllers (Xbox, PlayStation, quality third-party) have drivers built into Windows. Older controllers or budget brands might need manual driver installation from the manufacturer. Check Windows Device Manager to see if your controller needs drivers.
Why does my wireless controller keep disconnecting?
Low battery is the most common cause. Replace batteries and try again. If disconnections persist, move closer to your PC’s Bluetooth receiver, reduce interference from other wireless devices, or switch to a wired connection to test if the controller itself is faulty.
Can I use my phone as a controller for Azahar?
Technically yes, but it’s not recommended. Apps exist that stream phone touch controls to PC, but latency makes gaming unpleasant. Stick with actual controllers designed for gaming.
How do I reset my controller configuration?
Delete the controller configuration file from Azahar’s config folder (backup it first!) and restart the emulator. It’ll prompt you to reconfigure your controller from scratch. This fixes most configuration-related issues.
Final Thoughts
Connecting a controller to Azahar emulator transforms your retro gaming from keyboard frustration to authentic console experience. The process is straightforward—whether you choose wired USB or wireless pairing, Azahar handles detection smoothly. Take time with button mapping to ensure everything feels natural, and don’t hesitate to tweak settings for your preferences.
The investment of 10-15 minutes in proper setup pays dividends every time you play. Your hands will thank you, your gaming will improve, and you’ll finally experience those classic games the way they were meant to be played. Start with a wired connection if you’re new to this—it’s the most reliable path to success. Once you’ve got the basics down, experiment with wireless and advanced settings. Happy gaming!


