
Look, I get it. You just want to print from your laptop without running a cable across the room like it’s 2005. The good news? How to connect Brother printer to WiFi is genuinely one of the easier tech tasks out there—way easier than troubleshooting why your router keeps dying at 3 PM.
I’ve set up dozens of Brother printers over the years, and I’m going to walk you through exactly what works. No corporate jargon, no assuming you know what WPS means. Just real, practical steps that actually get your printer online and printing from anywhere in your house.
The whole process usually takes 10-15 minutes if you have your WiFi password handy. Sometimes it takes 30 seconds. Sometimes (and I’ll be honest) it takes three attempts because the printer is being stubborn. But we’ll cover all those scenarios.
Check Your Brother Printer Model
Before you do anything, find your printer model. It’s usually on the front or back—looks something like “HL-L8360CDW” or “MFC-L2710DW.” This matters because some older Brother printers don’t have WiFi at all, and you need to know what you’re working with.
If your model has “W” at the end, you’re golden—that means WiFi. No “W”? You’ve got a USB or Ethernet-only machine, and you’ll need a different approach entirely.
The model number is your north star here. Write it down or snap a photo. You’ll need it if anything goes sideways.
Gather What You Need Before Starting
This is stupidly simple, but people skip it and then waste 20 minutes hunting for stuff:
- Your WiFi network name (SSID) and password. Yes, you actually need this. Not your router admin password—your WiFi password.
- The Brother printer itself, powered on and within reasonable range of your router (same room or adjacent room is ideal).
- A computer or phone to help manage the setup (optional but helpful).
- The printer’s manual or access to Brother’s support website if you get stuck.
That’s genuinely it. You don’t need special cables, software, or anything fancy. Modern Brother printers are built to handle WiFi setup without a PhD.
The Three Ways to Connect (Pick Your Poison)
Here’s the thing about how to connect Brother printer to WiFi—there are multiple paths. Not all printers support all methods, but at least one will work for you.
Method 1 (WPS): Fastest if your router has a WPS button. Takes 60 seconds.
Method 2 (Printer Menu): Works on basically every Brother WiFi printer. Takes 5-10 minutes.
Method 3 (Brother Software): Most reliable if you’re on Windows or Mac. Takes 10-15 minutes but holds your hand the whole way.
I usually recommend starting with Method 2 or 3 because WPS is becoming less common, and honestly, it’s less reliable than it sounds. But we’ll cover all three.
Method 1: WPS Button (Easiest)
If your router has a physical WPS button (usually on the back), this is the nuclear option for speed.
- On your Brother printer, look for the WiFi or Menu button. Press it until you see “WPS” or “Push Button Setup” on the display.
- Press OK or the WiFi button again to activate WPS mode on the printer. The screen will show something like “Waiting for WPS…”
- Within 120 seconds, press the WPS button on your router. It’s usually a small button on the back—you might need a pen or paperclip.
- The printer will connect automatically. You’ll see a confirmation message on the display.
Done. That’s it. If it works, you’re printing wirelessly in under a minute.
Reality check: WPS doesn’t always work. Modern routers are moving away from it because it’s a security risk (though not a huge one for home use). If this doesn’t work after two attempts, move to Method 2.
Method 2: Printer Menu (Most Common)
This is the reliable workhorse. It takes longer than WPS, but it actually works consistently. Here’s the step-by-step:
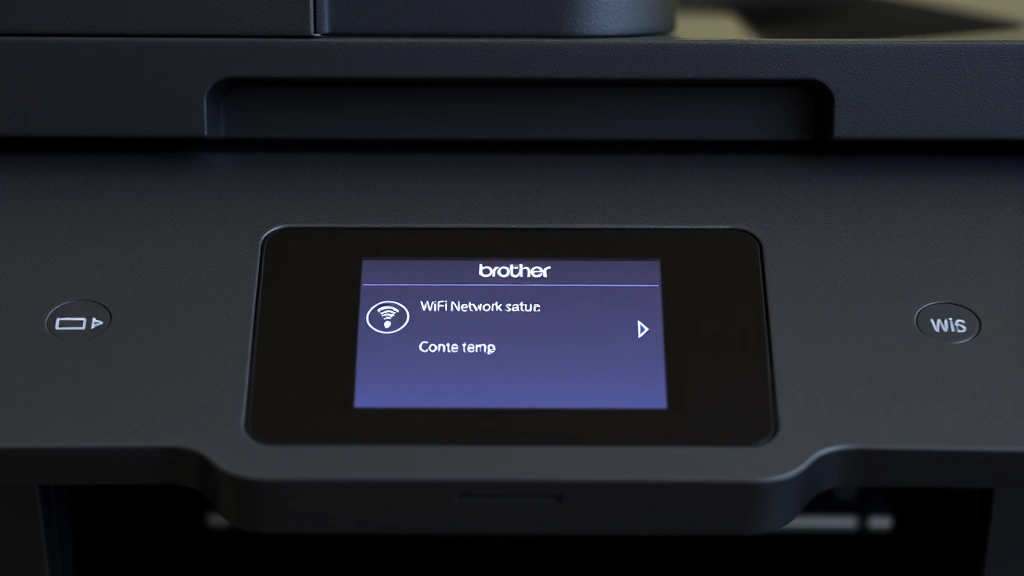
- Access the printer menu. Press the Menu or Settings button on the printer. Navigate using the arrow buttons until you find “Network” or “WiFi.” The exact wording depends on your model.
- Select “WiFi Setup” or “Wireless Setup.” Some printers call it “WiFi Direct” or just “Network.” You’re looking for anything that says WiFi.
- Choose “Infrastructure Mode” (not Ad-Hoc or WiFi Direct—those are different things). Infrastructure mode means connecting to your home router, which is what you want.
- The printer will scan for networks. It’ll show a list of available WiFi networks. Find yours and select it.
- Enter your WiFi password. Use the printer’s keypad or arrow buttons to type it in. This is tedious, I won’t lie. Take your time—one wrong character and it won’t connect. Some printers let you connect via USB temporarily to enter the password from your computer instead, which is faster.
- Wait for confirmation. The printer will attempt to connect. You’ll see “Connected” or a similar message if it works.
Once you see that confirmation, your printer is on the network. Test it immediately by trying to print something from your computer.
Pro Tip: If your WiFi network name has special characters or spaces, that’s fine—the printer handles them. But if your password has special characters, double-check them carefully. A capital letter where you typed lowercase will kill the connection instantly.
Method 3: Brother Software (Windows/Mac)
This is the “hand-holding” method. Brother provides software that walks you through the entire setup. It’s foolproof if you follow it exactly.
- Download the software. Go to Brother’s driver download page, find your printer model, and download the full driver package (not just the driver—the whole bundle).
- Install it on your computer. Run the installer and follow the prompts. It’s standard software installation—next, next, next, finish.
- Launch the setup utility. After installation, you’ll see a “Printer Setup Wizard” or similar. Open it.
- Select your printer from the list. The software will detect your Brother printer on the network automatically (assuming it’s powered on).
- Follow the wizard. It’ll ask for your WiFi network name and password. Enter them exactly as they appear.
- Let it configure everything. The software handles all the heavy lifting. Just let it do its thing.
When it finishes, your printer is configured and ready to print. The software usually installs the printer drivers too, so you’re doubly set.
Why this method wins: It eliminates the tedious menu navigation on the printer itself. If you’re not comfortable using the printer’s tiny buttons and display, this is your answer.
When Things Go Wrong (And They Might)
Not every setup is smooth. Here are the most common problems and actual fixes:
“Network Not Found” or Printer Can’t See Your WiFi
This usually means the printer is too far from the router. Move it closer (same room, ideally) and try again. WiFi signals are weird—thick walls, microwaves, and cordless phones can interfere. Also check that your router is actually broadcasting (not in pairing mode or powered down). Restart both the printer and router, wait 30 seconds, and try again.
“Password Incorrect” (Even Though You Know It’s Right)
This is frustrating. First, verify your password by connecting your phone or laptop to the same network. If that works, your password is correct. The issue is usually a typo on the printer’s tiny keyboard. Try again, slowly. If you keep getting rejected, use the Brother software method instead—it’s much easier to type on a real computer.
Also: WiFi passwords are case-sensitive. “MyPassword” is not the same as “mypassword.” Check your capitalization.
Printer Connected But Won’t Print
This is a driver issue, not a WiFi issue. Your printer is on the network, but your computer doesn’t know how to talk to it. The fix: reinstall the printer drivers. Download them from Brother’s website, install them, and restart your computer. Then try printing again.
Keeps Disconnecting From WiFi
If the printer connects, prints once, then disappears from the network, you’ve got a stability problem. Try these in order:
- Move the printer closer to the router.
- Restart the printer and router.
- Check your router’s WiFi channel. If you’re on a crowded 2.4GHz channel (1, 6, or 11 are standard), try switching to a different one using your router’s admin panel. This is a bit technical, but This Old House has a good guide on optimizing WiFi.
- Update the printer’s firmware. Check Brother’s support site for your model and download the latest firmware. Instructions come with it.
If none of that works, try connecting via USB temporarily, then use the Brother software to reconfigure the WiFi. Sometimes a fresh setup fixes phantom disconnections.
“WPS Failed” or Timeout
WPS is unreliable. Don’t waste more than two attempts. Switch to Method 2 or 3 immediately. It’s not worth your time.
Testing Your Connection
Once you think the printer is connected, verify it actually is:
- Check the printer’s display. It should show a WiFi icon or network status. If there’s a WiFi icon with signal bars, you’re connected.
- Print a network configuration page. On the printer, go to Menu → Network → Print Configuration. This prints a page showing your IP address, MAC address, and network status. If it prints, you’re on the network.
- Try printing from your computer. Open any document, go to File → Print, and select your Brother printer. Send a test page. If it prints, congratulations—you’re done.
If the network configuration page doesn’t print, you’re not actually connected yet. Go back and recheck your password and network name.
Frequently Asked Questions
Do I need to install software to connect my Brother printer to WiFi?
– No, but it makes it easier. You can connect using just the printer’s menu (Method 2). However, you do need to install drivers eventually so your computer can actually print to it. The Brother software bundle includes both the connection setup and drivers, so it’s convenient to do them together.
What’s the difference between WiFi and WiFi Direct?
– WiFi (Infrastructure Mode) means the printer connects to your home router, and your computer prints through the router. WiFi Direct means the printer creates its own network that your computer connects to directly, without a router. For most home use, WiFi is what you want. WiFi Direct is useful if your router is down or you want to print from a phone without a regular network.
Can I connect my Brother printer to both 2.4GHz and 5GHz WiFi?
– Most newer Brother printers support both, but not simultaneously. Your printer will connect to one or the other. If your router broadcasts both (which most modern routers do), the printer usually picks 2.4GHz by default because it has better range. If you want to force 5GHz, you’ll need to temporarily disable 2.4GHz in your router settings, connect the printer to 5GHz, then re-enable 2.4GHz. Most people don’t bother—2.4GHz works fine for printing.
What if my printer model is really old? Does it still support WiFi?
– Depends on the model. Brother started adding WiFi to their printers around 2010, so anything from 2010 onward likely has it (check for the “W” at the end of the model number). Anything before that probably doesn’t. If your printer is pre-2010, you’re stuck with USB or Ethernet. But honestly, if your printer is that old, it might be time for an upgrade anyway.
Do I need a special router for this to work?
– No. Any WiFi router from the last 10 years will work. You don’t need anything fancy. If your router is older than that, it’ll probably still work, but consider upgrading—old routers are unreliable and slow.
Can I print to my Brother printer from my phone?
– Yes, once it’s on WiFi. Download the “Brother iPrint&Scan” app from the App Store or Google Play, and it’ll detect your printer automatically. Works great for printing photos or documents from your phone.
What if I forgot my WiFi password?
– You’ll need to reset your router to factory defaults (hold the reset button for 10 seconds), which will also reset your WiFi password to the default (usually on a sticker on the router). Then you can set a new password. Alternatively, if you’re on Windows, you can sometimes view saved WiFi passwords in your system settings—search “Manage WiFi Settings.” On Mac, check Keychain. But honestly, the easiest move is to just reset the router.
Is it safe to connect my printer to WiFi?
– Yes, it’s as safe as any other device on your network. Your printer is behind your router’s firewall, just like your computer and phone. The only real security concern is if someone on your network wants to use your printer without permission, but that’s a pretty low-stakes problem. Use a strong WiFi password (which you should be doing anyway) and you’re fine. For more on home network security, Bob Vila has a solid overview of best practices.

My printer keeps asking for the password even though I already entered it. What’s going on?
– The printer didn’t actually save the password, which usually means it was entered incorrectly the first time. The printer is asking again because it failed to connect. Try Method 3 (Brother Software) instead—you’ll have a real keyboard to type with, and it’s much less error-prone.
Can I connect multiple computers to the same Brother printer?
– Absolutely. Once the printer is on your WiFi network, any computer on that same network can print to it. Just install the drivers on each computer, and you’re good. No special setup needed.


