
Learning how to color grade in RawTherapee transforms your raw photos from flat captures into visually stunning images with professional-level color control. Whether you’re shooting landscapes, portraits, or commercial work, mastering RawTherapee’s color grading tools gives you the power to establish mood, correct color casts, and create a cohesive visual style across your entire portfolio.
Table of Contents
What Is RawTherapee?
RawTherapee is a free, open-source raw image processor that punches well above its price point. It’s built by photographers for photographers, offering professional-grade color grading and editing capabilities without the subscription fees. The software handles raw files from virtually every camera manufacturer and provides non-destructive editing—meaning you can tweak colors endlessly without degrading image quality.
The beauty of RawTherapee lies in its flexibility. You get granular control over every color channel, tonal range, and saturation level. Unlike some simplified editing apps, RawTherapee respects your creative vision and gives you the tools to execute it precisely.
Color Grading Basics Explained
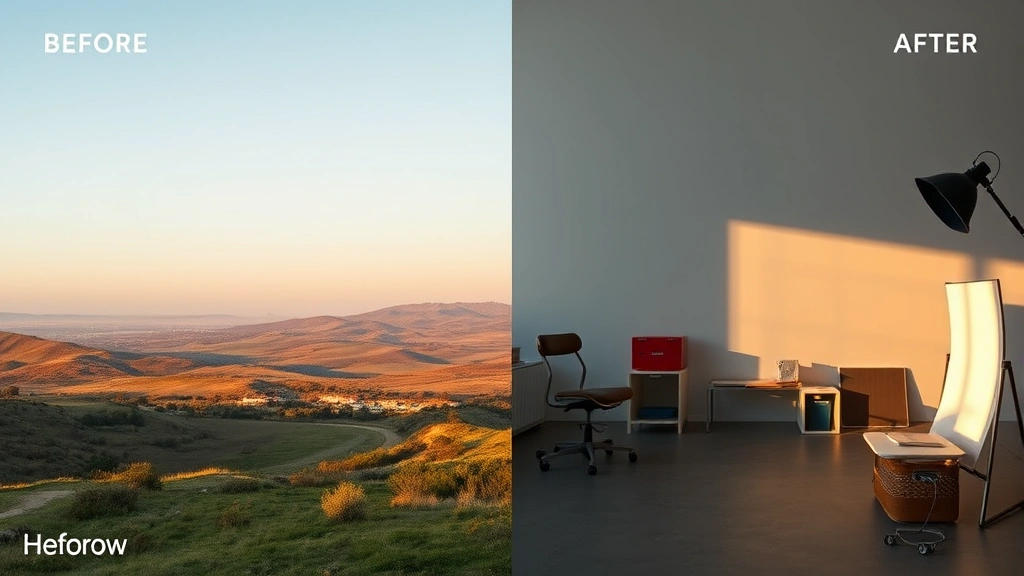
Before diving into RawTherapee’s specific tools, let’s clarify what color grading actually means. Color grading is different from color correction—correction fixes problems (white balance, exposure), while grading is the creative process of establishing mood and style. Think of it like the difference between fixing a broken fence and painting it your favorite color.
In color grading, you’re making intentional, artistic decisions about color relationships. You might push shadows toward cool blues to create a moody atmosphere, or add warm tones to highlights for a romantic feel. The color choices you make shape how viewers emotionally respond to your image.
The fundamental principle: work from the largest adjustments down to fine details. Start with overall tone, move to color cast correction, then layer in creative color grading. This prevents you from chasing your tail with endless micro-adjustments.
Master the Curves Tool
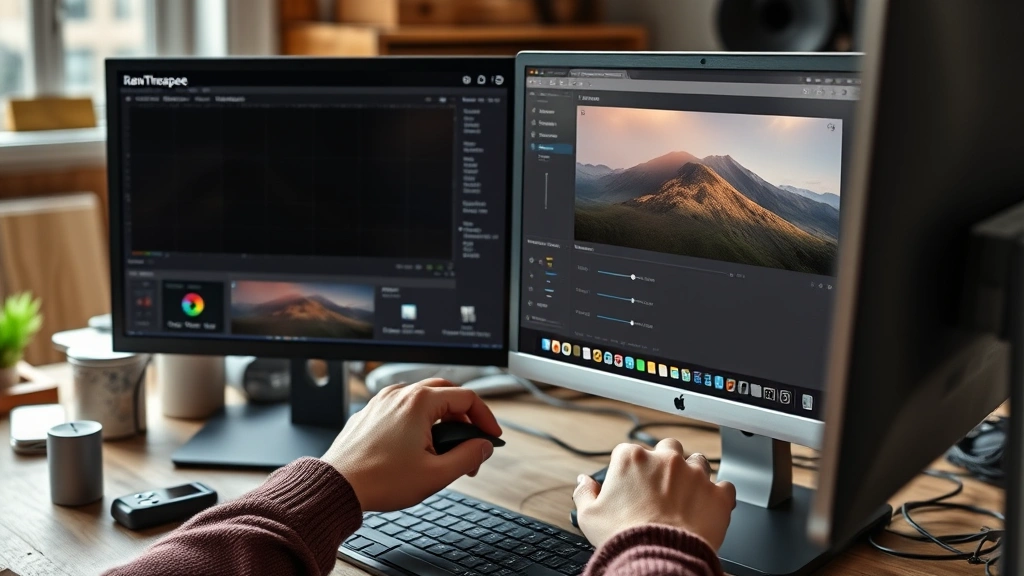
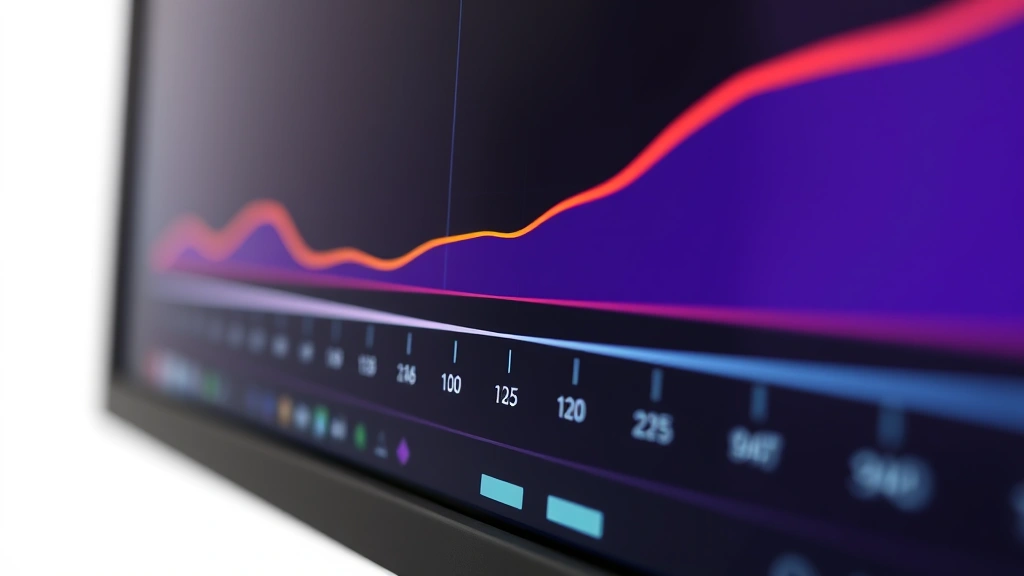
The Curves tool is the workhorse of color grading in RawTherapee. Located in the Exposure tab, it gives you point-by-point control over tonal values and individual color channels. Open your raw file and navigate to the Curves panel—you’ll see a diagonal line representing your image’s tonal range.
Start with the RGB curve (all channels together) to adjust overall contrast. Click on the curve line to create control points. Pulling the curve up brightens that tonal range; pulling down darkens it. Create an S-curve for classic contrast: lift the highlights slightly, deepen the shadows slightly. This adds punch without looking artificial.
Now here’s where the magic happens—switch to individual color channels (Red, Green, Blue tabs). In the shadows, add a touch of blue to create coolness and depth. In the highlights, add warmth by slightly pushing the red channel up. These subtle moves create dimensional color grading that viewers feel rather than consciously see.
Pro tip: Work with a calibrated monitor in a controlled lighting environment. Your curves adjustments are only as good as your ability to see them accurately.
HSL Adjustments for Precision
HSL stands for Hue, Saturation, Luminance—three separate sliders for each color range. This is where targeted color grading shines. Say you want to make skin tones warmer without affecting the background. The HSL panel lets you isolate the red/orange range and adjust only those colors.
Access HSL adjustments in the Colors tab. You’ll see six color ranges: Red, Orange, Yellow, Green, Cyan, Blue. For each range, you can shift the hue slightly (making reds more orange, for example), adjust saturation (making colors more or less vivid), and change luminance (making colors brighter or darker).
In portrait work, slightly desaturate the blue channel to reduce unflattering skin undertones. In landscape photography, boost the saturation of greens and cyans for richer foliage. The precision here is unmatched—you’re not affecting your entire image, just the colors you specify.
Fixing Color Casts Quickly
Color casts are the enemy of professional-looking images. Mixed lighting—tungsten bulbs combined with daylight—creates nasty color shifts. RawTherapee handles this elegantly through the White Balance tool and Curves.
Start with the Temperature and Tint sliders in the White Balance section. Temperature controls blue-yellow balance (higher values = warmer/more yellow), while Tint controls green-magenta balance. Many casts disappear with simple adjustments here. If your image looks too blue, increase temperature. Too green? Push tint toward magenta.
For stubborn casts, use the Curves tool on individual channels. If your shadows have a cyan cast, reduce the blue channel in the shadow region. If highlights look too yellow, reduce the red channel in highlights. The key is subtle adjustments—you’re correcting, not creating.
Always use the eyedropper tool (near the White Balance sliders) on a neutral gray area in your image. RawTherapee will automatically correct to that point, giving you a solid starting position for further refinement.
Split Toning Like a Pro
Split toning is the technique of adding different colors to shadows and highlights—a signature move in professional color grading. It creates visual separation and adds sophistication to your images.
In RawTherapee, achieve split toning through the Curves tool. Work on individual color channels. Add blue to the shadow curve (left side) while adding warmth (red) to the highlight curve (right side). This creates that coveted cool-shadows, warm-highlights look that’s everywhere in contemporary photography.
The beauty is subtlety. You’re not creating garish color shifts—you’re adding 5-10% color variation across tonal ranges. This trains viewers’ eyes to move through your image naturally while establishing mood.
Experiment with different combinations: cool shadows with warm highlights for drama, warm shadows with cool highlights for mystery. The emotional impact is significant. Your color choices tell a story before viewers consciously register what they’re seeing.
Using LUT Profiles
LUTs (Look-Up Tables) are pre-built color grading profiles that apply complex color transformations instantly. RawTherapee supports LUT application, letting you build on established looks rather than starting from scratch every time.
You can download free LUTs from various sources or create your own by building a color grade you love, then exporting it as a LUT. Apply LUTs as starting points—they’re rarely perfect for every image, but they accelerate your workflow significantly. After applying a LUT, fine-tune with Curves and HSL adjustments to match your specific image.
This approach maintains consistency across image series. If you’re editing a wedding or commercial shoot, applying the same LUT to every image creates visual cohesion, then individual tweaks ensure each image looks its best.
Advanced Color Techniques
Once you’ve mastered the basics, RawTherapee offers sophisticated tools for advanced work. The Color Management section lets you work in different color spaces, essential for professional output. The Vibrance slider (different from saturation) increases color intensity while protecting skin tones from oversaturation.
Use the Color Shift tool for creative recoloring—shift entire color ranges toward different hues. The Tone Curve and Saturation Curve (accessed through the Curves panel) let you adjust saturation based on luminance, so bright areas can be more or less saturated independently of darker areas.
Shadow/Highlight recovery is crucial for color grading—you can’t add color to crushed blacks or blown highlights. Use the Shadows-Highlights tool to recover detail before color grading, ensuring you have tonal information to work with throughout your image.
Optimize Your Workflow
Professional color grading requires an efficient workflow. Start by creating a template with your default settings—white balance, exposure, and basic color corrections. Apply this template to all images in a batch, then fine-tune individually.
Use before/after views constantly. RawTherapee’s split-view mode lets you compare your adjustments in real-time. Zoom to 100% to ensure you’re not oversaturating or creating artifacts. Work on a calibrated monitor in a neutral environment—your room’s wall color affects color perception.
Save your color grades as profiles or presets. If you develop a look that works across multiple shoots, save it for future use. This builds your personal style while accelerating repetitive projects.
Export strategically. RawTherapee exports to various formats—TIFF for further editing, JPEG for delivery, PNG for web. Choose based on your intended use. Always keep your original raw file and RawTherapee project file for future adjustments.
Frequently Asked Questions
Is RawTherapee really free to use?
Yes, RawTherapee is completely free and open-source. There are no hidden costs, subscriptions, or limitations. You can download it from the official website and use it professionally without restrictions. It’s maintained by a community of photographers and developers.
Can I use RawTherapee for batch color grading?
Absolutely. RawTherapee’s batch processing is powerful. Create a profile with your color grading, then apply it to multiple images simultaneously. You can then make individual adjustments to each image while maintaining overall consistency. This is ideal for editing photo series.
What’s the difference between color correction and color grading?
Color correction fixes technical issues—white balance, exposure, color casts. Color grading is the creative process of establishing mood and style. In RawTherapee, you’ll typically correct first (using White Balance and basic Curves), then grade (using HSL, split toning, and creative Curves adjustments).
Do I need a color-calibrated monitor?
For serious color grading work, yes. A calibrated monitor ensures your adjustments translate accurately to final output. Consumer monitors often have significant color inaccuracies. A basic calibration tool (around $100) pays for itself in accurate edits. At minimum, work in a consistent lighting environment away from direct sunlight.
Can RawTherapee handle all raw file formats?
RawTherapee supports raw files from virtually all major manufacturers—Canon, Nikon, Sony, Fujifilm, Pentax, and others. It even handles some less common formats. Check the official compatibility list for your specific camera, but compatibility is excellent across the board.
How do I prevent oversaturation when color grading?
Use the Vibrance slider instead of pure Saturation—it’s more intelligent about protecting skin tones. Work at 100% zoom to catch oversaturation before it becomes obvious. Use the Saturation Curve to reduce saturation in highlights (where oversaturation is most visible) while maintaining it in midtones. Step back frequently and view your image at actual size.
Conclusion
Mastering color grading in RawTherapee opens creative possibilities that transform ordinary captures into compelling images. The Curves tool, HSL adjustments, and split toning techniques give you professional-level control. Start with color correction (fixing problems), then layer in creative color grading (establishing mood).
The learning curve is real, but RawTherapee’s non-destructive workflow encourages experimentation. You can’t break anything—just undo and try again. Build your skills gradually: master Curves first, then HSL, then split toning. Watch how professional photographers grade images, identify the techniques they use, and replicate them in your own work.
Your color choices communicate emotion before viewers consciously register what they’re seeing. Cool shadows suggest mystery and drama. Warm highlights suggest intimacy and comfort. Desaturated colors suggest nostalgia. Vibrant colors suggest energy. As you develop your color grading skills, you’re not just editing images—you’re learning a visual language that elevates everything you create.
For additional resources on digital editing techniques, check out Family Handyman’s comprehensive guides, explore This Old House’s detailed tutorials, and visit Bob Vila’s expert recommendations for broader creative perspectives. Start experimenting today—your next masterpiece is waiting in RawTherapee.


