How to Clear Check Engine Light: Easy & Essential Tips

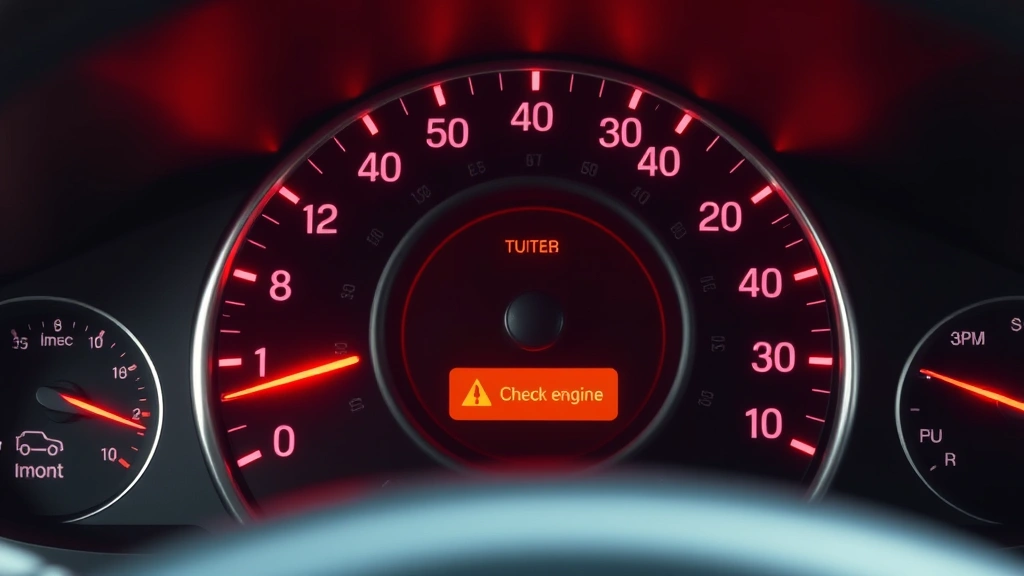
That dreaded check engine light on your dashboard doesn’t always mean expensive repairs are coming. In many cases, you can diagnose and clear the codes yourself using simple tools and methods. Learning how to clear the codes of a check engine light is an essential skill that saves time and money while keeping your vehicle running smoothly.
Quick Answer: The most straightforward way to clear check engine light codes is using an OBD-II scanner, which reads diagnostic trouble codes and allows you to clear them after addressing the underlying issue. You can also disconnect your car battery for 15-30 minutes, though this method is less reliable. For persistent problems, visit a mechanic to ensure the issue is properly resolved before clearing codes.
Tools & Materials You’ll Need
- OBD-II diagnostic scanner (basic models start around $25-$50)
- Socket wrench set (for battery terminal removal, if needed)
- Safety glasses
- Work gloves
- Flashlight or headlamp
- Vehicle owner’s manual
- Pen and paper for noting codes
- Optional: laptop with OBD software for advanced diagnostics
Understanding Your Check Engine Light
Your vehicle’s check engine light is part of the onboard diagnostic (OBD) system that monitors engine performance and emissions. When the system detects a problem, it illuminates the light and stores a diagnostic trouble code in the vehicle’s computer. Understanding how to clear the codes of a check engine light starts with recognizing that this system exists to protect your engine and the environment.
The light can indicate anything from a loose gas cap to serious engine problems. A steady light typically means a non-urgent issue, while a blinking light suggests something severe requiring immediate attention. Never ignore a blinking check engine light, as continuing to drive could cause significant engine damage.
Modern vehicles (1996 and newer) use standardized OBD-II systems, making diagnosis more accessible to DIY enthusiasts. According to WikiHow’s automotive guides, understanding your vehicle’s diagnostic system is the first step toward vehicle maintenance independence.
Reading Diagnostic Codes with an OBD-II Scanner
An OBD-II scanner is your primary tool for learning how to clear the codes of a check engine light. These devices plug into your vehicle’s diagnostic port, typically located under the steering wheel on the driver’s side. The scanner retrieves stored codes that explain what triggered the light.
Steps to read codes:
- Locate your vehicle’s OBD-II port (check your owner’s manual if unsure)
- Insert the scanner firmly into the port
- Turn on the scanner and follow the menu prompts
- Select “Read Codes” or similar option
- Write down all codes displayed (they’ll be in format like P0420)
- Research what each code means using your scanner’s database or online resources
Basic scanners display codes and descriptions, while advanced models provide real-time data and freeze frame information. Spending $40-$100 on a quality scanner pays for itself after one avoided mechanic visit.
Common Causes and Quick Fixes
Many check engine light issues have simple solutions that don’t require professional help. Before attempting to clear the codes of a check engine light, address these common culprits:
Loose or Missing Gas Cap: This is the most frequent cause of check engine lights. A loose cap allows fuel vapors to escape, triggering emissions codes. Simply tighten your gas cap firmly and drive for several miles. The light often clears automatically after the vehicle runs through its diagnostic cycle.
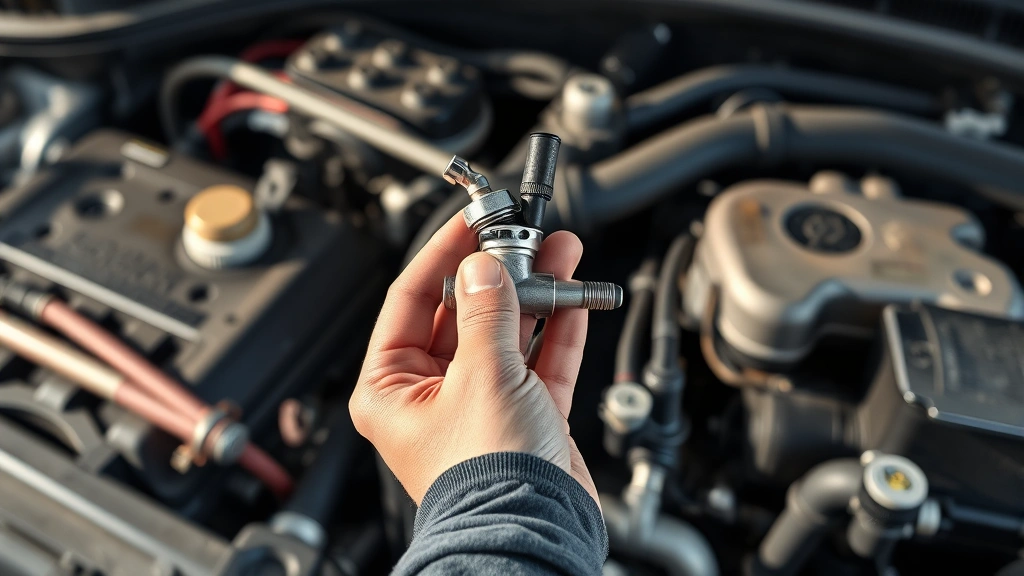
Faulty Oxygen Sensor: Oxygen sensors monitor exhaust gases and commonly fail after 50,000-100,000 miles. Replacement typically costs $200-$400 at a shop but can be a DIY job if you’re mechanically inclined. This is one of the most common reasons drivers need to clear the codes of a check engine light.
Catalytic Converter Issues: A failing catalytic converter produces codes like P0420. While expensive to replace ($400-$2,500), addressing this quickly prevents engine damage. Don’t ignore this code for long.
Mass Air Flow (MAF) Sensor Problems: A dirty MAF sensor can be cleaned with specialized cleaner, costing just $15-$30. This simple fix often resolves multiple codes related to engine performance.
Spark Plug or Ignition Coil Issues: Worn spark plugs or failing ignition coils trigger misfiring codes. These are relatively inexpensive fixes ($50-$300) that significantly improve engine performance.
Methods for Clearing Codes
Once you’ve identified and addressed the underlying problem, you can clear the codes of a check engine light using several methods. The most reliable approach uses your OBD-II scanner.
Using an OBD-II Scanner: After plugging in your scanner and reading the codes, navigate to the “Clear Codes” or “Erase” option. Confirm the action when prompted. The light should turn off within a few driving cycles if the problem is truly resolved. This method is reliable and recommended by Family Handyman experts.
Bluetooth Scanners and Smartphone Apps: Modern Bluetooth OBD-II adapters connect to your smartphone, providing real-time diagnostics through apps. These typically cost $30-$80 and offer convenience for ongoing vehicle monitoring. Many apps allow you to clear codes directly from your phone.
Visiting a Parts Store: Many auto parts retailers offer free code reading and clearing services. While convenient, you won’t get the detailed information that personal scanner ownership provides. This option works well if you’re certain about the fix and just need confirmation.
The Battery Disconnection Method
Disconnecting your vehicle’s battery is an older method for clearing check engine light codes, though it’s less reliable than scanner-based clearing. This approach forces your vehicle’s computer to reset and erase stored codes.
How to disconnect your battery:
- Turn off the engine and remove the keys from the ignition
- Open your hood and locate the battery
- Using a socket wrench, loosen the negative terminal bolt (usually black cable)
- Remove the negative cable and set it aside (don’t let it touch metal parts)
- Wait 15-30 minutes for the system to fully discharge
- Reconnect the negative terminal and tighten the bolt securely
- Start your vehicle and verify the light is off
Important considerations: This method clears all stored codes, including valuable diagnostic information. If the underlying problem isn’t fixed, codes will return quickly, making it harder to diagnose the issue later. Additionally, disconnecting the battery resets your vehicle’s computer settings, which may temporarily affect engine performance until the system relearns optimal parameters.
According to Instructables automotive tutorials, battery disconnection should only be used as a last resort after confirming the problem is resolved through other means.
When to See a Professional Mechanic
Not all check engine light issues are DIY-friendly. Knowing when to seek professional help prevents costly mistakes and ensures your vehicle’s safety. If you’re unsure how to clear the codes of a check engine light because the underlying issue is complex, consulting a mechanic is the right choice.
Visit a mechanic if:
- The check engine light is blinking (indicates severe engine misfire)
- You notice unusual sounds, smells, or performance issues alongside the light
- The diagnostic code relates to transmission, engine computer, or advanced emissions systems
- The light returns immediately after clearing codes
- You lack confidence in your mechanical abilities
- The required repair involves specialized tools or expertise
Professional mechanics have advanced diagnostic equipment and expertise to identify issues that basic scanners might miss. For complex problems, the $100-$200 diagnostic fee is money well spent. As noted by Consumer Reports, proper diagnosis prevents unnecessary repairs and saves money long-term.
Preventing Future Check Engine Light Issues
The best approach to check engine light problems is prevention. Regular maintenance significantly reduces the likelihood of diagnostic codes and the need to clear the codes of a check engine light.
Maintenance essentials:
- Regular Oil Changes: Follow your manufacturer’s recommended intervals (typically every 5,000-7,500 miles)
- Air Filter Replacement: Change engine air filters every 15,000-30,000 miles for optimal engine performance
- Fuel System Cleaning: Use quality fuel and occasionally add fuel system cleaner to prevent carbon buildup
- Battery Maintenance: Keep battery terminals clean and check battery health annually
- Proper Gas Cap: Ensure your gas cap is always tight after refueling
- Scheduled Inspections: Have your vehicle inspected annually to catch issues early
Additionally, addressing warning signs immediately prevents small issues from becoming major problems. If you notice rough idling, decreased fuel economy, or hesitation during acceleration, have your vehicle diagnosed before a check engine light appears.
Learning how to monitor your vehicle’s health through regular maintenance and understanding how to clear the codes of a check engine light when needed makes you a more informed vehicle owner. This knowledge also helps you work more effectively with mechanics, as you’ll understand what they’re discussing regarding your vehicle’s diagnostics.
FAQ
Q: Is it safe to drive with the check engine light on?
A: A steady check engine light indicates a non-emergency issue, though you should have it diagnosed soon. A blinking light means severe engine problems—stop driving immediately and call a mechanic or towing service.
Q: Will the check engine light go away on its own?
A: Sometimes, if the issue was temporary (like a loose gas cap). However, if the underlying problem persists, the light will remain on. After clearing codes, the light returns if the issue isn’t resolved.
Q: How much does it cost to clear a check engine light?
A: If you do it yourself with a scanner ($25-$100), the cost is minimal. Mechanics typically charge $50-$150 just for diagnosis and clearing, plus repair costs if needed. However, fixing the underlying problem may cost significantly more depending on the issue.
Q: Can I clear codes without fixing the problem?
A: Yes, you can technically clear codes without repairs, but the light will return once the vehicle’s computer detects the problem again (usually within 50-100 miles of driving). Proper diagnosis and repair ensure permanent resolution.
Q: What’s the difference between clearing codes and resetting the check engine light?
A: Clearing codes removes the stored diagnostic information from your vehicle’s computer, which turns off the light. Resetting typically refers to the same process. Some people distinguish between clearing (removing codes) and fixing (addressing the underlying issue).
Q: Do I need a professional scanner or will a basic one work?
A: Basic OBD-II scanners ($25-$50) read and clear codes effectively for most common issues. Advanced scanners ($150+) provide real-time data and freeze frame information useful for complex diagnostics. For most DIYers, a basic scanner is sufficient to learn how to clear the codes of a check engine light.
Q: How long does it take to clear codes?
A: Using a scanner typically takes 2-5 minutes. The battery disconnection method requires 15-30 minutes of waiting. After clearing, the vehicle’s computer may take 50-100 miles of driving to complete its diagnostic cycle and confirm the issue is resolved.
Q: Will clearing codes affect my vehicle’s warranty?
A: Clearing codes itself doesn’t void your warranty. However, if the underlying problem causes damage and you clear codes without proper repair, manufacturers may deny warranty claims. Always address the root cause, not just the symptom.
Q: Can extreme weather trigger a check engine light?
A: Yes, cold weather can temporarily trigger oxygen sensor codes, and extreme heat can affect fuel evaporation systems. These often clear after a few driving cycles once conditions normalize. However, persistent codes indicate actual problems requiring attention.
If you’re interested in understanding your vehicle’s computer systems better, you might find it helpful to explore how computer systems work, as modern vehicles use similar diagnostic principles. Understanding how to undo changes made to your computer also helps with understanding vehicle computer resets. For those interested in vehicle electronics, learning how to check what motherboard you have provides insight into computer hardware that parallels vehicle diagnostic computers. Additionally, just as regular washing machine maintenance prevents problems, vehicle maintenance prevents check engine lights. Finally, understanding how to reset electronic devices teaches the same reset principles applicable to vehicle diagnostics.