
Learning how to clean throttle body is one of those maintenance tasks that can breathe new life into your engine’s performance without breaking the bank. A dirty throttle body causes rough idling, hesitation during acceleration, and poor fuel economy—problems that feel like your car’s losing its mojo. The good news? You can tackle this yourself with basic tools and about an hour of your time.
Table of Contents
Why Throttle Body Gets Dirty
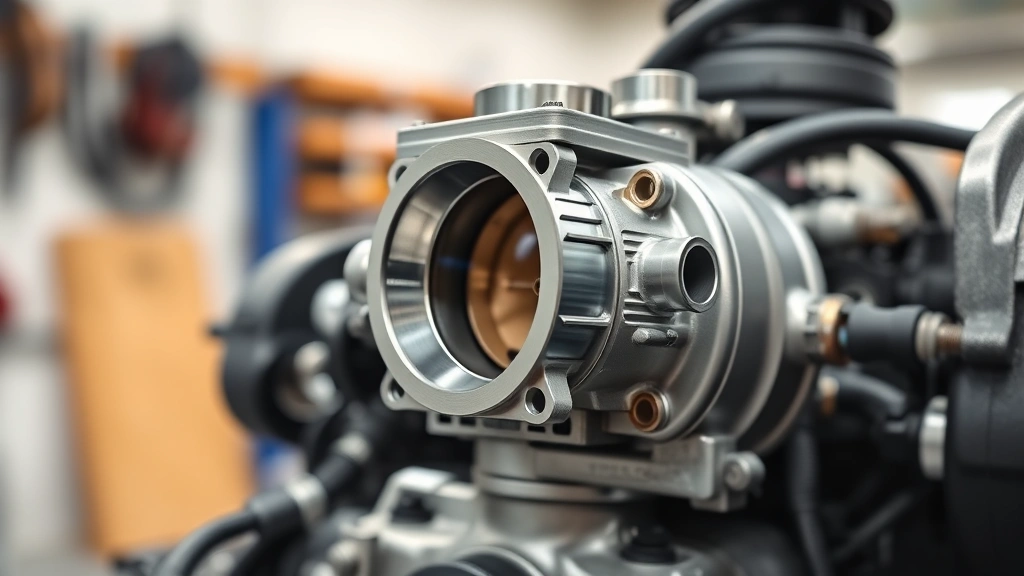
Your throttle body is basically the traffic cop for air entering your engine. It’s a butterfly valve that opens and closes to regulate airflow based on how hard you’re pressing the gas pedal. Over time, carbon deposits, oil residue, and combustion byproducts build up on the valve and its housing—kind of like crud accumulating in a sink trap.
This buildup restricts airflow, throwing off your engine’s air-fuel mixture. The result? Your engine compensates by running rough at idle, stumbling when you accelerate, or even triggering that check engine light. Most vehicles need a throttle body cleaning every 50,000 to 100,000 miles, though heavy city driving can require it sooner.
Tools & Materials Needed
Before you start, gather everything you’ll need. You don’t need a fancy garage setup—just the essentials:
- Socket set and wrenches (10mm, 13mm typically)
- Screwdrivers (Phillips and flathead)
- Carburetor or throttle body cleaner (the real MVP here)
- Clean rags or paper towels (lots of them)
- Small brush (old toothbrush works great)
- Gasket scraper (plastic, not metal—you don’t want to gouge)
- New gasket (specific to your vehicle model)
- Safety glasses and gloves
- Shop manual or YouTube video for your specific car
The throttle body cleaner is non-negotiable—regular degreaser won’t cut through the baked-on carbon. Get the good stuff from an auto parts store. It’s like $8-12 and makes the difference between a mediocre job and a professional one.
Disconnect Battery Safely
Start by disconnecting the negative terminal on your battery. This prevents electrical gremlins while you’re working and keeps you safe. Loosen the negative cable with a wrench, slide it off, and tuck it somewhere it won’t touch the terminal. Wait a few minutes for the electrical system to discharge completely.
Why this matters: Modern engines have computer controls managing everything. Disconnecting the battery clears the system and prevents accidental shorts. Plus, when you reconnect, the computer will relearn idle settings as you drive, which actually helps performance.
Locate & Remove Throttle Body
Pop your hood and locate the throttle body. It’s between your air intake and engine—look for a cylindrical component with hoses and electrical connectors attached. Your shop manual will show exactly where it lives on your specific model.
Before you touch anything, take a photo of the hose and electrical connector positions with your phone. Seriously. Future you will be grateful when you’re reassembling. Disconnect the electrical connector by gently pressing the tab and pulling straight out. Unclip any hoses—note which goes where.
Now unbolt the throttle body from the intake manifold. Usually it’s 2-4 bolts. Remove them slowly and carefully—you don’t want fasteners dropping into the engine bay’s dark void. Once the bolts are out, gently pull the throttle body away from the manifold. You’ll see the old gasket. Don’t reuse it.
Scrub & Clean Thoroughly
This is where the magic happens. Place your throttle body over a drain pan or bucket (this stuff is messy). Spray carburetor cleaner generously on the butterfly valve and housing. Let it soak for 30 seconds to break down the carbon.
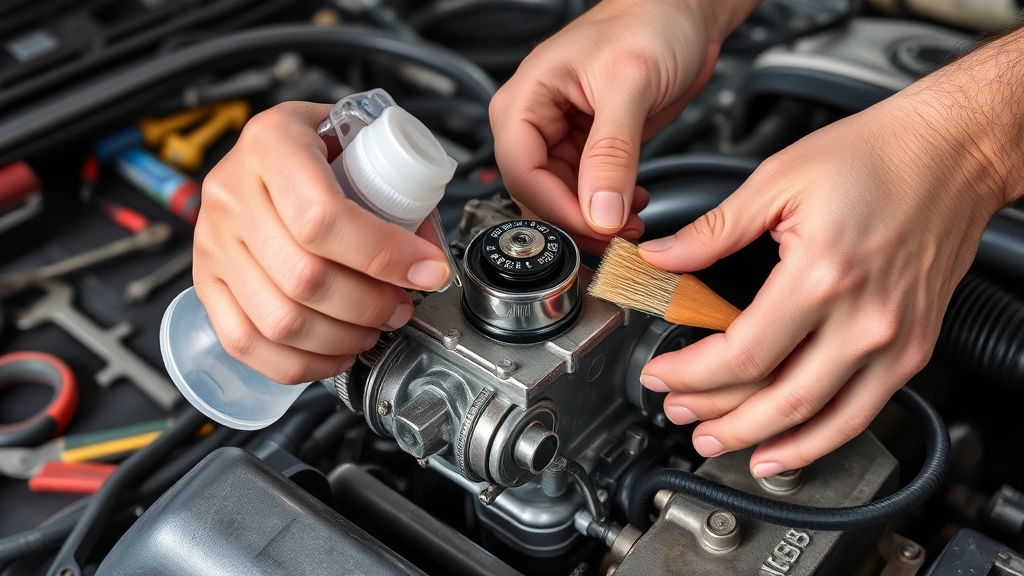
Using your small brush, gently scrub the valve and the valve seat. Don’t use excessive force—you’re removing deposits, not reshaping metal. Spray again, scrub again. Repeat this cycle 4-5 times until the cleaner runs clear and the valve moves freely.
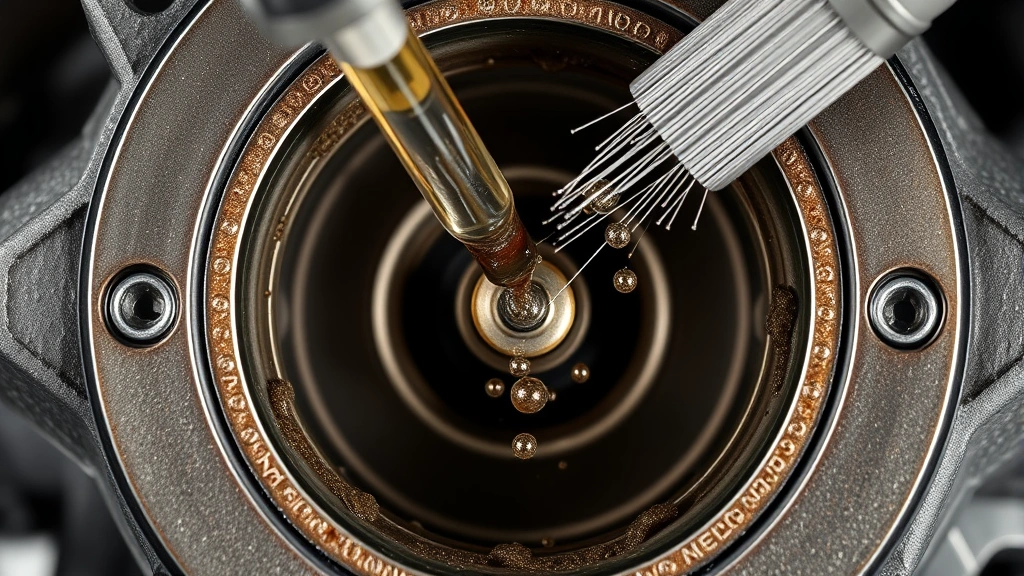
Pay special attention to the valve seat (the ring where the butterfly closes). Carbon loves to hide there. Use your gasket scraper to gently remove stubborn deposits, but keep the blade at a shallow angle. You want to clean, not scratch.
Once it’s sparkling, use clean rags to wipe away all cleaner residue and debris. Any leftover cleaner or particles will cause problems when you start the engine. This step takes patience—don’t rush it.
Reinstall & Test Drive
Before reinstalling, clean the mounting surface on your intake manifold. Use a rag and some cleaner to wipe away old gasket material and grime. A clean surface ensures a proper seal.
Install your new gasket on the manifold (some gaskets go on the throttle body instead—check your manual). Carefully position the throttle body and align the bolt holes. Thread the bolts by hand first to avoid cross-threading, then tighten them in a criss-cross pattern. You want snug, not gorilla-tight—usually 15-20 foot-pounds of torque.
Reconnect your hoses exactly as they were. This is why that photo matters. Reconnect the electrical connector—it should click when fully seated. Reconnect the battery negative terminal.
Start the engine. It might idle rough for a moment while the computer relearns. Take a short test drive. You should notice smoother idle, quicker throttle response, and better acceleration. If the check engine light comes on, don’t panic—it usually clears after a few drive cycles.
Common Mistakes to Avoid
Don’t let cleaner drip into the engine. Cover openings with shop towels if you’re worried. Don’t forget that new gasket—reusing old ones causes vacuum leaks that cause rough idle. Don’t spray cleaner into the intake manifold opening while the throttle body is off; you’ll contaminate the cylinders.
Don’t over-tighten bolts. You’ll crack the throttle body housing or strip threads. Don’t assume the hoses go back the same way—verify with your manual. And don’t skip the initial photo step. Seriously. I’ve seen people waste an hour trying to remember which hose goes where.
When Professional Help Matters
Some vehicles have integrated throttle bodies that are part of larger assemblies. Some have electronic controls that require special diagnostics. If your throttle body is stubborn to remove, bolts are seized, or you’re uncomfortable working with electrical connectors, a shop can handle it for $150-300.
Also, if you’re dealing with a vacuum leak or faulty idle air control valve, cleaning the throttle body alone won’t fix it. Those issues need professional diagnosis. Think of throttle body cleaning as preventive maintenance, not a cure-all.
Frequently Asked Questions
How often should I clean my throttle body?
Every 50,000-100,000 miles under normal conditions. If you drive mostly in stop-and-go city traffic, every 50,000 miles. Highway drivers can stretch it to 100,000. Watch for symptoms: rough idle, hesitation, or poor fuel economy.
Can I clean the throttle body without removing it?
You can spray cleaner through the intake while it’s mounted, but you won’t get it truly clean. Removal takes an hour and gives you 80% better results. Worth the effort.
Will cleaning the throttle body fix my check engine light?
Maybe. If the light is caused by a dirty throttle body affecting air-fuel mixture, yes. If it’s something else (oxygen sensor, catalytic converter), no. Use an OBD2 scanner to read the code first.
What’s the difference between carburetor and throttle body cleaner?
They’re essentially the same thing—strong solvents that dissolve carbon. Carburetor cleaner is the older name. Either works fine on throttle bodies.
Can I damage my engine by cleaning the throttle body?
Not if you’re careful. Don’t let cleaner pool in the intake manifold, don’t force anything, and use a new gasket. These precautions eliminate risk.
Should I clean the idle air control valve too?
If your vehicle has one (older models mainly), yes. It’s usually nearby and gets equally dirty. While you’re in there, might as well do it.
Final Thoughts: Cleaning your throttle body is one of those satisfying DIY jobs where you see immediate results. Your engine runs smoother, responds quicker, and you’ve saved yourself a couple hundred bucks. Take your time, follow the steps, and don’t skip the photo documentation. Your future self will appreciate the thoroughness. Happy wrenching.


