

Learning how to clean stainless steel sink surfaces properly keeps your kitchen looking sharp and prevents damage to this popular material. Stainless steel sinks are workhorses in any kitchen, but they’re also prone to water spots, fingerprints, and stubborn stains if you don’t know the right approach. The good news? You don’t need expensive commercial products or professional help. With a few household items and the right technique, you’ll restore that mirror-like shine in about 15 minutes flat.
Table of Contents
Why Stainless Steel Matters
Stainless steel isn’t actually “stainless”—it’s a steel alloy with chromium that resists rust better than plain steel. But here’s the catch: that protective layer gets compromised by mineral deposits, oils, and scratches. When you understand what you’re dealing with, you’ll clean smarter, not harder. The grain pattern you see in most stainless steel isn’t just cosmetic; it’s directional, and cleaning against it creates visible scratches. Most people don’t realize they’re making their sink look worse with every cleaning. That changes today.
Gather Your Supplies
Before touching that sink, round up these items. You’ll need white vinegar, baking soda, olive oil or mineral oil, microfiber cloths (not paper towels—they scratch), and dish soap. Optional but helpful: rubbing alcohol for stubborn water spots. If you’ve got a stainless steel cleaner on hand, that works too, but honestly, the pantry approach is cheaper and just as effective. Having everything prepped means you won’t be running around mid-clean looking for supplies. Set them on your counter in order of use.
Remove Loose Debris First
Start by clearing the sink completely. Remove the strainer, drain cover, and any dishes. Rinse the entire surface with warm water to loosen dust and food particles. Use your fingers or a soft brush to wipe out corners and the drain area. This step matters because jumping straight to scrubbing with debris present just grinds grit into the surface. Rinse again thoroughly. Pat dry with a clean cloth. You want a clean slate before applying any cleaning solutions. Think of this as the prep work before painting a wall—it determines your final result.
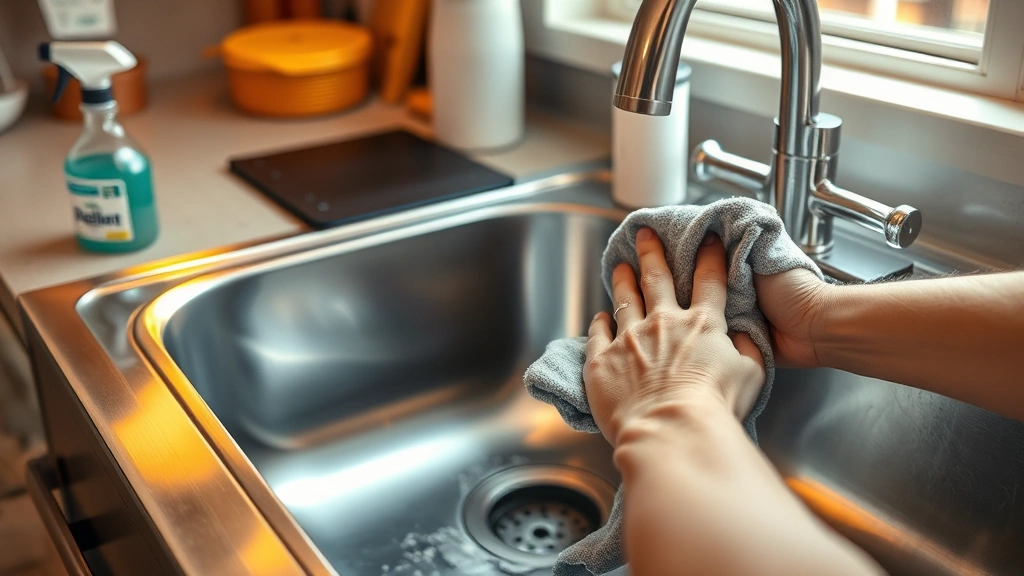
Scrub With the Grain
This is the critical step most people mess up. Look closely at your sink and identify the grain direction—it runs lengthwise in most kitchen sinks. Dampen a microfiber cloth with warm water and a drop of dish soap. Scrub in the direction of the grain using gentle circular motions, not back-and-forth sawing. Work systematically from one end to the other, covering every surface including the sides and drain area. The grain is your friend; it’s designed to hide minor scratches. When you scrub against it, every imperfection shows. Spend about 3-4 minutes on this phase. Rinse thoroughly with clean water.
Tackle Stubborn Stains
For water spots, mineral deposits, or dried-on food, make a paste with baking soda and white vinegar. The fizzing action breaks down mineral buildup without scratching. Apply the paste to problem areas and let it sit for 5 minutes. Scrub gently with a soft cloth or non-abrasive sponge, again following the grain. For rust spots or really stubborn stains, use a bit of rubbing alcohol on a cloth and rub the affected area. If you’re dealing with something like hard water stains that won’t budge, a commercial stainless steel cleaner designed for the purpose will handle it, similar to how you’d approach how to clean your washing machine when mineral deposits build up. Rinse everything completely and dry immediately with a clean cloth.
Dry and Polish Completely
Water spots are the enemy of stainless steel shine. After rinsing, dry the entire sink with a microfiber cloth, working with the grain. Don’t leave any wet spots. Now comes the polish. Apply a small amount of olive oil or mineral oil to a clean cloth and rub it into the stainless steel surface, following the grain direction. The oil fills micro-scratches and creates that lustrous finish. Use minimal oil—a little goes a long way, and too much makes it look greasy. Buff with a dry cloth until you see that mirror-like shine. This final step transforms your sink from “clean” to “showroom quality.”
Prevent Water Spots Daily
The real secret to keeping your stainless steel sink looking great is prevention. After each use, wipe it down with a dry cloth. Seriously, that’s it. This 30-second habit prevents mineral deposits from building up and keeps water spots from setting in. Keep a microfiber cloth handy near your sink. When you’re how to clean baseboards or tackling other household cleaning, you’ll appreciate how simple maintenance prevents bigger problems. If you live in a hard water area, keep a spray bottle of white vinegar near the sink for quick spot treatments. Dry after every rinse, and you’ll rarely need a deep clean.
Avoid These Common Mistakes
Never use steel wool, scouring pads, or abrasive scrubbers on stainless steel—they create permanent scratches that catch light and look terrible. Don’t use bleach or chlorine-based cleaners; they pit the surface and cause rust. Paper towels and regular dish towels shed fibers and scratch; stick with microfiber. Don’t scrub against the grain; you’re fighting the material’s natural design. Avoid leaving wet spots to dry on their own; water minerals create those stubborn deposits. And don’t oversaturate with oil during polishing—you want a light coating, not a slick layer. These mistakes are easy to make, but once you know better, you’ll protect your investment.
Your Maintenance Schedule
Establish a routine that fits your lifestyle. Daily: wipe dry after use. Weekly: full clean with soap and water, following the grain. Monthly: deep clean with baking soda paste if needed, followed by oil polish. This schedule keeps your sink looking pristine without excessive effort. If you’re maintaining multiple stainless steel surfaces around your home, like when you’re how to caulk a shower or updating kitchen fixtures, apply the same grain-direction principle. Consistency beats intensity. Fifteen minutes a month keeps everything looking showroom-fresh year-round.
Frequently Asked Questions
Can I use lemon juice to clean stainless steel?
Yes, lemon juice works similarly to vinegar for cutting through mineral deposits. The citric acid breaks down buildup naturally. However, always follow up with a thorough rinse and dry to prevent the acidic residue from damaging the surface over time. Use it occasionally, not as your primary cleaner.
What’s the best commercial stainless steel cleaner?
Brands like Weiman, Bar Keeper’s Friend, and Stainless Steel Magic are solid options. They’re formulated to protect the chromium layer while removing spots. Follow the product directions carefully and always work with the grain. That said, your pantry staples (vinegar, baking soda, oil) work just as well and cost less.
How do I remove rust from stainless steel?
Small rust spots respond well to rubbing alcohol or white vinegar applied with a cloth. For deeper rust, make a paste with baking soda and water, apply it to the spot, and scrub gently with a soft cloth. If rust is extensive or pitting has occurred, the sink may need professional refinishing or replacement.

Is it safe to use vinegar on stainless steel?
White vinegar is safe for stainless steel when used properly. Apply it diluted with water, scrub gently with the grain, and rinse thoroughly. Don’t let vinegar sit on the surface for extended periods. Always dry completely afterward. The key is thorough rinsing and drying to prevent any acidic residue from lingering.
Why does my stainless steel sink still have spots after cleaning?
Water spots usually mean you didn’t dry completely or you have hard water. Try drying immediately after rinsing with a microfiber cloth. If spots persist, your water has high mineral content; keep vinegar handy for quick spot treatments, and consider installing a water softener if it’s a persistent problem.
Can I use dish soap on stainless steel?
Absolutely. Mild dish soap is actually the gentlest daily cleaner for stainless steel. Use it with warm water and a soft cloth, scrub with the grain, and dry thoroughly. Save the vinegar and baking soda for deeper cleans when mineral deposits or stubborn stains appear.
How often should I oil my stainless steel sink?
Monthly is ideal for maintaining that polished look. If your sink gets heavy use or you live in a dry climate, you might oil it every two weeks. If you’re in a humid area with less use, every 4-6 weeks works fine. The goal is maintaining that protective coating without buildup.
Summary: Cleaning your stainless steel sink properly means gathering the right supplies, working with the grain, and drying thoroughly every single time. The five proven steps—removing debris, scrubbing with the grain, tackling stains, drying, and polishing—take less than 20 minutes and deliver professional results. Prevention through daily wiping beats any amount of deep cleaning. Avoid harsh materials and products that damage the protective chromium layer. Stick to your monthly maintenance schedule, and your sink will look showroom-fresh for years. For more home maintenance tips, check out how to how do you turn off the water to the house for emergency preparedness, or explore other cleaning techniques around your home. Your kitchen’s centerpiece deserves the right care, and now you’ve got the knowledge to deliver it.


