
Learning how to clean records is one of the best investments you can make for your vinyl collection. Dust, fingerprints, and grime don’t just make your records look rough—they degrade sound quality, create pops and crackles, and wear down your stylus faster than a kid through a box of cereal. The good news? Cleaning vinyl is straightforward, doesn’t require expensive gear, and can breathe new life into even neglected albums.
Table of Contents
Why Clean Your Records
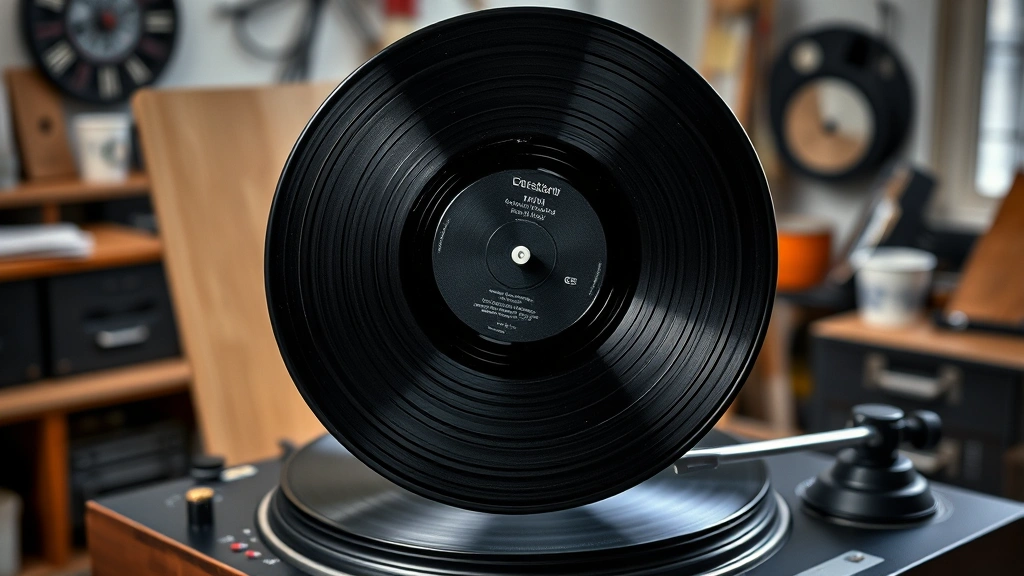
Before we dive into the how-to, let’s talk about why this matters. Vinyl records are analog—every tiny particle sitting on the surface gets picked up by your turntable’s stylus. That dust and debris create audible noise, reduce dynamic range, and make even pristine recordings sound muddy. Think of it like trying to read a book through dirty glasses; the information’s there, but the clarity suffers.
Beyond sound quality, dirt accelerates wear on both your records and your equipment. A stylus dragging through contaminated grooves wears faster, and your turntable’s tracking force has to work harder. Regular cleaning prevents this deterioration and keeps your collection sounding fresh for decades.
Gather Your Cleaning Supplies
You don’t need to break the bank here. A proper record-cleaning setup includes:
- Microfiber cleaning cloths (lint-free, absolutely critical)
- Record cleaning solution (distilled water mixed with isopropyl alcohol, or commercial vinyl cleaner)
- Soft-bristled brush (designed for records, not your kitchen)
- Distilled water (tap water leaves mineral deposits)
- Spin cleaner or manual cleaning pad (optional but helpful)
- Drying stand or rack (keeps records vertical during drying)
If you’re making your own cleaning solution, mix one part isopropyl alcohol (90% or higher) with four parts distilled water. This ratio cuts through grime without damaging the vinyl’s protective layer. Some folks add a tiny drop of dish soap, though most experts skip it to avoid residue buildup.
Dry Cleaning Method First
Start every cleaning session with dry cleaning—it’s like sweeping before you mop. Use a carbon fiber brush or soft-bristled record brush, moving gently from the center outward in a straight line (never circular motions, which follow the grooves and can trap particles). Work your way around the entire surface, rotating the record as you go.
This initial pass removes loose dust and surface debris. You’d be surprised how much comes off this way. Flip the record and repeat on side B. Once you’ve dry-brushed both sides, you’re ready for wet cleaning if needed. For lightly used records, dry cleaning alone might be sufficient—no need to introduce moisture if the record’s already in good shape.
Wet Cleaning Process
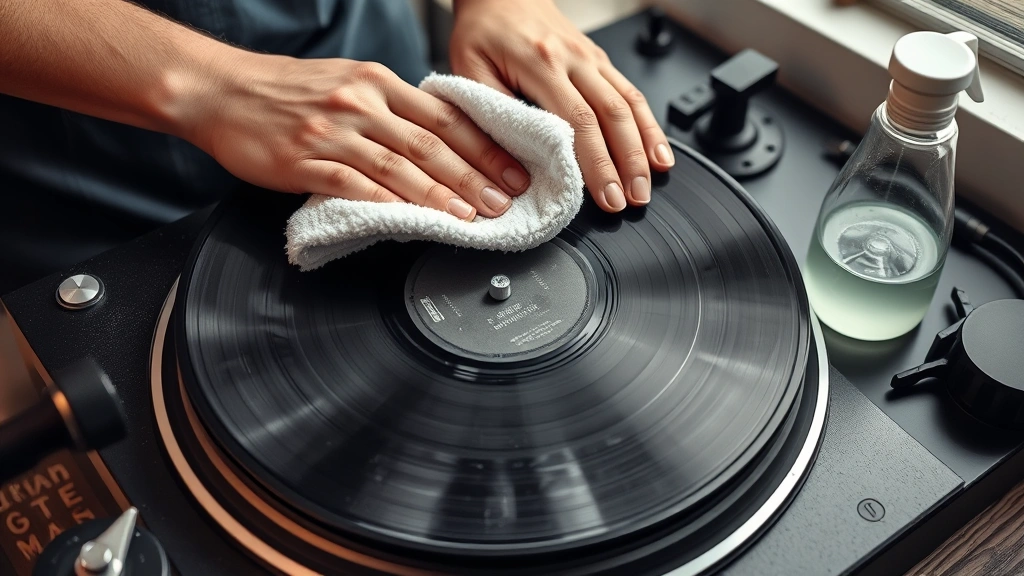
Now for the deep clean. Pour your cleaning solution into a shallow dish—you don’t need much, maybe a quarter cup. Dampen your microfiber cloth (not soaking wet; it should feel like a wrung-out sponge). Starting at the center label, work outward in straight lines following the grooves, applying gentle pressure. Flip and repeat on the other side.
For stubborn grime, let the solution sit for 10-15 seconds before wiping. Don’t scrub aggressively; vinyl’s tougher than you’d think, but aggressive scrubbing can damage the groove walls. If you’re using a spin cleaner, follow the manufacturer’s instructions—these devices apply solution and suction simultaneously, which is highly effective but requires a turntable to operate.
After wet cleaning, do a final pass with a barely-damp cloth to remove any cleaning solution residue. This step matters more than people realize; leftover cleaner can attract dust and create a sticky film that degrades playback quality.
Proper Drying Technique
Drying is where patience wins. Stand records vertically on a clean drying rack in a dust-free environment. Avoid direct sunlight or heat sources—vinyl warps at surprisingly low temperatures. Let them air dry completely, which typically takes 2-4 hours depending on humidity. Don’t use paper towels or regular cloths; they shed fibers that stick to the damp vinyl.
Resist the urge to play records immediately after cleaning. Moisture trapped in the grooves can cause tracking issues and temporary sound degradation. Give them a full overnight dry if possible. Once dry, store them upright in their sleeves—never stack them flat or leave them exposed.
Storage and Maintenance
Proper storage prevents future cleaning headaches. Keep records in their original jackets or quality replacement sleeves, stored upright like books. Maintain consistent temperature and humidity (65-70°F and 45-55% humidity is ideal). Avoid basements and attics where temperature swings and moisture fluctuations degrade vinyl.
Handle records by their edges and center label only. Fingerprints on the grooves are the enemy—they’re harder to remove than dust and can create permanent sound issues. If you’re handling records frequently, consider cotton gloves. When you’re done playing, return records to their sleeves immediately. Leaving them exposed collects dust surprisingly fast.
Common Cleaning Mistakes
People make predictable errors when learning how to clean records. Using tap water introduces minerals that leave white residue in the grooves. Circular brushing motions follow the grooves and can trap particles instead of removing them. Aggressive scrubbing damages the groove walls and can create permanent crackle.
Paper towels and regular cloths shed fibers that cling to vinyl. Using too much cleaning solution leaves residue that attracts dust. Storing records while still damp invites mold growth. Stacking records flat puts pressure on the bottom ones, causing warping. Playing records immediately after cleaning can damage the stylus if moisture’s still present. Avoid these pitfalls and your collection stays pristine.
When to Seek Professional Help
Some records need professional restoration. If you’ve inherited a collection that’s been stored in a garage for 20 years, or if records have visible mold, deep scratches, or severe warping, professional cleaning services have ultrasonic equipment that home methods can’t match. Professional cleaners use vacuum-assisted systems and specialized solutions designed for heavily contaminated vinyl.
For typical maintenance and regular cleaning, home methods work beautifully. But for rare albums or records with significant damage, professional restoration services are worth the investment. Think of it like the difference between how to clean a washing machine yourself versus calling a technician for internal repairs.
Frequently Asked Questions
How often should I clean my records?
Clean records before first play and whenever they sound noticeably degraded. Heavy listeners might clean quarterly; casual listeners annually. Dry-brush before every session to remove dust.
Can I use regular water to clean records?
Tap water leaves mineral deposits that degrade sound. Always use distilled water. If you’re mixing a cleaning solution, the isopropyl alcohol component actually helps water evaporate faster, reducing residue risk.
What’s the difference between record cleaning and maintenance?
Cleaning removes existing dirt; maintenance prevents future contamination. Maintenance includes proper storage, handling with clean hands, using inner sleeves, and keeping your turntable’s stylus clean.
Will cleaning remove scratches?
Surface dust and grime can sound like scratches. Cleaning often improves sound quality noticeably. Deep scratches in the vinyl itself are permanent, but proper cleaning maximizes playback quality despite them.
Is a record cleaning machine worth buying?
For serious collectors with 100+ records, yes. Spin cleaners and vacuum-assisted machines save time and do excellent work. For casual collectors, manual cleaning with good technique works fine.
Can I use vinegar or rubbing alcohol straight?
Vinegar’s acidity can damage vinyl over time. Straight isopropyl alcohol evaporates too quickly and can leave residue. The diluted mixture (one part alcohol to four parts distilled water) hits the sweet spot.
Final Thoughts
Learning how to clean records properly transforms your listening experience. Clean vinyl sounds noticeably better—clearer highs, deeper bass, fewer pops and crackles. The process takes minutes per record and costs pennies. Start with your most-played albums and work backward; you’ll immediately hear the difference.
The key is consistency and gentleness. Dry-brush first, use the right cleaning solution, work methodically, and dry completely. Treat your records like the precision instruments they are, and they’ll reward you with decades of excellent sound. Your turntable will thank you, your ears will thank you, and your vinyl collection will maintain its value and playability for years to come.
For more detailed guidance on maintaining your audio equipment and home systems, check out our guides on how to disconnect a car battery and how to install garbage disposal for other hands-on maintenance tasks. Whether you’re caring for electronics or vinyl, the principle remains the same: proper maintenance prevents problems.


