
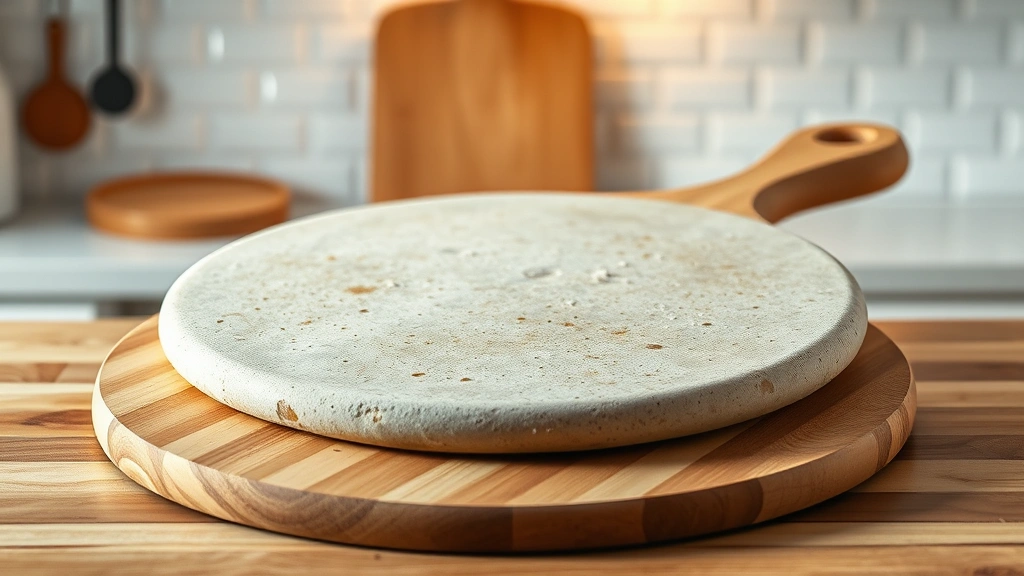
Learning how to clean pizza stone properly is one of those kitchen skills that separates the casual pizza maker from someone who actually knows what they’re doing. Your pizza stone isn’t just a cooking surface—it’s an investment in better-tasting, crispier pizza at home. But here’s the thing: most people trash their stones with harsh chemicals or soak them in water, which is basically asking for a cracked, ruined mess. I’m going to walk you through exactly how to keep your stone in pristine condition so it lasts for years and keeps delivering that authentic pizzeria crust.
Table of Contents
Why Proper Cleaning Matters
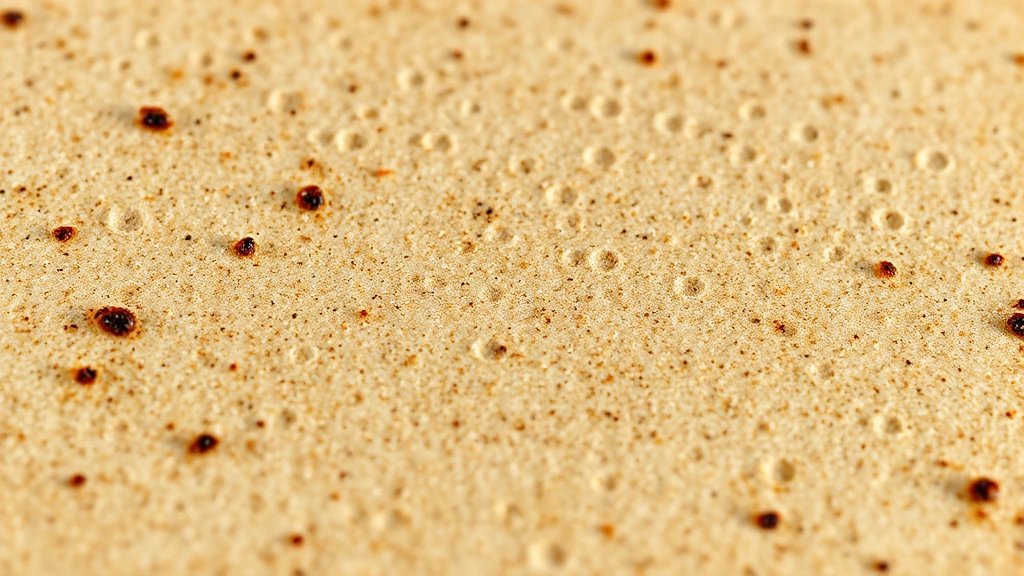
Your pizza stone is porous ceramic or cordierite material, and that’s actually its superpower. Those tiny holes trap heat and moisture, creating that crispy bottom crust you’re after. But here’s where people go wrong: they treat it like a regular baking sheet. Pour water on it, and you’re introducing moisture into those pores. Throw it in the dishwasher, and thermal shock cracks it. Use harsh scrubbing pads, and you’re slowly destroying the seasoning that builds up over time.
Think of your pizza stone like cast iron—it gets better with age and use. The more you cook on it, the more flavor compounds build up, and the better your pizza tastes. Cleaning it properly means removing burnt bits and food debris without stripping away that accumulated seasoning. When you’re making focaccia sourdough recipe or experimenting with different doughs, a well-maintained stone makes all the difference.
Method 1: Dry Brush Technique
This is your go-to method for everyday cleaning, and honestly, it’s what I use 90% of the time. Here’s the process: Let your stone cool completely—and I mean completely. Rushing this step is how stones crack. Once it’s room temperature, take a stiff dry brush (a grill brush works perfectly) and gently brush away loose flour, charred bits, and debris. You’re not trying to remove everything; you’re just clearing away the surface stuff that doesn’t belong.
Use firm but controlled strokes, always brushing away from your body. If you’ve got stubborn burnt spots, a plastic scraper works better than a metal one—metal can gouge the surface. The beauty of this method is that it takes two minutes and requires zero water or chemicals. Your stone stays dry, stays seasoned, and stays intact. For most home cooks, this is genuinely all you need between pizza nights.
Method 2: Baking Soda Paste
When the dry brush isn’t cutting it and you need actual cleaning power, baking soda paste is your secret weapon. Mix baking soda with just enough water to create a thick, spreadable paste—think peanut butter consistency. Spread this paste over the dirty areas of your stone and let it sit for 10-15 minutes. The baking soda is mildly abrasive but won’t damage the porous surface, and it naturally deodorizes.
After the paste sets, use a damp cloth or soft brush to gently work it around the problem areas. You’ll see the burnt spots start lifting. Rinse with minimal water using a damp (not wet) cloth, then immediately dry the stone thoroughly with a clean towel. The key is minimizing water contact—you’re not bathing the stone, just spot-cleaning it. This method works great for those stubborn cheese drips or flour residue that the dry brush missed.
Method 3: Vinegar Spray Method
White vinegar is acidic enough to cut through grease and buildup without being harsh on your stone. Fill a spray bottle with equal parts white vinegar and water. Spray the affected areas lightly—and I mean lightly, not soaking—and let it sit for 5 minutes. The vinegar will start breaking down stuck-on food and grease deposits. Use a soft cloth or brush to gently work the solution, then wipe clean with a barely damp cloth.
This method is particularly effective if you’ve been making Hawaiian rolls recipe or other dough-heavy items that leave sticky residue. The vinegar smell disappears completely once the stone dries. Some people worry about vinegar damaging stone, but the diluted solution is perfectly safe for ceramic and cordierite materials. Just avoid letting it pool or soak—spray, wait, wipe, dry. That’s the whole process.
Method 4: Salt and Oil Scrub
This method is inspired by how cast iron gets maintained, and it’s surprisingly effective. Sprinkle coarse kosher salt directly onto your stone while it’s still slightly warm (not hot). Use a damp cloth to gently rub the salt around in circular motions. The salt acts as a gentle abrasive that lifts burnt food without scratching. After you’ve worked the entire surface, brush away the salt with a dry cloth.
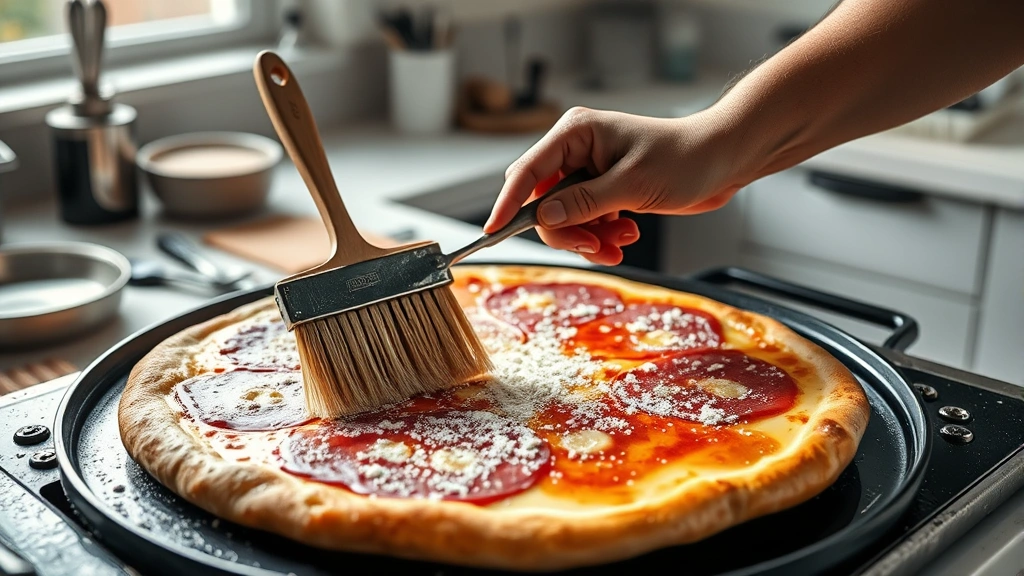
If you want to take it further, wipe the stone with a cloth that’s barely dampened with neutral oil (vegetable or canola oil). This helps maintain the stone’s natural patina and prevents it from drying out completely. The oil layer also creates a natural non-stick surface over time. Wipe away excess oil with a clean cloth—you don’t want it shiny or slick, just lightly coated. This method takes about 10 minutes and leaves your stone in excellent condition.
Method 5: Heat and Burn Method
For really stubborn, baked-on debris, you can use your oven to help. Place the stone in a cold oven, then set the temperature to 500°F and let it heat for 15 minutes. The heat will cause any stuck-on food to dry out and become brittle. Once it cools slightly, use a dry brush or plastic scraper to remove the charred bits. This method is particularly useful if you’ve had a pizza disaster with excess toppings or cheese overflow.
The key safety point: never subject a cold stone to sudden high heat, and never move a hot stone. Always start with a cold oven and let the stone heat gradually. This prevents thermal shock that causes cracks. Once the stone is cool, finish with your preferred dry cleaning method. This is a heavy-duty option you’ll use occasionally, not regularly. It’s perfect for deep maintenance once or twice a year.
What NOT to Do
Let me be crystal clear about what will destroy your pizza stone faster than anything else. Never—and I mean never—soak your stone in water or put it in the dishwasher. The porous material absorbs water, and when that water heats up in the oven, it creates steam pressure that cracks the stone from the inside out. You’ll end up with a useless piece of ceramic.
Avoid harsh chemicals like oven cleaner, bleach, or commercial degreasers. These are too aggressive and will damage the stone’s surface and seasoning. Don’t use metal scrubbing pads or steel wool—they scratch and gouge the surface. Avoid soap, which leaves residue and can affect the taste of your food. Don’t use abrasive scrubbing brushes meant for pots and pans. And absolutely never pour cold water on a hot stone—that’s instant cracking.
Temperature shock is the enemy. Your stone should never go from hot to cold quickly or vice versa. Always let it cool naturally before cleaning, and never refrigerate it. Some people think they’re being thorough by really scrubbing hard, but gentle is always better with stone. Think of it like caring for a delicate piece of cookware, because that’s exactly what it is.
Long-Term Maintenance Tips
The best cleaning is preventative cleaning. Use parchment paper under your dough when you’re learning—it prevents most sticking and debris. Once you’re confident, you can skip it and work directly on the stone. Season your stone like cast iron by occasionally cooking fatty foods on it. The oil builds up a natural non-stick patina. If you’re making hoagie bread recipe or focaccia, those oil-rich items actually improve your stone.
Store your stone in a cool, dry place. Never wrap it in plastic or put it in a sealed container—it needs to breathe. If you live in a humid climate, store it in a cabinet with good air circulation. Check your stone periodically for cracks or damage. Small hairline cracks usually aren’t a problem, but deep cracks mean it’s time for replacement. Most pizza stones last 5-10 years with proper care, so you’re not replacing them constantly.
Between uses, just the dry brush method is sufficient. Save the deeper cleaning methods for monthly maintenance or when you notice actual buildup. Keep your oven clean too—debris from the oven floor can transfer to your stone. And remember, every time you use your stone, you’re improving it. The more you cook on it, the better it performs. That’s the magic of a well-maintained pizza stone.
Frequently Asked Questions
Can I use soap and water to clean my pizza stone?
You technically can use minimal water, but soap is a no-go. Soap leaves residue that affects flavor and can create a film on the stone. If you must rinse, use plain water only and dry immediately. Stick with dry methods or the baking soda paste for best results.
What if my pizza stone cracks?
Small hairline cracks won’t affect performance, but large cracks mean replacement time. Cracks usually happen from thermal shock (sudden temperature changes) or impact damage. Prevention is key—let stones cool naturally and handle them carefully. If you’re looking for guidance on other cleaning challenges, check out our how to clean night guard guide for similar gentle-handling principles.
How often should I deep clean my pizza stone?
For most home cooks, monthly deep cleaning is plenty. If you use your stone weekly, do the dry brush method every time and deeper cleaning monthly. Heavy users might deep clean every two weeks. Listen to your stone—if it looks dirty or smells off, it’s time.
Can I use my stone on the grill?
Absolutely, and many people do. The same cleaning rules apply. Let it cool completely before brushing, avoid water, and use the dry methods. Grills can get hotter than ovens, so thermal shock is even more critical to avoid.
Why does my stone smell bad?
Odor usually means moisture or bacteria trapped in the pores. Use the baking soda method or vinegar spray to deodorize. Make sure your stone is completely dry after cleaning. If smell persists, do the heat and burn method in your oven to fully dry it out.
Should I oil my pizza stone?
Light oiling during maintenance is fine, but don’t oil before every use. A thin layer of oil during monthly maintenance helps prevent drying. Never oil before cooking—it can smoke or burn. The seasoning builds naturally from cooking fatty foods.
Can I clean a cold pizza stone?
Yes, you can clean it anytime, but warm (not hot) is ideal. A slightly warm stone makes debris easier to remove. Never use hot water on a cold stone or vice versa—that temperature shock is what causes cracks.
Conclusion
Learning how to clean pizza stone properly is genuinely simple once you understand the core principle: treat it gently and keep water to a minimum. The dry brush method handles 90% of your cleaning needs, taking just two minutes. For tougher jobs, baking soda paste, vinegar spray, or the salt scrub give you gentle but effective options. Avoid the common mistakes—no dishwasher, no soaking, no harsh chemicals—and your stone will last for years while getting better with every use. The seasoning that builds up is what makes homemade pizza taste restaurant-quality. Start with the dry brush method today, and graduate to deeper cleaning methods only when you need them. Your pizza stone will thank you with perfectly crispy crusts for years to come. And if you want to expand your cooking skills, how to unfreeze chicken covers another essential technique for home cooks.


