

Learning how to clean oven surfaces properly can save you hours of frustration and keep your kitchen looking sharp. Whether you’re dealing with baked-on grease from last month’s roast chicken or just routine buildup, I’m going to walk you through the exact process that works every single time—no fancy commercial cleaners required, though we’ll talk about those too.
Table of Contents
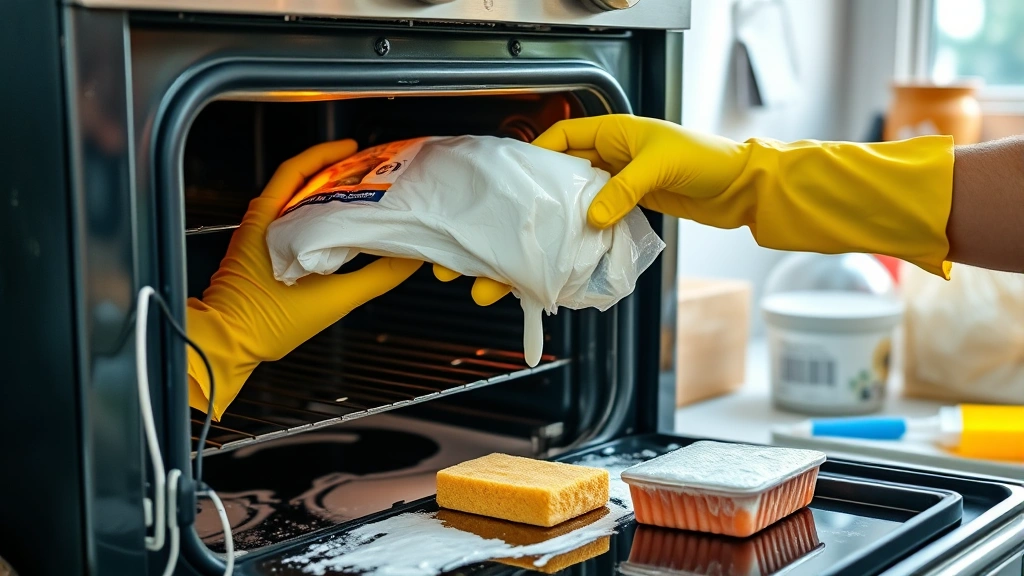
Gather Your Supplies First
Before you start, pull together everything you’ll need. The core ingredients are simple: baking soda, white vinegar, water, and a spray bottle. You’ll also want rubber gloves (trust me, your hands will thank you), a plastic scraper or old credit card, sponges, and some old towels you don’t mind getting dirty. If you’ve got stubborn spots, a non-scratch scouring pad helps without damaging enamel. Having everything within arm’s reach means you won’t be running around mid-project looking for supplies.
Prep the Oven Properly
Start by removing your oven racks if possible—most slide right out. This opens up your workspace considerably and lets you clean the racks separately in the bathtub or shower with the same paste method. Make sure your oven is completely cool before you touch anything inside. If you just used it, crack the door open and let it sit for at least 30 minutes. A hot oven isn’t just uncomfortable; it can reduce the effectiveness of your cleaning paste and create steam burns.
Apply Cleaning Paste Generously
Mix half a cup of baking soda with three tablespoons of water in a bowl. You’re aiming for a thick, spreadable paste—not runny, not dry. Put on your gloves and start applying this paste directly to all interior surfaces, avoiding heating elements. Get it into corners, along the bottom, and up the sides. The paste should be roughly 1/4-inch thick. Don’t worry about being neat; this stuff is forgiving. If you’re dealing with particularly tough buildup (like what you might encounter when learning how to clean blackstone griddles), you might add an extra tablespoon of baking soda for a thicker consistency. Let the paste coat everything evenly—this is where the real work happens.
Let It Sit Overnight
This is the secret that separates amateurs from people who actually get clean ovens. Close your oven door and walk away. Overnight is ideal—at least 12 hours. The baking soda breaks down grease and burnt-on food at the molecular level while you sleep. You can also do this in the morning and let it sit all day if that works better for your schedule. The longer it sits, the less physical scrubbing you’ll need to do. I’ve found that 16-24 hours gives the best results, especially for ovens that haven’t been cleaned in a while.
Scrape and Wipe Thoroughly
After the paste has done its work, it’s time to remove it. Use your plastic scraper to gently lift away the dried paste. You’ll see it’s turned brownish—that’s the grease and grime it’s captured. Work methodically from top to bottom so gravity helps you. Use damp sponges to wipe away the remaining paste residue. You might need to go over some spots a couple times. This is physical work, but nothing like scrubbing without the overnight soak. Spray vinegar on any remaining baking soda residue—it’ll fizz slightly and help break down what’s left. Wipe everything clean with fresh, damp towels until no white powder remains.
Final Rinse and Polish
Once you’ve removed all the paste, give the entire interior a final wipe-down with clean, damp cloths. You want zero baking soda residue left behind. If you notice any stubborn spots, spray them lightly with vinegar and let it sit for 5 minutes before wiping again. For the glass door, use a squeegee or newspaper to avoid streaks—works way better than paper towels. Dry everything thoroughly with clean towels. Your oven should now look dramatically better. Reinstall your racks, and you’re done. The whole process takes maybe 20 minutes of actual work spread across two days.
Prevent Future Buildup Easily
The best way to maintain a clean oven is preventing heavy buildup in the first place. Line the bottom with a sheet of aluminum foil or an oven liner—these catch spills before they bake on. Wipe up obvious spills immediately after the oven cools. Every month or so, do a quick 15-minute touch-up with baking soda paste on just the dirty spots rather than waiting until it’s a full disaster. This approach is similar to how you’d maintain how to clean quartz countertops—regular maintenance beats occasional deep cleaning every time. Consider covering dishes that might splatter, or use a baking sheet below casseroles.
Self-Cleaning Oven Option
If your oven has a self-cleaning cycle, use it strategically. These cycles heat the oven to extreme temperatures that turn food and grease to ash. The downside? They use significant energy, take 2-4 hours, and make your kitchen hot. They also produce smoke and odor. I’d recommend doing a manual clean first with the baking soda method, then using the self-clean cycle only for maintenance every few months. Never use the baking soda paste method on ovens right before running the self-clean cycle—the combination can cause damage. Always check your manufacturer’s manual before using the self-clean function.
Frequently Asked Questions
Can I use commercial oven cleaner instead?
Absolutely. Products like Easy-Off work quickly and effectively, though they’re harsher on your skin and respiratory system. If you choose commercial cleaners, ensure good ventilation, wear heavy-duty gloves, and follow the label instructions exactly. The baking soda method is gentler and works just as well if you’re patient with the overnight soak.
What if my oven has a glass door?
The baking soda paste works fine on glass—just be extra gentle with your plastic scraper to avoid scratches. For stubborn spots on glass, let the paste sit a bit longer. You can also make a thicker paste just for the glass and let it work for 24 hours. Never use abrasive scouring pads on glass.

How often should I clean my oven?
With regular maintenance, a deep clean every 3-6 months is sufficient for most home cooks. If you cook frequently or make messy dishes regularly, every 2-3 months is better. Quick touch-ups between deep cleans take just minutes and prevent the heavy buildup that makes cleaning miserable.
Will baking soda damage my oven?
No. Baking soda is completely safe for all oven types and materials. It won’t damage enamel, stainless steel, or glass. It’s actually gentler than most commercial cleaners and won’t create toxic fumes. Just avoid getting it on heating elements themselves—stick to interior surfaces only.
Can I use this method on my stovetop too?
Yes, the same baking soda and vinegar method works great on stovetops. It’s similar to the approach you’d use when learning how to clean a couch in that you’re using gentle abrasives and letting chemistry do the heavy lifting. Apply paste, let it sit for a few hours, then scrape and wipe clean.
What about burnt-on food on oven racks?
Soak them in your bathtub with hot water and the same baking soda paste. Let them sit overnight, then scrub with a brush. For really stubborn buildup, you can also use a paste of baking soda and hydrogen peroxide instead of water—it’s slightly more aggressive. Rinse thoroughly and dry before reinstalling.
Final Thoughts
Learning how to clean oven properly isn’t complicated—it just requires patience and the right approach. The baking soda and vinegar method has been trusted for generations because it works reliably without harsh chemicals. You’ll spend maybe 20 minutes of actual work, most of which is just letting the paste do its job overnight. Your oven will look spotless, your kitchen will smell fresh, and you’ll have a process you can repeat confidently whenever needed. Keep your supplies on hand, do regular maintenance to prevent heavy buildup, and you’ll never dread oven cleaning again. For more kitchen maintenance tips, check out Family Handyman’s cleaning guides and This Old House’s kitchen care articles for additional expert advice.


