
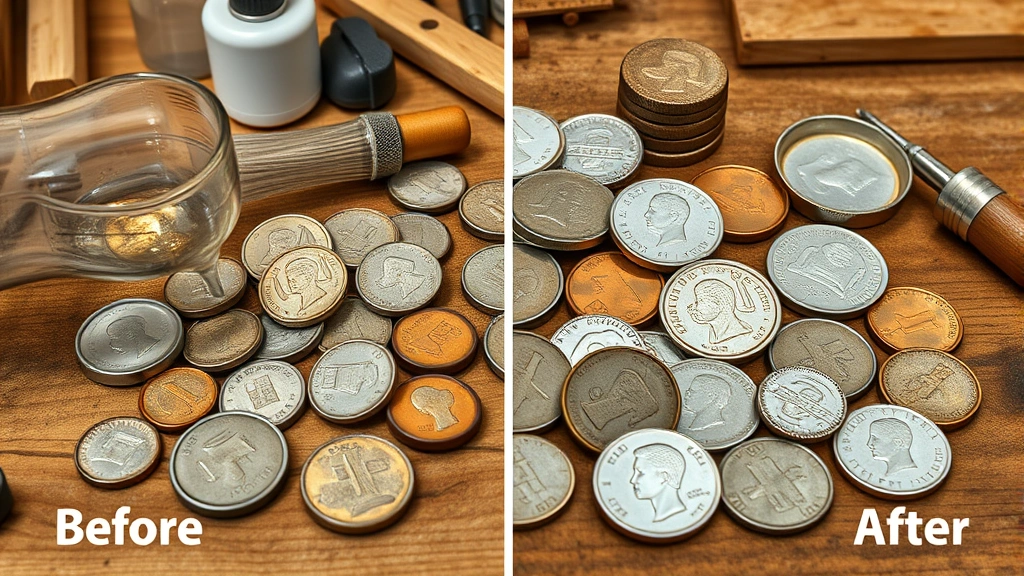
Learning how to clean old coins is one of those skills that sits somewhere between restoration work and detective hobby—you’re trying to reveal history without destroying it. Whether you’ve inherited a collection, found coins at a flea market, or discovered them in your grandmother’s attic, the temptation to polish them shiny is real. But here’s the thing: not all old coins should be cleaned the same way, and some shouldn’t be cleaned at all.
The difference between a valuable collectible and a ruined piece comes down to method, patience, and knowing when to stop. I’ve spent enough time working with various materials to understand that old coins demand respect. They’ve been through decades or centuries already—treat them right, and you’ll reveal their true character. Treat them wrong, and you’ll regret it.
Table of Contents
Assess Your Coin’s Condition
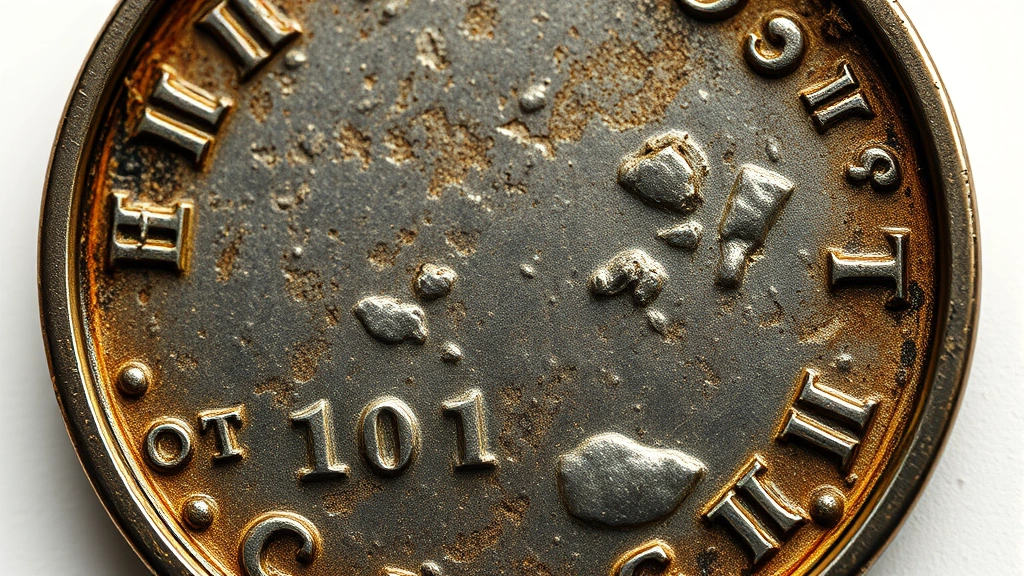
Before you do anything, stop and really look at what you’ve got. The age, material, and current condition of your coin determine everything. A heavily tarnished silver coin from the 1800s needs a different approach than a copper penny from the 1960s. If your coin has any numismatic value—meaning collectors care about it—you might want to skip cleaning altogether. Professional graders actually penalize cleaned coins, sometimes cutting their value significantly.
Grab a magnifying glass and examine the surface. Are we talking light surface dust, heavy patina, or deep corrosion? Is the coin made of copper, silver, nickel, or a mix? Does it have any rare mint marks or striking errors that make it valuable? These details matter because they tell you whether you’re restoring a piece of history or just cleaning up a keepsake.
The Gentle Water Rinse Method
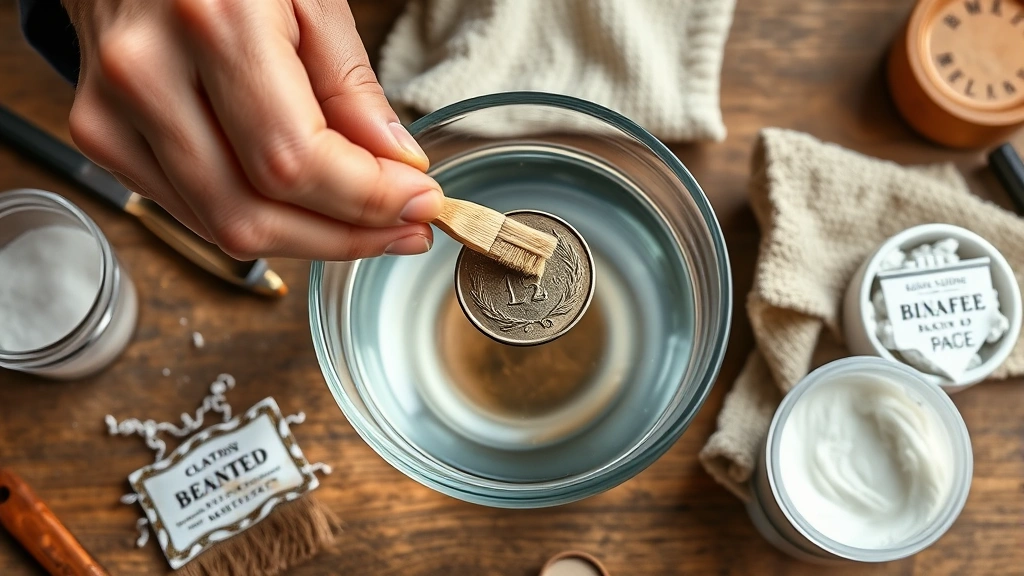
This is your starting point for any coin cleaning project. It’s the gentlest approach and often all you need. Fill a small bowl with lukewarm distilled water—not tap water, because minerals can leave deposits. Gently place your coin in the water and let it soak for 15-20 minutes. The water softens surface debris and oxidation without any chemical aggression.
After soaking, use a soft-bristled toothbrush—and I mean soft, like the kind dentists recommend—to gently brush the coin’s surface. Work in one direction, following the coin’s design. Don’t scrub back and forth like you’re cleaning bathroom tiles. Rinse under more distilled water, then pat dry immediately with a lint-free cloth. This method works surprisingly well for coins with light grime or dust buildup.
Baking Soda Paste Technique
When water alone isn’t cutting it, baking soda becomes your next-level tool. Mix baking soda with a small amount of distilled water to create a paste—think toothpaste consistency. This mild abrasive works on tarnished coins without being aggressive enough to damage the surface or remove valuable patina.
Apply the paste directly to the coin using your soft toothbrush, working gently in circular motions. Let it sit for 5-10 minutes to break down oxidation. Rinse thoroughly under distilled water, and dry immediately. The beauty of this method is that it’s safe for most metals and won’t create chemical reactions that could harm your coins. I’ve used this approach on countless tarnished silver coins with excellent results.
The Vinegar Soak Approach
Vinegar is a mild acid that works well on coins with stubborn corrosion or heavy oxidation. White vinegar is your best choice—it’s consistent and predictable. Pour enough vinegar into a glass or ceramic bowl to fully submerge your coins. Let them soak for 30 minutes to an hour, depending on how bad the corrosion looks.
The vinegar will bubble and work on the oxidized layer. After soaking, remove the coins and gently brush with your soft toothbrush. Rinse under distilled water several times to remove all vinegar residue—vinegar left on the coin will continue reacting and cause new problems. Dry immediately with a lint-free cloth. This method is particularly effective for copper coins and those with green or blue patina buildup.
Lemon Juice for Stubborn Grime
Fresh lemon juice contains citric acid, which is slightly stronger than vinegar but still gentle enough for most coins. This works best for coins with really stubborn deposits that other methods haven’t touched. Squeeze fresh lemon juice into a shallow dish and submerge your coins for 20-30 minutes. The acid attacks mineral deposits and corrosion more aggressively than vinegar.
After soaking, use your soft brush to gently work away loosened deposits. Rinse multiple times with distilled water—this step is crucial because lemon juice residue will continue eating at your coin if left behind. Dry thoroughly. I reserve this method for coins that have been sitting in damp conditions or have mineral deposits that vinegar couldn’t handle. It’s more aggressive, so use it as your third option, not your first.
Olive Oil Polish Method
Once your coins are clean, olive oil serves as a protective polish and brings out the shine without being harsh. Pour a small amount of extra-virgin olive oil onto a soft cloth and gently buff your coin. The oil fills microscopic surface irregularities and adds luster while creating a protective barrier against future oxidation.
This method is especially effective after using one of the stronger cleaning methods. The oil removes any residual moisture and leaves your coins looking naturally polished rather than artificially shiny. Don’t use mineral oil or commercial polishes—they can leave residue that attracts dirt. Olive oil is food-grade, safe, and actually protective over time.
Tools and Supplies You’ll Need
Gather these items before you start any coin cleaning project. You’ll need distilled water—never use tap water because minerals will cause problems. Soft-bristled toothbrushes designed for sensitive gums work better than regular brushes. Get yourself some lint-free cloths; microfiber works great, and old cotton t-shirts torn into squares work fine too. Baking soda, white vinegar, fresh lemons, and extra-virgin olive oil are your chemical arsenal.
A magnifying glass helps you assess condition and spot details. Small ceramic or glass bowls prevent chemical reactions that metal bowls can cause. Consider getting cotton gloves to avoid transferring skin oils and salts to your coins. A wooden toothpick can help dislodge stubborn debris from coin details without scratching. Keep everything organized in your workspace so you’re not fumbling around while your coin is wet.
Common Mistakes to Avoid
The biggest mistake people make is using tap water. Minerals in tap water leave deposits that are sometimes worse than what you started with. Always use distilled water. Another killer is using commercial coin polish or harsh chemicals—these can strip patina that actually adds value and character to old coins. Never use steel wool, wire brushes, or anything abrasive enough to scratch.
Don’t leave coins wet. Moisture sitting on metal creates oxidation, so dry immediately after any water exposure. Avoid using your bare hands; skin oils and salts accelerate corrosion. Don’t soak coins in solutions longer than recommended—more time doesn’t mean better results, it just means more chemical exposure. And here’s the hardest one: know when to stop. Sometimes a coin looks better with its patina intact, even if it’s not shiny.
Storage and Preservation Tips
After you’ve cleaned your coins, storage becomes critical. Store them in a cool, dry place away from direct sunlight. Humidity is the enemy—moisture in the air causes oxidation. Use acid-free coin holders or capsules specifically designed for numismatic storage. Never store coins in plastic bags or PVC-containing holders; PVC breaks down and creates corrosive gases.
Keep coins in individual holders rather than touching each other. Moisture and minerals can transfer between coins, causing new problems. Store in a location with stable temperature—avoid attics and basements where temperature and humidity fluctuate. If you’ve invested time cleaning valuable coins, consider a safe deposit box or home safe. Silica gel packets in your storage container help absorb ambient moisture. Check your collection periodically; if you notice new oxidation, adjust your storage conditions.
Frequently Asked Questions
Should I clean rare or valuable coins?
Generally, no. Professional coin graders actually devalue cleaned coins because the cleaning process removes original patina and can damage the surface. If you suspect a coin has numismatic value, have it professionally appraised before cleaning. The cost of appraisal is worth avoiding a costly mistake.
Can I use a dishwasher to clean coins?
Absolutely not. Dishwashers use hot water, harsh detergents, and high pressure—all terrible for coins. The heat can warp coins, detergent residue causes oxidation, and the agitation damages surfaces. Stick with gentle hand-cleaning methods.
How often should I clean my coin collection?
Only clean coins when they actually need it. If they’re stored properly, they shouldn’t need frequent cleaning. Over-cleaning causes more damage than gentle storage. Think of it as maintenance, not routine. Clean once if needed, then focus on proper storage to prevent future oxidation.
Is it safe to use baking soda on all coin types?
Baking soda is safe for most coins, but test on a less valuable coin first if you’re unsure. It works great on copper and silver but can be slightly aggressive on delicate or rare coins. Always err on the side of gentleness.
What’s the difference between cleaning and polishing?
Cleaning removes dirt and oxidation; polishing adds shine and a protective layer. You can clean without polishing, but polishing should always follow cleaning. Polishing alone won’t remove corrosion—you need to clean first.
Can I use a toothbrush on all coins?
Only soft-bristled toothbrushes designed for sensitive gums. Regular toothbrushes have stiffer bristles that can scratch. Avoid power toothbrushes entirely—the vibration and pressure can damage delicate coins.
How do I know if my coin has numismatic value?
Look for rare dates, mint marks, striking errors, or low mintage numbers. Check online coin databases or consult a professional numismatist. If a coin is old, in good condition, or has any unusual characteristics, get it appraised before cleaning.
The bottom line: Learning how to clean old coins means respecting what you’re working with. Start gentle, assess as you go, and remember that sometimes the best thing you can do is leave well enough alone. These coins have stories to tell—your job is to help them tell those stories without erasing the evidence of their history.


