
Learning how to clean microwave is one of those kitchen tasks that seems daunting until you actually start—then you realize it’s basically just steam, vinegar, and a little elbow grease. Most people let their microwaves get absolutely crusty before tackling the job, but honestly, a regular cleaning keeps things running smoothly and prevents that burnt popcorn smell from haunting your kitchen for weeks.
Table of Contents
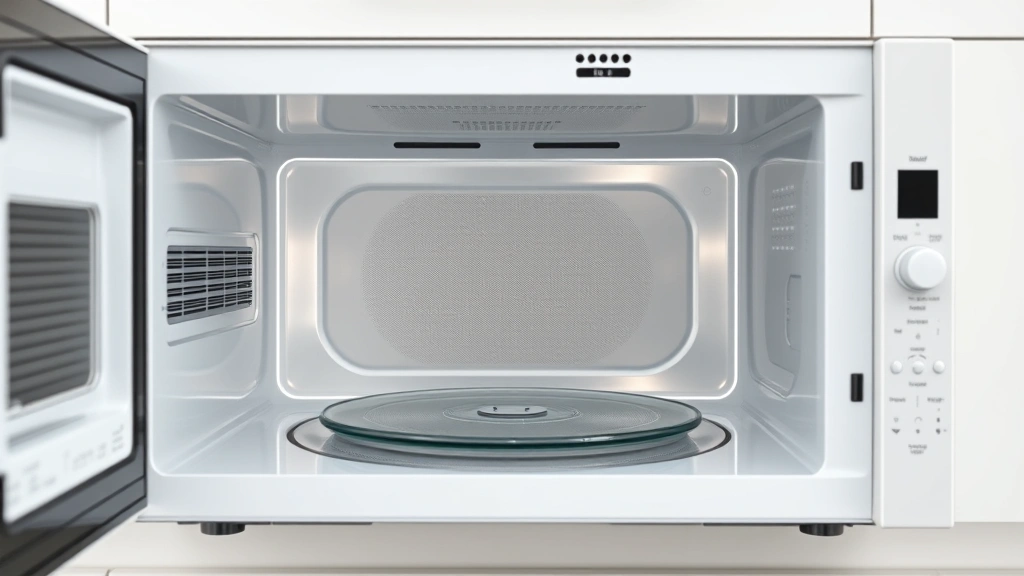
Prep Your Microwave
Before you start, unplug your microwave if it’s a countertop model—safety first, always. Remove the turntable and set it aside. Open the door and take a quick look inside. You’re looking for the level of gunk you’re dealing with. Is it light splatters or has this thing been neglected since the Obama administration? Either way, we’ve got you covered. Make sure you have your supplies ready: white vinegar, a microwave-safe bowl, water, a soft sponge or cloth, and maybe some baking soda if things are really grimy. This prep work takes about two minutes but saves you from scrambling mid-project.
Steam Cleaning Method
Here’s the secret weapon for how to clean microwave effectively: steam does most of the heavy lifting for you. Fill a microwave-safe bowl with one cup of water and add two tablespoons of white vinegar. Place the bowl in the microwave and run it on high for five minutes. The steam will loosen all that stuck-on food and grime, making it way easier to wipe away. You’ll literally watch the interior walls get coated with condensation—that’s your cue that the magic is happening. Let it sit for another two minutes after the timer goes off so the steam can keep working. Don’t open the door right away; patience pays off here.
Tackle Stubborn Spots
After the steam treatment, carefully remove the hot bowl—use an oven mitt because that water is steaming hot. Now grab your soft sponge or cloth and start wiping down the walls, ceiling, and floor of the microwave. Most of the mess should come off easily now. For stubborn spots that won’t budge, make a paste with baking soda and water, apply it directly to the problem area, and let it sit for a minute. Then scrub gently with your sponge. The combination of vinegar steam and baking soda paste handles even the most baked-on messes. Avoid steel wool or harsh scrubbers—you don’t want to damage the microwave’s interior coating. Work in sections so you don’t miss anything.
Clean the Turntable
While you’re working on the interior, soak the turntable in hot soapy water. This gives any stuck-on food time to soften. After about five minutes, scrub it with a sponge and rinse thoroughly. If there’s still stubborn gunk, use that baking soda paste trick again. Dry the turntable completely before putting it back—you don’t want water dripping inside your microwave. Make sure the turntable sits properly in its track when you reinstall it. Spin it by hand to confirm it rotates smoothly. A clean turntable makes a huge difference in how your microwave looks and functions.
Wipe Down Interior
Go back to the microwave interior and do a final wipe-down with a damp cloth. You want to remove all the vinegar smell and any residual baking soda. Use a clean, damp cloth for this final pass—not dripping wet, just damp. Pay special attention to the corners and the seam where the door meets the frame. These spots collect debris. Wipe the ceiling thoroughly too since grease splatters tend to travel upward. Once everything looks clean and shiny, use a dry cloth to wipe it all down again. This prevents water spots and ensures everything is completely dry before you plug it back in.

Exterior Polish
Don’t forget about the outside! A clean exterior makes the whole kitchen look better. Use a damp cloth with a little vinegar to wipe down the front panel, sides, and top. If your microwave has a stainless steel finish, you might want to follow up with a microfiber cloth and a tiny bit of stainless steel polish to make it gleam. The door handle gets surprisingly grimy—give it extra attention. Wipe the top of the microwave too since dust settles there constantly. This takes about three minutes and makes your kitchen look intentional and well-maintained. A sparkling microwave exterior sets the tone for a clean kitchen.
Maintenance Tips
To keep your microwave cleaner longer, cover your food with a paper towel or microwave-safe lid when heating. This simple step prevents splatters from building up. Wipe down spills immediately after they happen—dried-on food is way harder to clean. Do a quick steam cleaning once a week if you use your microwave heavily. Place a small cup of water with vinegar inside and run it for three minutes. This keeps odors at bay and prevents buildup. If you’re dealing with stubborn odors, leave an open box of baking soda inside overnight. These preventative measures mean you’ll never face a truly gross microwave again. Consistency beats intensity every time.
Frequently Asked Questions
Can I use bleach to clean my microwave?
Absolutely not. Bleach can damage the microwave’s interior and create toxic fumes when heated. Stick with vinegar, baking soda, and water—they’re safer and work just as well. Bleach is overkill for this job anyway.
How often should I clean my microwave?
A quick wipe-down of spills should happen immediately. A deeper steam cleaning works well once a week if you use it daily, or every two weeks for lighter use. Most people find monthly deep cleans sufficient if they’re wiping spills as they happen.
What if my microwave still smells bad after cleaning?
Leave an open box of baking soda inside overnight, or try heating a bowl of water with lemon juice for five minutes. The lemon acts as a natural deodorizer. You can also boil water with cinnamon sticks for a pleasant smell.
Is it safe to use vinegar inside a microwave?
Yes, vinegar is completely safe and actually recommended for microwave cleaning. The steam from the vinegar solution loosens grime without any toxic fumes. It’s food-grade and won’t damage your appliance.
Can I damage my microwave by cleaning it?
Not if you use soft cloths and avoid harsh scrubbers. Never use steel wool, scouring pads, or abrasive cleaners. Stick with sponges and soft cloths, and you’ll be fine. Avoid getting water in the vents or electrical components.
Final Thoughts
Now you know exactly how to clean microwave like a pro, and the best part is it doesn’t require any special skills or expensive products. Steam, vinegar, and baking soda handle virtually every situation. The whole process takes about twenty minutes from start to finish, and you’ll be amazed at how much better your microwave looks and smells. Make it a regular habit, and you’ll never face that crusty, grimy situation again. Your kitchen will thank you, and your microwave will run more efficiently. If you’re looking to improve other areas of your kitchen routine, check out our guide on dinner recipes for picky eaters to make mealtime easier. You can also learn about other household maintenance tasks that keep your space running smoothly. The key to a clean kitchen is tackling small jobs regularly rather than letting them pile up into monster projects.


