
Learning how to clean makeup sponges is one of those simple skills that makes a huge difference in your beauty routine and wallet. Dirty sponges harbor bacteria, cause breakouts, and waste your expensive makeup. The good news? Cleaning them takes just a few minutes and costs almost nothing.
Table of Contents
Why Clean Your Sponges
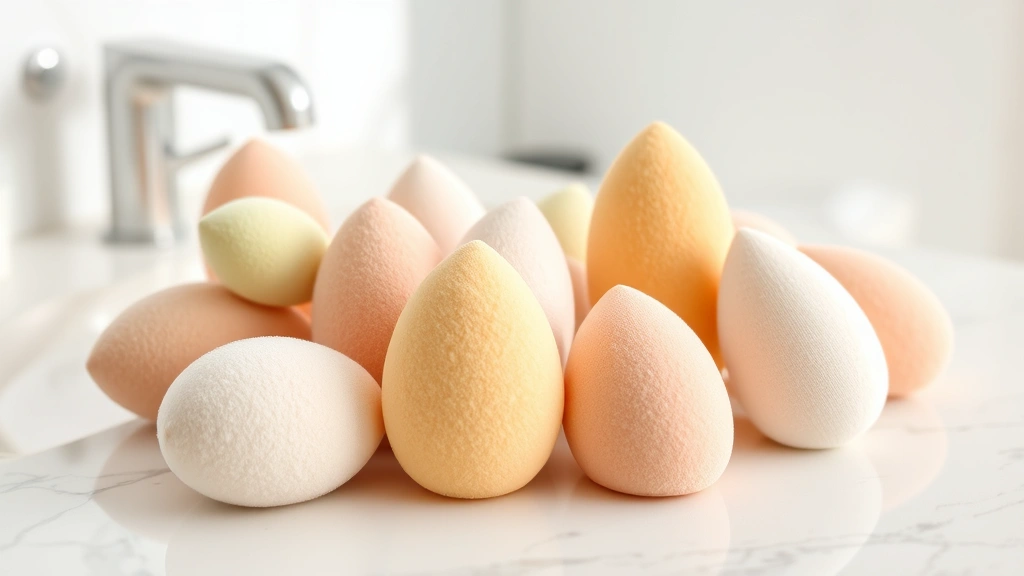
Your makeup sponges are basically tiny bacteria hotels. Every time you dip them in foundation, powder, or cream products, you’re transferring oils, dead skin cells, and environmental gunk into those pores. After a week of use, a single sponge can harbor more bacteria than a toilet seat. Gross? Absolutely. But preventable with regular cleaning.
Beyond hygiene, dirty sponges affect your makeup application. Caked-on product prevents the sponge from blending smoothly, giving you patchy coverage and wasted product. Plus, bacteria buildup triggers breakouts, especially around your T-zone and jawline. Regular cleaning extends your sponge’s lifespan by months and keeps your skin clear.
Daily Rinse Method
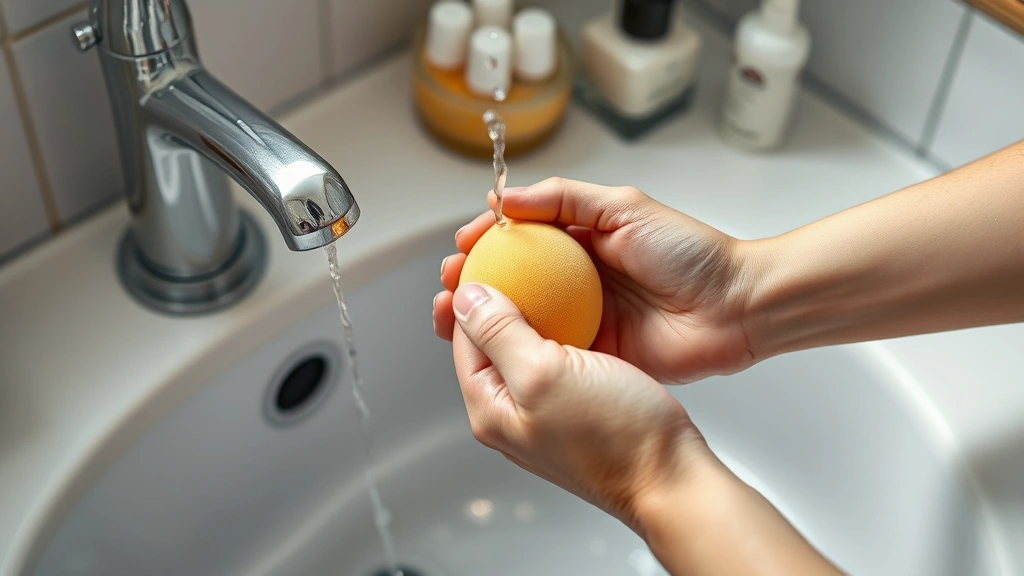
The quickest way to keep sponges fresh is a daily rinse. Right after you finish your makeup, hold your sponge under lukewarm running water and gently squeeze. Work the water through the entire sponge, focusing on the densest areas. Keep rinsing until the water runs clear—you’ll be surprised how much product comes out.
This takes 30 seconds and removes the bulk of makeup residue before it dries and hardens. Think of it like rinsing your paintbrush immediately after painting—way easier than letting it dry with paint crusted on. Daily rinsing alone prevents most bacterial growth and keeps your sponge performing like new.
Deep Clean with Soap
Once or twice weekly, give your sponges a proper wash. This is where gentle soap comes in. Use a mild facial cleanser, baby shampoo, or dish soap—anything that won’t strip the sponge or irritate your skin when residue remains. Wet your sponge with warm water, apply a small amount of soap directly to it, then massage the soap through every section.
Pay special attention to the dense center and any creases or crevices. Squeeze and release repeatedly, letting the soapy water work through the material. You’ll see the water get cloudy with makeup and oils—that’s exactly what you want. Rinse thoroughly under running water until there’s zero soap residue. This method works for all sponge types, from beauty blenders to wedge sponges.
If you’re making your own homemade laundry detergent recipe, you can use a tiny amount of that too, though commercial cleaners are usually gentler on delicate sponges.
Antibacterial Cleaning Solutions
For maximum bacteria elimination, antibacterial solutions work better than plain soap. Mix one part white vinegar with three parts water, or combine a few drops of tea tree oil with warm water. Both are natural, effective, and won’t damage your sponges.
Submerge your sponges in the solution for 5-10 minutes, then gently squeeze the liquid through the material. White vinegar cuts through product buildup while killing bacteria naturally. Tea tree oil has powerful antimicrobial properties and leaves your sponges smelling fresh. After soaking, rinse thoroughly with clean water to remove any vinegar or oil smell.
Another option is a 1:1 mixture of rubbing alcohol and water for a quick antibacterial boost. This evaporates faster than water-based solutions, which is helpful if you’re in a hurry. Just don’t use this method more than once weekly, as alcohol can dry out certain sponge materials over time.
Drying and Storage
How you dry and store your sponges matters as much as how you clean them. After washing, gently squeeze out excess water—don’t wring or twist, which damages the material. Place sponges on a clean, dry surface like a paper towel or clean cloth. Avoid sealed containers or damp drawers, which trap moisture and encourage mold growth.
The best spot is a well-ventilated area with good air circulation. A bathroom shelf, vanity corner, or even a windowsill works great. Sponges typically dry within 2-4 hours in normal humidity. In humid climates, consider using a small fan to speed up drying. Never store damp sponges in your makeup bag or a closed drawer—that’s asking for mold and mildew.
Once completely dry, keep sponges in a clean, breathable container. A small mesh bag or open box lets air flow while protecting them from dust. Some people use a dedicated sponge holder with drainage holes, which is ideal for keeping multiple sponges organized and dry.
When to Replace Sponges
Even with perfect care, makeup sponges eventually wear out. Most quality sponges last 3-6 months with regular cleaning. Signs it’s time to replace yours include visible tears or chunks missing, persistent discoloration that won’t wash out, a spongy feel that’s gone mushy, or an odor that lingers after cleaning.
If your sponge starts breaking apart during application or feels less bouncy, replacement is overdue. Worn sponges can’t blend makeup properly and may leave fibers on your skin. Budget-wise, replacing a $5-8 sponge every few months is way cheaper than dermatology visits for sponge-related breakouts.
Common Cleaning Mistakes
People make the same sponge-cleaning mistakes repeatedly. The biggest? Using hot water, which damages the delicate material and breaks down the sponge faster. Always use lukewarm water. Another common error is using harsh soaps like antibacterial hand soap or strong detergents—these leave residue and irritate skin.
Wringing sponges aggressively is a killer too. Squeeze gently; aggressive wringing tears the material and shortens lifespan. Some folks also store sponges in sealed plastic bags or closed containers while damp, creating a petri dish for bacteria. Finally, skipping the daily rinse and only deep-cleaning weekly lets bacteria multiply between washes. Consistency beats intensity here.
Quick Fixes for Stubborn Stains
Sometimes makeup stains won’t come out with regular soap and water. For stubborn discoloration, try soaking in a mixture of water and hydrogen peroxide (1:1 ratio) for 15-20 minutes. The peroxide gently bleaches away stains without damaging the sponge material. This works especially well on red or dark makeup stains.
Another trick is using a tiny amount of makeup remover on the stained area, letting it sit for a minute, then rinsing thoroughly. Alternatively, soak the sponge in warm water with a squeeze of lemon juice for 10 minutes—the citric acid breaks down stubborn product. For really tough stains, repeat these methods before giving up and replacing the sponge.
Frequently Asked Questions
How often should I clean my makeup sponge?
Ideally, rinse your sponge daily after use and do a deep clean with soap once or twice weekly. Daily rinsing prevents most bacterial growth, while weekly deep cleans handle product buildup that water alone can’t remove.
Can I use the dishwasher to clean sponges?
Technically yes, but it’s not ideal. High heat damages delicate sponge material and shortens lifespan significantly. Hand washing with gentle soap is gentler and just as effective. Save the dishwasher for actual dishes.
What’s the best soap for cleaning makeup sponges?
Mild facial cleansers, baby shampoo, or gentle dish soap work best. Avoid harsh antibacterial soaps, strong detergents, or anything with fragrance that might irritate skin. The gentler the soap, the longer your sponge lasts.
Can I speed up sponge drying?
Yes. Air circulation is key—use a small fan, place sponges near an open window, or hang them in a warm, dry room. Microfiber sponges dry faster than latex-based ones. Never use heat sources like hair dryers, which can damage the material.
Why does my sponge smell bad even after cleaning?
Lingering odors mean bacteria is still present. Try soaking in white vinegar solution for longer, ensure complete drying before storage, and check that your storage container isn’t trapping moisture. If the smell persists after thorough cleaning, replace the sponge.
Are expensive sponges worth cleaning more carefully?
Absolutely. High-end beauty blenders and specialty sponges are worth the extra care. Gentle cleaning and proper storage extend their life significantly, making the investment worthwhile. Budget sponges are more forgiving, but quality ones reward careful maintenance.
Can I use bleach on makeup sponges?
No. Bleach is too harsh and damages sponge material, plus it leaves residue that irritates skin. Stick with gentler alternatives like hydrogen peroxide, vinegar, or tea tree oil for disinfection.
What if my sponge gets moldy?
Mold means the sponge stayed damp too long. Try soaking in white vinegar solution, then ensure it dries completely in a well-ventilated area. If mold returns, replace the sponge—it’s not worth risking skin infections.
Cleaning makeup sponges doesn’t require fancy products or complicated techniques. A daily rinse, weekly deep clean with gentle soap, and proper drying will keep your sponges fresh, your makeup flawless, and your skin clear. Treat your sponges like the tools they are, and they’ll reward you with months of perfect application. Your face will thank you.


