
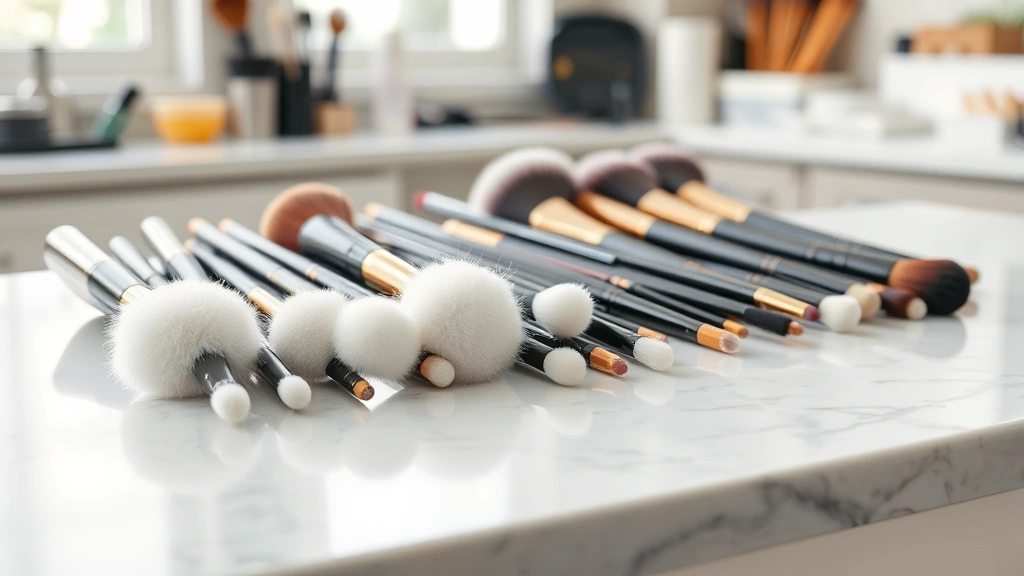
Learning how to clean makeup brushes is one of those skills that separates casual makeup users from folks who actually take care of their tools. Think of it like maintaining a good set of paintbrushes—neglect them, and they’re basically garbage. But spend fifteen minutes getting them clean, and they’ll perform beautifully for years. I’ve been there, staring at a crusty brush wondering why my blending looked like a toddler’s finger painting. Turns out, dirty brushes are the culprit about ninety percent of the time.
Table of Contents
Why Clean Brushes Matter
Your makeup brushes are basically sponges for bacteria, dead skin cells, and product buildup. When you apply makeup with dirty brushes, you’re essentially smearing old foundation, eyeshadow residue, and whatever else accumulated since your last cleaning directly onto your face. That’s not just gross—it’s a one-way ticket to breakouts and irritated skin. Clean brushes ensure that your makeup applies evenly, blends properly, and doesn’t introduce unwanted bacteria to your complexion. Plus, well-maintained brushes last significantly longer, which means you’re not dropping money on replacements every few months. It’s basic maintenance that pays dividends.
Gather Your Supplies First
You don’t need fancy or expensive products to get the job done right. Here’s what actually works: warm water, a gentle cleanser, and something to dry your brushes on. For the cleanser, you can use baby shampoo (seriously, it’s perfect), a dedicated brush cleaner from brands like ThisOldHouse’s recommended beauty section, or even a mild dish soap in a pinch. I prefer baby shampoo because it’s gentle enough for delicate bristles and effective at breaking down makeup. You’ll also want a clean cup or bowl for water, a clean towel or paper towels for drying, and optionally a brush mat or silicone pad if you want to speed up the cleaning process. The mat helps you work the cleanser into the bristles more efficiently—think of it as a tiny washboard for your brushes.
Step One: Rinse Under Water
Start with lukewarm water—not hot, because heat can damage the bristles and loosen the glue holding them to the handle. Hold each brush under the running water with the bristles pointing downward. Let the water run through the bristles for a few seconds to loosen up the surface-level makeup. Don’t squeeze or scrub aggressively at this stage; you’re just doing a preliminary rinse. This removes the bulk of the product so your cleanser can actually penetrate the bristles effectively. Think of it like pre-rinsing a paint brush before giving it a proper wash.
Step Two: Apply Cleanser Generously
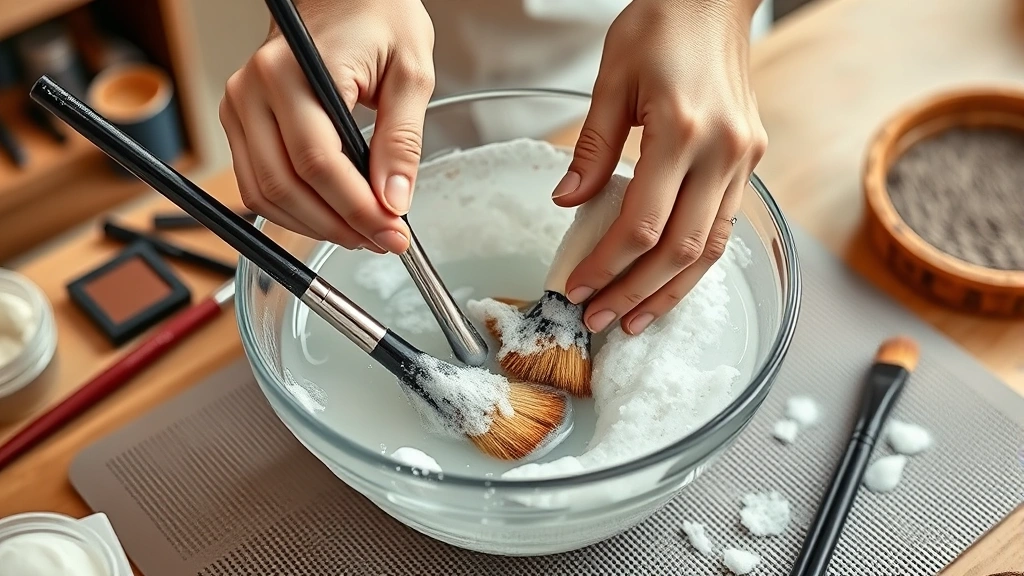
Pour a small amount of your chosen cleanser into your cup or directly onto a brush mat if you’re using one. I like to use a shallow bowl with about an inch of warm water mixed with a squirt of baby shampoo. Dip your brush bristles into the soapy water and start swirling. If you’re using a mat, place the bristles against it and swirl in circular motions. The cleanser needs direct contact with all the bristles to break down the makeup effectively. Don’t be shy—use enough cleanser that you can see the lather building up. This is where the actual cleaning happens, so give it your attention.
Step Three: Work in the Lather
Keep swirling and working the lather through the bristles for about 20-30 seconds per brush. You’ll notice the water turning color as makeup residue releases from the bristles. This is exactly what you want to see. If the water is still heavily pigmented after 30 seconds, keep going. Really work it in, especially if you’re cleaning foundation or powder brushes that tend to hold onto product. The bristles should feel slippery and sudsy. Don’t worry about being too rough—quality brushes can handle firm pressure during cleaning. The goal is to get every bristle coated with cleanser and to dislodge all the trapped makeup particles.
Step Four: Rinse Thoroughly Until Clear
This is the step where patience actually matters. Rinse each brush under running water again, swirling the bristles under the stream until the water runs completely clear. And I mean completely clear—no tint, no cloudiness. If you skip this step or rush it, you’ll end up with soapy residue on your brushes, which affects how makeup applies and can irritate your skin. Hold the brush under the water and gently squeeze the bristles with your fingers to push water through them. Repeat until you’re absolutely certain all the cleanser is gone. For foundation brushes or densely packed bristles, this might take 2-3 rinses.
Step Five: Dry Properly and Patiently
This is where most people mess up. Lay your brushes flat on a clean towel with the bristles hanging slightly off the edge of a table or counter. This allows air to circulate around the bristles while they dry. Never stand brushes upright in a cup while they’re wet—water will run down into the ferrule (the metal part) and can cause the bristles to loosen or fall out. Also avoid using a hair dryer or any heat source; air drying is the only safe method. Depending on humidity and bristle density, brushes typically take 4-8 hours to dry completely. I usually clean my brushes in the evening and they’re ready to go by morning. If you’re in a rush, at least let them dry for a couple hours before using them.
Quick Maintenance Tips
Between deep cleanings, you can spot-clean brushes by swirling them on a clean tissue or paper towel to remove excess product. This extends the time between full washes and keeps your tools fresher longer. Store your brushes in a clean, dry place—not in a humid bathroom where they’ll collect moisture and bacteria. If you use liquid products like foundation or concealer, those brushes need cleaning more frequently, ideally after every use or at least every few days. Powder products are more forgiving and can go longer between cleanings. Also, consider investing in a brush guard or keeping brushes in a makeup bag rather than leaving them exposed on your vanity where they collect dust and debris. Think of it like storing quality tools in a workshop—proper storage extends their lifespan significantly. You can reference FamilyHandyman’s tool care guides for general maintenance principles that apply here.
Common Mistakes to Avoid
Using water that’s too hot will damage bristles and cause shedding. Scrubbing too aggressively can bend bristles permanently out of shape. Not rinsing thoroughly leaves soap residue that affects application and irritates skin. Drying brushes upright allows water to damage the ferrule and loosen bristles. Using harsh products like rubbing alcohol or acetone strips natural oils from bristles and makes them brittle. Cleaning brushes so infrequently that product hardens and becomes impossible to remove is another common trap—once makeup dries completely, it’s much harder to clean out. And finally, storing damp brushes in a closed container invites mold and mildew growth. These mistakes are easy to make once, but once you know better, they’re easy to avoid. Most of these issues come from either rushing the process or using the wrong approach, both of which are completely preventable with the right method.
Frequently Asked Questions
How often should I clean my makeup brushes?
It depends on usage. If you wear makeup daily and use the same brushes every day, aim for a weekly deep clean. Brushes used with liquid products like foundation need cleaning more frequently—ideally after each use or at least every 2-3 days. Powder brushes can go longer, maybe 1-2 weeks. If you use brushes occasionally or rotate between multiple brushes, you can extend the cleaning schedule. The key indicator is when you notice the bristles feel stiff, the color looks dull, or the application quality decreases.
Can I use regular shampoo instead of baby shampoo?
Baby shampoo is gentler and doesn’t contain harsh sulfates that can damage delicate bristles, but in a pinch, a mild, sulfate-free regular shampoo works. Avoid clarifying shampoos, volumizing formulas, or anything with strong conditioning agents. The goal is something that cleanses without stripping or coating the bristles. Dish soap also works surprisingly well because it’s designed to cut through grease and product buildup, but use it sparingly since it can be drying.
What’s the fastest way to dry makeup brushes?
Air drying is the safest method, but if you need them faster, stand them bristles-down in a cup or container at an angle so air can circulate. A fan pointed at them (not a heat source) can speed up drying. Laying them flat on a towel with bristles hanging off the edge is the best compromise between speed and safety. Some people use a hair dryer on the coolest setting, but this risks heat damage. Patience is really your best friend here—rushing the drying process can ruin brushes.
Why do my brushes shed after cleaning?
Excessive shedding usually means the bristles were already loose before cleaning, or the heat and agitation of cleaning finally dislodged them. If brushes are shedding heavily during normal use, they’re reaching the end of their lifespan. However, if shedding increases after you start cleaning them, you might be using water that’s too hot or being too aggressive during the cleaning process. Check your water temperature and use a gentler touch. Quality brushes shouldn’t shed noticeably with proper care.
Is it okay to use vinegar to clean makeup brushes?
A small amount of white vinegar mixed into your cleaning water can help break down stubborn product buildup, but it’s not necessary for regular cleaning. If you do use it, keep the ratio to about 1 part vinegar to 10 parts water, and rinse very thoroughly afterward since the smell can linger. Vinegar is more useful for deep cleaning brushes that haven’t been cleaned in a long time, not for routine maintenance. Stick with baby shampoo or mild cleanser for regular cleaning and save vinegar for occasional deep treatments.
Final Thoughts
Learning how to clean makeup brushes properly is genuinely one of those small habits that makes a huge difference in your makeup game. It takes maybe fifteen minutes to clean a full set of brushes, and the payoff is better application, healthier skin, and brushes that actually last. Start with a weekly cleaning routine if you use makeup daily, and adjust from there based on how your brushes feel and perform. The process is straightforward: rinse, apply cleanser, work in the lather, rinse thoroughly, and dry properly. No fancy equipment needed, no complicated steps. Just consistent care that treats your tools with respect. Your brushes will thank you with better performance, and your skin will thank you with fewer breakouts. That’s a win-win that’s worth the minimal effort involved. You can also check out BobVila’s comprehensive maintenance guides for more information on caring for quality tools in general.


