
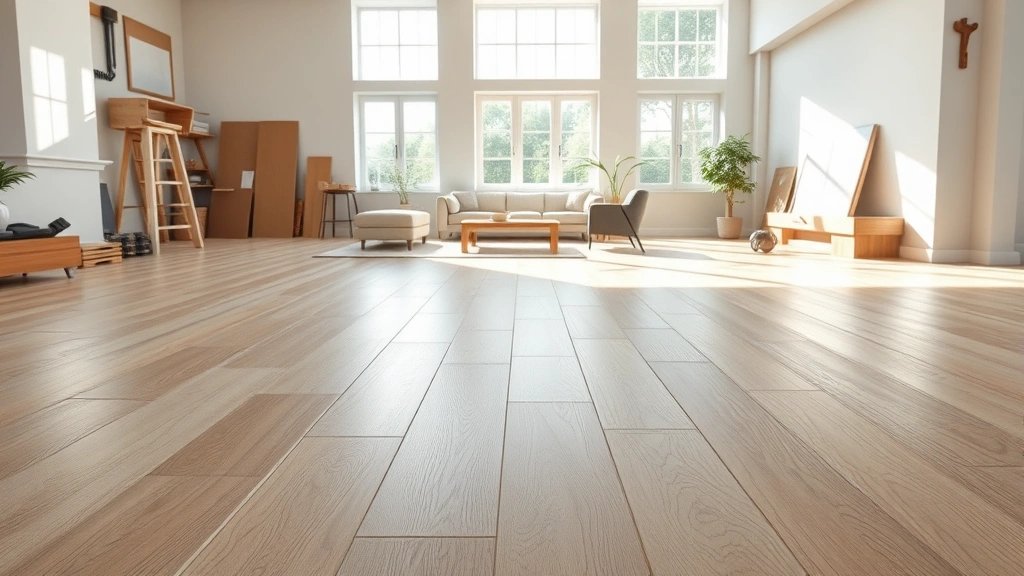
Learning how to clean LVP flooring is one of the easiest maintenance tasks you can master as a homeowner, and it’ll keep your luxury vinyl plank floors looking fresh for years. Unlike hardwood that demands special treatments or tile that hides dirt in grout lines, LVP is forgiving and straightforward—but there’s a right way and a wrong way to do it. Get it wrong, and you’ll end up with streaky floors or water damage. Get it right, and your investment stays protected with minimal effort.
Table of Contents
Daily Maintenance Basics
Your first line of defense in keeping LVP flooring clean is preventing dirt from settling in the first place. Sweep or vacuum your floors daily using a soft-bristle broom or a vacuum with a hard floor attachment. This removes dust, pet hair, and grit that can scratch the surface when you walk on it. Think of it like the difference between wiping a counter immediately versus letting crumbs sit there—the sooner you deal with it, the easier your job becomes.
Place doormats at every entrance to your home. This simple step catches dirt before it travels across your floors. In kitchens and bathrooms where moisture is common, consider using absorbent mats that trap water. The key is preventing problems before they start—it’s always easier than fixing them later.
Gather Your Supplies
Before you start, assemble everything you need. You’ll want a microfiber mop (the gold standard for LVP), a soft-bristle broom, and a vacuum with a hard floor setting. For cleaning solutions, keep it simple: plain water works for light cleaning, but for deeper jobs, mix equal parts white vinegar and water, or use a commercial LVP-specific cleaner. Never use oil-based products, wax, or steam cleaners—these damage the protective layer on your planks.
Grab some soft cloths or microfiber towels for drying, and if you’re dealing with stubborn spots, have a soft-bristle brush handy. The investment in quality microfiber tools pays dividends because they won’t scratch your floors like traditional mops can. Keep these supplies in one accessible spot so you’re never tempted to grab whatever’s convenient and potentially harmful.
Dry Cleaning Method
Start with the dry cleaning method for routine maintenance. Sweep or vacuum thoroughly to remove all loose debris. Use your microfiber mop dry to pick up any remaining dust—microfiber is excellent at this because the fibers trap particles instead of pushing them around. This step takes just a few minutes and is perfect for high-traffic areas where you want to maintain appearance between deeper cleanings.
For stubborn dust or pet hair, dampen your microfiber mop very slightly with water and make another pass. The key word here is slightly—your mop should feel barely damp, not wet. This prevents water from seeping into seams and causing swelling or warping. Think of it as a light refresh rather than a full cleaning. This method is ideal for busy weeks when you don’t have time for a thorough wet clean.
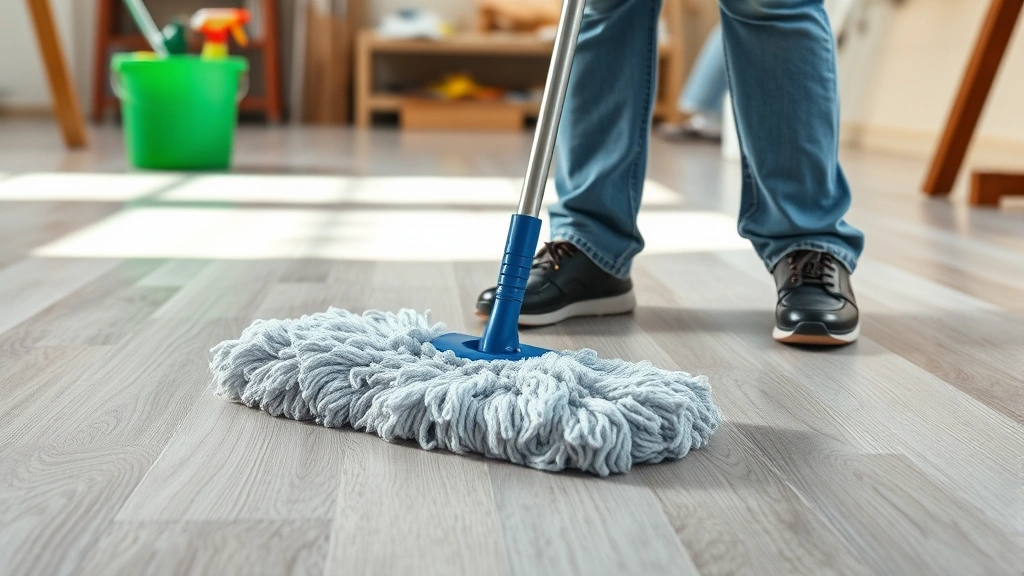
Wet Cleaning Approach
When your floors need a deeper clean, the wet method is your go-to. Fill a bucket with warm water and add your cleaning solution—either the vinegar-water mixture or a commercial LVP cleaner. Dampen your microfiber mop in the solution, then wring it out thoroughly. Your mop should be damp, not dripping wet. This is crucial: excess water is the enemy of LVP flooring.
Work in sections, mopping back and forth in the direction of the planks. Let the solution sit for a minute or two on stubborn spots, then wipe clean. Follow behind immediately with a dry microfiber cloth or towel to remove any excess moisture. This prevents water from pooling and seeping into the seams between planks. If you have a large area, work quickly to avoid letting any section sit wet for extended periods.
For kitchens and bathrooms, this wet cleaning method should happen weekly or bi-weekly depending on traffic. In living rooms and bedrooms with less moisture exposure, monthly deep cleaning is usually sufficient. The frequency depends on your household—families with kids and pets might need more frequent cleaning than empty-nesters.
Spot Treating Stains
Spills happen, and the faster you address them, the better. For fresh spills, blot immediately with a dry cloth—don’t let liquid sit on the surface. For sticky substances like spilled juice or food, use a damp (not wet) cloth with a bit of your cleaning solution. Gently rub the spot, then dry thoroughly.
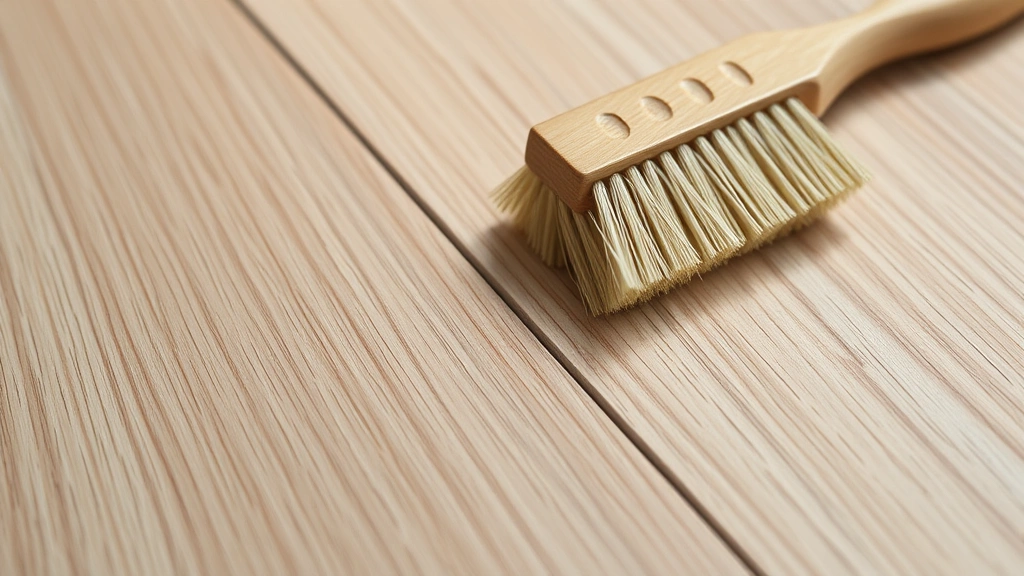
For stubborn stains like scuff marks or dried-on spills, make a paste with baking soda and water. Apply it to the spot, let it sit for a few minutes, then gently scrub with a soft-bristle brush. Wipe clean with a damp cloth and dry immediately. For permanent marker or crayon marks (because let’s face it, kids happen), rubbing alcohol on a cloth works wonders—just test it in a hidden area first to make sure it doesn’t affect the finish.
Never use abrasive cleaners, scouring pads, or harsh chemicals on LVP. These damage the protective wear layer and can cause permanent discoloration. If a stain persists after gentle treatment, it’s better to leave it than to risk damaging your floor trying to remove it.
Protect Seams and Edges
The seams between planks are vulnerable spots where water can sneak underneath and cause swelling or mold growth. When cleaning, pay special attention to these areas, but be extra cautious about moisture. Avoid letting your mop linger over seams, and never spray water directly into them.
For seam cleaning, use a slightly damp cloth to wipe along the seam rather than mopping across it. If you notice dirt buildup in seams, a soft-bristle brush with minimal water works better than a mop. Dry the seam immediately after cleaning. This extra care prevents the most common cause of LVP failure—water infiltration through seams.
In kitchens and bathrooms where water exposure is highest, consider using a waterproof sealant specifically designed for LVP seams. Apply it during installation or as preventive maintenance. This adds an extra layer of protection against moisture damage.
Common Mistakes to Avoid
The biggest mistake people make is using too much water. Your LVP isn’t tile—it’s vinyl, and excess moisture is its kryptonite. Never use a wet mop, steam cleaners, or pressure washers on LVP flooring. These introduce water where it doesn’t belong and cause irreversible damage.
Avoid oil-based cleaners, furniture polish, and wax. These leave a slippery residue that makes your floors dangerous and can damage the protective coating. Similarly, skip vinegar if your floors have a matte finish, as the acidity can dull the surface over time. For matte finishes, stick with water and a tiny drop of dish soap instead.
Don’t use abrasive tools. Scouring pads, steel wool, and stiff brushes scratch the wear layer and expose the vinyl underneath. When you need to scrub, use a soft-bristle brush and gentle pressure. Finally, avoid dragging heavy furniture across LVP. Use furniture sliders or lift items when moving them to prevent gouges and scratches.
Long-Term Maintenance Schedule
Create a maintenance routine that keeps your floors in top condition. Daily sweeping or vacuuming should be non-negotiable—it’s the easiest way to prevent damage. Weekly dry microfiber mopping maintains appearance and removes dust. Monthly deep wet cleaning with your chosen solution keeps floors looking fresh and handles spills that daily maintenance missed.
Quarterly, inspect your floors for any signs of water damage, warping, or seam separation. Catch problems early before they spread. Annually, consider applying a LVP-specific floor polish designed to enhance shine and add protection—but only if your manufacturer recommends it. Check your warranty and product documentation first.
Keep a cleaning log if you have a large home or are renting and need to prove maintenance. This simple record shows you’re taking care of your investment and can be valuable if disputes arise about floor condition.
Frequently Asked Questions
Can I use a steam mop on LVP flooring?
No. Steam introduces heat and moisture directly into the seams of your LVP, causing swelling, warping, and permanent damage. Stick with damp microfiber mops and room-temperature water solutions only.
What’s the best cleaner for LVP floors?
Equal parts white vinegar and water works great for most LVP, though avoid vinegar on matte finishes. Alternatively, use a commercial cleaner specifically formulated for luxury vinyl plank. Always check your manufacturer’s recommendations—some warranties only cover damage from approved products.
How do I remove scuff marks from LVP?
Try rubbing the mark gently with a soft cloth and a bit of water. For stubborn marks, use a baking soda and water paste, scrub gently with a soft brush, then wipe clean and dry. Avoid abrasive scrubbing pads that scratch the surface.
Is it okay to use bleach on LVP?
No. Bleach is too harsh and can discolor or damage the vinyl. For sanitizing, use a diluted vinegar solution or a commercial disinfectant specifically approved for LVP.
How often should I deep clean LVP flooring?
Monthly deep cleaning is ideal for most homes. High-traffic areas or homes with kids and pets might benefit from bi-weekly deep cleaning. Low-traffic areas can get away with quarterly deep cleaning. Adjust based on your household’s specific needs.
Can I use a regular mop on LVP?
Microfiber mops are best because they won’t scratch and they trap dirt effectively. Traditional cotton mops can work if you wring them out thoroughly, but they’re more likely to leave excess water. Avoid sponge mops entirely—they hold too much water.
What should I do about pet accidents on LVP?
Clean immediately. Blot urine with a dry cloth, then clean the spot with a damp cloth and your cleaning solution. Dry thoroughly. For solid waste, remove it first, then clean the area. The faster you act, the less chance of odor setting in or moisture seeping into seams.
Keep Your Floors Looking New
Learning how to clean LVP flooring properly is straightforward once you understand the golden rule: water is the enemy, and less is always more. Daily sweeping, weekly dry mopping, and monthly wet cleaning with a barely damp microfiber mop will keep your luxury vinyl planks looking like new for years. The investment in quality tools and the discipline to avoid common mistakes pays off every single day you walk on your floors.
Your LVP is durable and forgiving, but it rewards proper care with longevity and beauty. Treat it right, and it’ll serve your home well. For more household maintenance tips, check out our guides on how to clean your washing machine and how to change a light fixture. If you’re working on kitchen projects, you might also find value in learning how to install a garburator for better kitchen maintenance overall.
For additional professional guidance, the team at Family Handyman offers detailed floor care resources, while This Old House provides comprehensive home maintenance advice. Bob Vila also has excellent content on flooring care and selection that complements this guide.


