
Learning how to clean laminate floors properly is the difference between a floor that looks fresh for years and one that gets dull, warped, or damaged. I’ve spent enough time on my hands and knees with different cleaning methods to know what actually works—and what’ll wreck your investment. The secret isn’t fancy equipment or expensive products; it’s understanding what laminate hates (water) and what it loves (gentle, dry cleaning).
Table of Contents
Why Laminate Needs Special Care
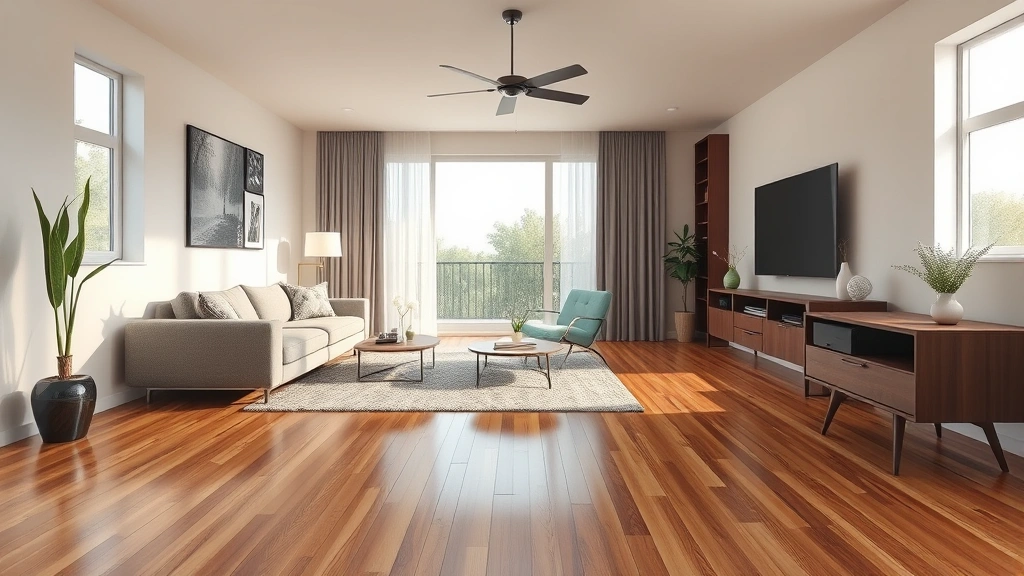
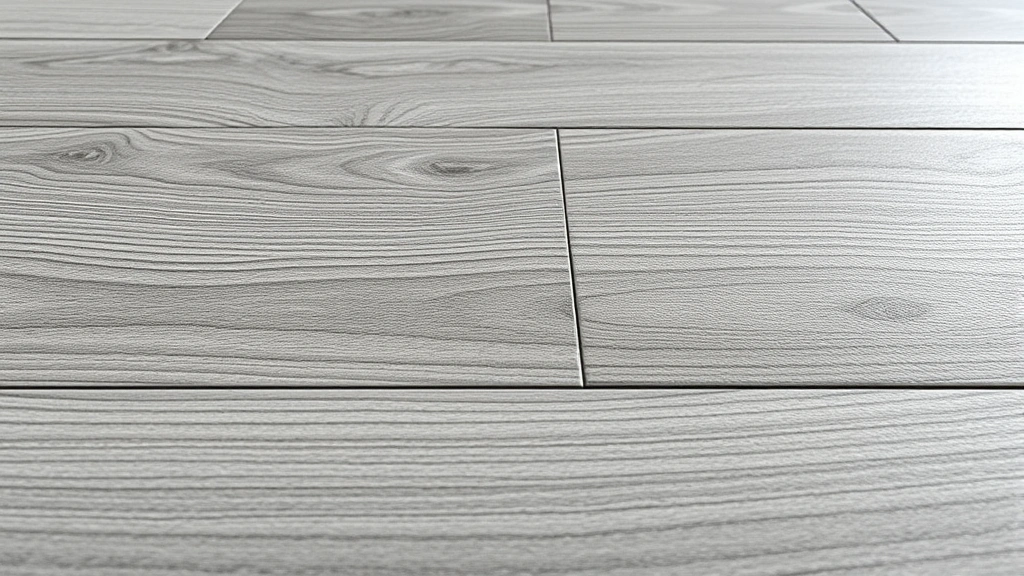
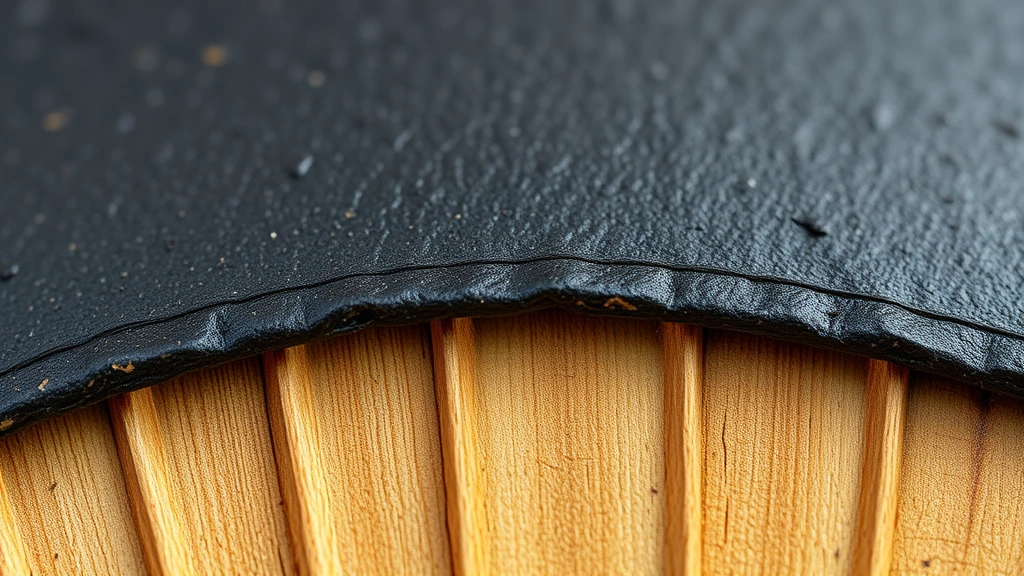
Laminate flooring looks like real wood, but it’s actually a composite material with a photographic layer under a protective wear layer. Water is the enemy here—it seeps between planks and causes swelling, warping, and separation. Unlike sealed hardwood or tile, laminate doesn’t have that luxury of forgiveness. You need to treat it with respect, which means no standing water, no soaking, and no bucket-dunking your mop.
The good news? When you follow proper technique, laminate stays beautiful for a decade or more. I’ve seen 15-year-old laminate in homes that still gleams because the owners got the cleaning fundamentals right from day one.

Gather Your Supplies First
Before you start, assemble everything you need. Scrambling for supplies halfway through is how people end up leaving water sitting on their floors. Here’s what works:

- Microfiber dust mop or soft-bristle broom – Microfiber grabs dust better than traditional brooms
- Vacuum with hard-floor attachment – Gets into corners and edges
- Laminate-specific floor cleaner – Brands like Bona Hard-Surface Floor Cleaner are formulated for this exact job
- Microfiber mop with spray attachment – The spray feature lets you control moisture precisely
- Clean, dry towels or microfiber cloths – For immediate drying
- Optional: pH-neutral cleaner – For stubborn spots without damaging the finish
Skip the vinegar-and-water solution you might’ve heard about—it’s too acidic and can dull the protective layer over time. Same goes for oil-based polishes that build up residue.

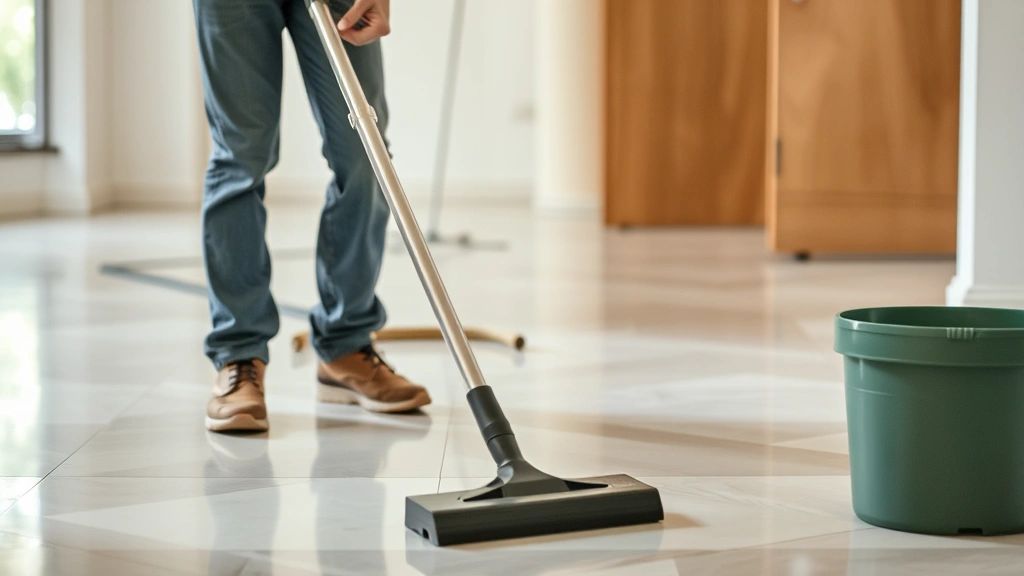
Step 1: Vacuum Thoroughly
This is non-negotiable. Dust and debris are abrasive, and when you mop over them, you’re essentially grinding sandpaper into your floor’s finish. Spend 5-10 minutes vacuuming every square inch, paying special attention to corners, under furniture edges, and along baseboards where dust loves to hide.

Use the hard-floor attachment if your vacuum has one—it prevents the beater bar from scratching the surface. If you don’t have a vacuum, a microfiber dust mop works fine. The key is removing everything loose before moisture touches the floor.

Step 2: Spot Treat Problem Areas
Got sticky spots from spilled soda? Pet accidents? Dried mud? Address these before the full mop. Mix a small amount of laminate cleaner with water (follow the bottle’s ratio—usually 1:10 or 1:20) and apply it to a cloth, not directly to the floor. Rub the spot gently in the direction of the grain. Let it sit for 30 seconds if it’s really stubborn, then wipe immediately with a dry cloth.

For dried-on messes like hardened food, dampen the cloth slightly and let it sit for a minute to soften the gunk before wiping. Never scrub aggressively—that scratches the wear layer.
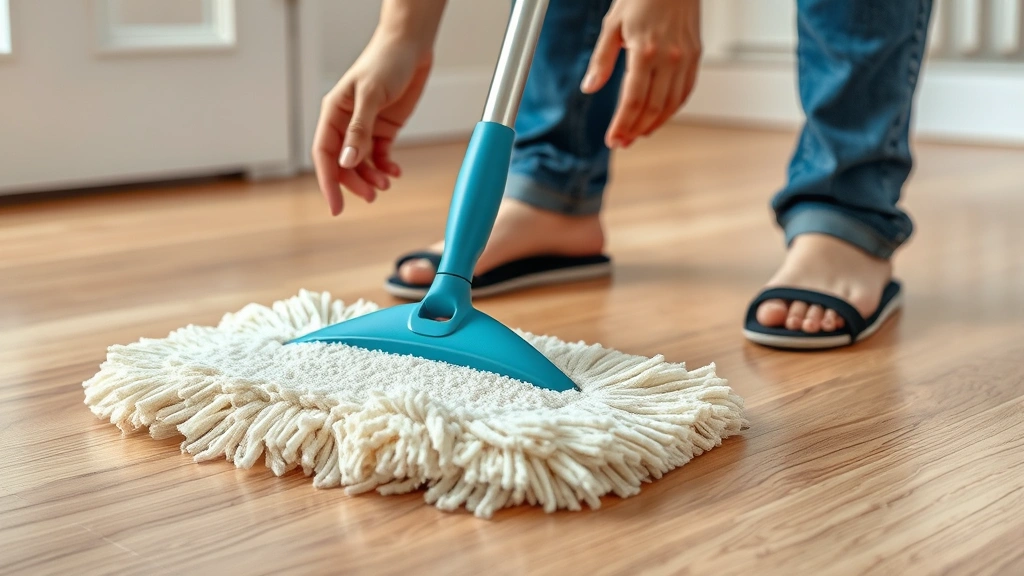
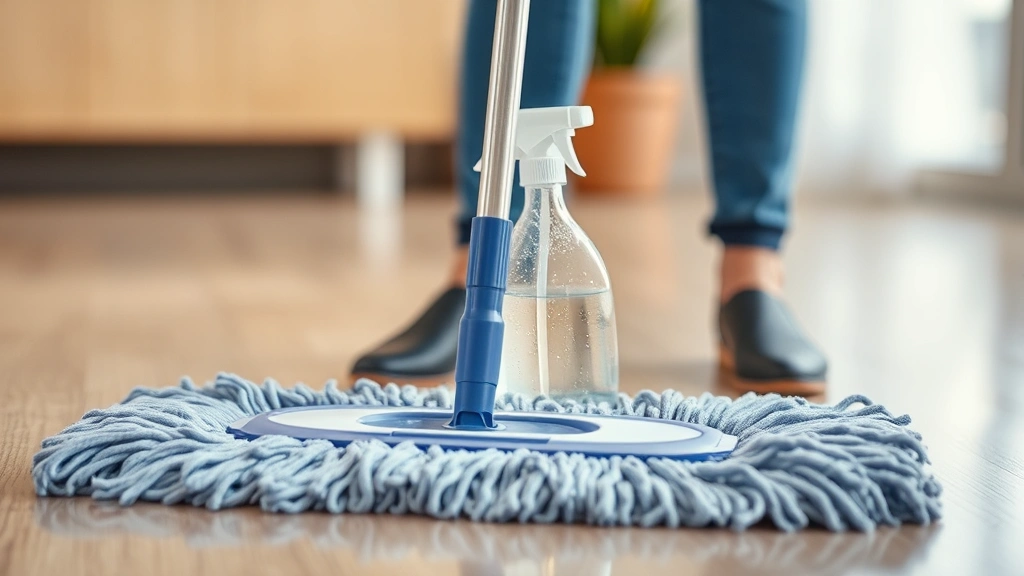
Step 3: Damp Mop Technique
This is where most people go wrong. They treat laminate like tile and use way too much water. The goal is a barely damp mop, not a wet one. If you’re using a spray mop, give the floor one light mist per section—maybe 3-4 feet at a time. If you’re using a traditional mop, wring it out until it’s almost dry. You want just enough moisture to dissolve dust and light grime, not enough to soak the planks.
Work in sections, moving in the direction of the wood grain. This helps the cleaner work with the floor’s natural pattern rather than against it. For a 400-square-foot room, plan on 15-20 minutes for this step.
Step 4: Dry Immediately
This is the critical step that separates people with beautiful laminate from people with buckled, damaged floors. Right behind your mop, follow with a dry microfiber cloth or towel. Wipe the damp section completely dry before moving to the next area. Don’t let moisture sit—even for a few minutes, it’s working its way into seams and edges.
If you have a large floor, you might need two people: one mopping, one drying. It sounds excessive, but it’s the fastest way to ensure no water damage. Some pros use a dehumidifier afterward in humid climates for extra insurance.

Step 5: Polish for Shine
Once the floor is completely dry, you can add shine using a laminate floor polish or finish product. Spray a light mist on a microfiber cloth and buff the floor in circular motions. Don’t spray directly on the floor—that creates puddles and defeats the purpose. A thin, even coat of polish brings back that fresh, showroom shine and adds a protective layer against dust and minor scratches.

Some people skip this step if their laminate still looks good, which is fine. Polish is more about maintaining appearance and adding protection than necessity. Do it monthly or quarterly depending on foot traffic.

Avoid These Common Mistakes
I’ve made most of these myself, so trust me when I say they’re easy to slip into:
- Using too much water: Even “laminate-safe” cleaners can damage the floor if applied too generously. Less is always more.
- Mopping without vacuuming first: You’re just moving dirt around and grinding it into the surface.
- Using steam cleaners: The heat and moisture combination is laminate’s worst nightmare. Save the steam mop for tile.
- Letting spills sit: The longer liquid sits, the deeper it penetrates. Wipe spills immediately with a dry cloth.
- Using harsh chemicals: Bleach, ammonia, and furniture polish all strip or damage the protective coating.
- Skipping the drying step: This is the #1 reason for warped laminate. Dry it now, or deal with repairs later.
Monthly Maintenance Routine
Keep your laminate looking fresh between deep cleans with this simple routine:
- Weekly: Vacuum or dust mop to remove surface debris
- Bi-weekly: Do a quick damp mop of high-traffic areas (kitchen, entryway)
- Monthly: Full floor cleaning with the 5-step method described above
- Quarterly: Add polish for shine and extra protection
- As-needed: Spot-treat spills and stains immediately
This routine takes maybe 30 minutes monthly and keeps your floors looking like they were installed last month. It’s also way cheaper than replacing damaged laminate, which can run $3-8 per square foot for materials and labor.
If you’re interested in keeping other surfaces in your home clean, check out our guide on how to clean a washing machine—same principles of gentle, thorough cleaning apply.
Frequently Asked Questions
Can I use vinegar to clean laminate floors?
I’d skip it. Vinegar is acidic and can dull the protective coating over time. Stick with pH-neutral, laminate-specific cleaners. They’re formulated to clean without damaging the finish, and they’re usually cheaper than you’d think.
What’s the best mop for laminate?
A microfiber mop with a spray attachment gives you the most control over moisture. Spray mops let you apply just the right amount of cleaner without oversaturating the floor. Traditional mops with buckets are harder to control and more likely to leave floors too wet.
How do I remove stubborn stains?
For stubborn marks, dampen a cloth with diluted laminate cleaner and let it sit on the stain for 30-60 seconds to soften it. Then wipe gently in the direction of the grain. For really tough spots like dried paint, use a plastic scraper (not metal) and be gentle—you’re trying to lift the stain, not gouge the floor. Follow up with immediate drying.
Is it okay to use a steam mop?
Absolutely not. Steam mops combine heat and moisture, which is exactly what causes laminate to warp and swell. The protective layer can also be damaged by high heat. Save steam cleaning for tile and sealed stone only.

How often should I deep clean?
In a normal household, once a month is plenty. If you have pets, kids, or high foot traffic, bump it to twice a month. The key is regular maintenance—it’s way easier to prevent buildup than to clean heavily soiled floors.

What causes laminate to look dull?
Dust buildup, residue from incorrect cleaners, and lack of polish are the main culprits. Vacuuming regularly and using laminate-specific products keeps the finish bright. If your floor’s looking tired, a good cleaning plus polish usually brings back 80% of the original shine.
For more household cleaning tips, our article on how to remove formatting in Word covers digital organization, and we also have guides on keeping other areas of your home maintained.
Final Thoughts
Cleaning laminate floors isn’t complicated—it just requires understanding that water is the enemy and drying is your best friend. Follow these five steps consistently, and your laminate will stay beautiful for years. The investment in a good microfiber mop and laminate-specific cleaner pays for itself in longevity. Your floors will thank you, and so will your wallet when you don’t have to replace them early.


