

Learning how to clean kitchen cabinets is one of those game-changing skills that transforms your entire kitchen without spending a fortune on replacements. Your cabinets take a beating—grease splatters, fingerprints, dust, and grime accumulate faster than you’d think. But here’s the good news: with the right approach and materials, you can get them looking showroom-ready in an afternoon.
Table of Contents
Gather Your Cleaning Supplies
Before you start, assemble everything you’ll need. This saves time and prevents mid-project scrambling. You don’t need fancy commercial products—most of what you need is probably already under your sink.
Here’s your essential toolkit: microfiber cloths (they’re game-changers for cabinet cleaning), warm water, mild dish soap, white vinegar, baking soda, and a soft-bristle brush or old toothbrush for detail work. For wood cabinets, grab some mineral oil or a dedicated wood polish. If your cabinets have stubborn buildup, keep a degreaser on hand—something like Dawn dish soap concentrate works beautifully. For painted or laminate finishes, avoid harsh solvents that can damage the coating.
Pro tip: Use microfiber cloths instead of paper towels. They grab grime better and don’t leave lint behind. Grab a few—you’ll go through them as you work.
Assess Your Cabinet Material
Not all cabinets are created equal, and your cleaning method depends on what you’re working with. Solid wood, laminate, painted MDF, and stainless steel all need slightly different approaches.
Run your hand along a cabinet door. If it feels smooth and uniform, you likely have laminate or painted cabinets. If you see wood grain and feel natural texture, you’ve got real wood. Laminate is durable but can be damaged by excessive moisture or harsh chemicals. Wood requires gentler treatment to avoid stripping finishes or drying out the material. Painted cabinets sit somewhere in the middle—they’re hardy but can chip if you’re too aggressive.
Check your cabinet manufacturer’s care instructions if you still have documentation. If not, test any cleaning solution on an inconspicuous spot first. This takes two minutes and prevents disasters.
Dust and Degrease First
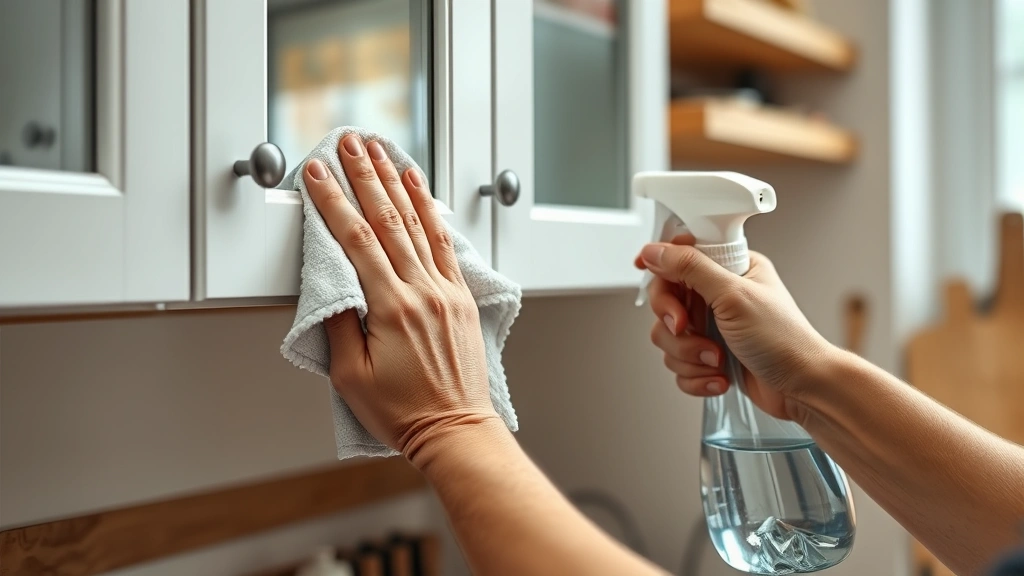
Start at the top and work downward—gravity is your friend here. Use a dry microfiber cloth to wipe away surface dust and loose debris. Pay special attention to the tops of cabinets where dust settles like it’s paying rent.
Next, tackle grease buildup with a degreasing solution. Mix warm water with a few drops of dish soap in a spray bottle. For tougher grease (especially around stovetops), use equal parts water and white vinegar. Spray the solution onto your cloth, not directly on the cabinets—you want damp, not dripping wet. Wipe each cabinet surface with the grain if it’s wood, or in circular motions for laminate and painted finishes.
For stubborn grease that won’t budge, let your cleaning solution sit for 30 seconds before wiping. Don’t scrub hard; let the solution do the work. Aggressive scrubbing can damage finishes, especially on painted or laminate cabinets. If grease persists, apply the solution again and wait another minute.
Deep Clean with Purpose
Once surface grime is gone, move to a deeper clean. Make a paste from baking soda and water—about three parts soda to one part water. This mild abrasive works wonders on stubborn stains without scratching most cabinet finishes.
Apply the paste to problem areas using a soft brush or cloth. For fingerprints and smudges, use gentle circular motions. Around cabinet edges and decorative details, use your brush to work paste into crevices. Let it sit for a minute, then wipe clean with a damp cloth. You might need to wipe twice to remove all the paste residue.
For interior cabinet shelves, remove items first and wipe down with your damp cloth. If shelves are particularly grimy, use the baking soda paste here too. Clean shelf edges and the underside of shelves—these spots collect surprising amounts of dust and debris. This is also a perfect time to check and adjust door hinges if any cabinets are hanging unevenly.
Don’t Forget Hardware
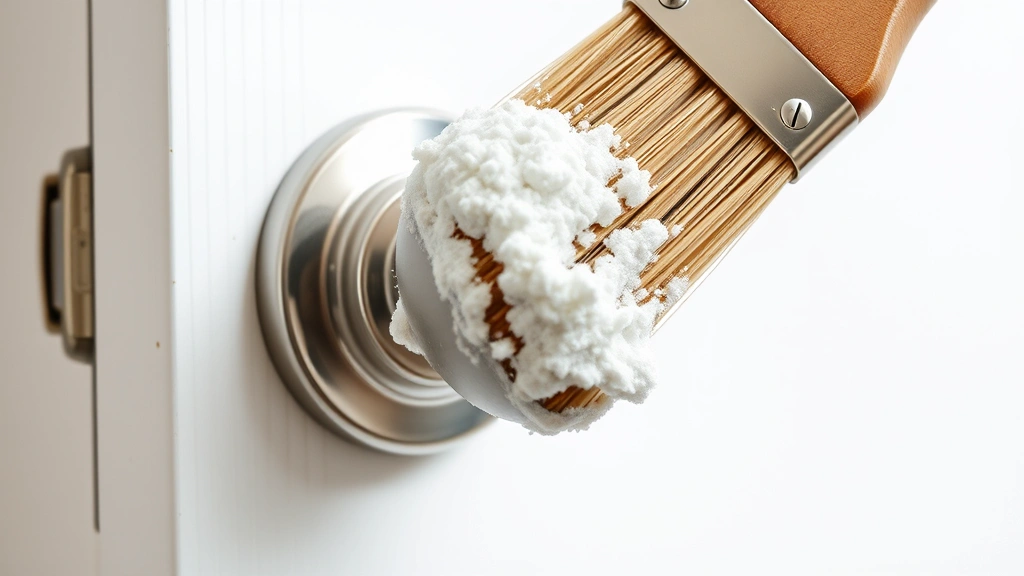
Cabinet hardware—knobs, pulls, and hinges—deserves dedicated attention. These metal pieces collect fingerprints and grime that make your whole kitchen look dingy even if the cabinet surfaces are spotless.
For most hardware, spray cleaner and a microfiber cloth work perfectly. For tarnished brass or corroded hardware, make a paste from baking soda and lemon juice. Apply it to the hardware, let it sit for 15 minutes, then scrub gently with an old toothbrush. Rinse and dry completely. If your hardware is really neglected, soaking it in vinegar for 30 minutes before scrubbing can help restore shine.
While you’re at it, inspect hinges for proper function. Squeaky hinges? A tiny drop of oil on the hinge pin solves that. Loose hinges? This might be the time to adjust door hinges so everything swings smoothly and closes properly.
Dry and Polish for Shine
This step separates “clean” from “showroom-ready.” After all your cleaning, go back over cabinets with a dry microfiber cloth to remove any remaining moisture. Damp cabinets look streaky and unfinished.
Now for the polish. For wood cabinets, use mineral oil or a wood-specific furniture polish. Apply a small amount to a cloth and rub with the grain in long, smooth strokes. This nourishes the wood and adds depth to the finish. For laminate or painted cabinets, a general furniture polish works fine—it adds shine without damaging the finish.
Don’t overdo it with polish. A light coat is all you need. Excess polish leaves cabinets looking greasy and sticky. One thin coat, buffed with a clean cloth, gives you that professional shine without the downsides.
Maintenance Between Deep Cleans
You don’t need to deep clean cabinets monthly, but quick maintenance keeps them looking fresh. Wipe down cabinet fronts weekly with a damp microfiber cloth to catch fingerprints and splatters before they build up. This takes five minutes and makes a huge difference.
Keep a spray bottle of diluted dish soap and water under the sink for quick cleanups. Spill something? Wipe it immediately. Grease splatter from cooking? Hit it while you’re doing dishes. These quick interventions prevent buildup that requires heavy scrubbing later.
Every few months, do a targeted clean of high-traffic areas—around stove handles, near light switches, and around the sink. These spots accumulate grime fastest and benefit from regular attention.
Avoid These Common Mistakes
The most common cabinet-cleaning mistake is using too much water. Moisture seeps into seams, swells wood, and damages laminate. Your cloth should be damp, not wet. If water drips off your cloth, it’s too wet.
Another mistake: using harsh chemicals or abrasive scrubbers. Bleach, ammonia, and scouring pads damage cabinet finishes. Stick with mild soap and water, vinegar, or baking soda. Your cabinets will thank you with longevity and preserved finishes.
Don’t forget the cabinet interiors. Many people clean the outside beautifully but ignore the inside. Dust and grease accumulate on interior surfaces too. Spend a few minutes wiping shelves and the interior of doors—it makes opening cabinets a more pleasant experience.
Finally, avoid silicone-based polishes on wood cabinets. They build up over time and create a sticky, dull finish. Stick with mineral oil or traditional wood polish for best results.
Frequently Asked Questions
How often should I deep clean kitchen cabinets?
For most kitchens, deep cleaning every 3-6 months works well. If you cook frequently or have high humidity, aim for quarterly cleanings. Light maintenance between deep cleans keeps them looking good year-round.
Can I use vinegar on all cabinet types?
Vinegar works great for most cabinets, but test it first on an inconspicuous spot. It’s particularly good for cutting grease but can dull some finishes if used too frequently. Dilute it with equal parts water for safety.
What’s the best product for stubborn grease?
A mix of warm water and concentrated dish soap beats most commercial degreasers. For really stubborn buildup, let the solution sit for a minute before wiping. Baking soda paste also works exceptionally well on dried, stuck-on grease.
Should I clean cabinet interiors differently than exteriors?
Use the same gentle approach inside and out. The main difference is you’re less concerned about polish on interior surfaces—focus on removing dust and grime. Wipe shelves with a damp cloth and dry thoroughly.
How do I restore dull cabinet finishes?
For wood, mineral oil restores depth and richness. For laminate or painted cabinets, a light furniture polish adds shine. If your finish is severely damaged or peeling, you might need professional refinishing, but regular cleaning and light polish maintenance prevents this.
What about cleaning inside cabinet doors?
Interior cabinet door surfaces collect grease and dust just like exteriors. Wipe them with your damp cloth during deep cleaning. Don’t forget the very edges where hinges attach—these spots trap debris.
Conclusion: Knowing how to clean kitchen cabinets properly means your kitchen stays beautiful without expensive replacements or refinishing. The process takes a few hours the first time, but maintenance between deep cleans is quick and easy. Start with the right supplies, assess your cabinet material, and follow these proven steps. You’ll be amazed at how dramatically clean cabinets transform your entire kitchen’s appearance. The best part? You can do this yourself, save money, and have the satisfaction of a job well done. Your future self will appreciate the effort every time you open a cabinet door.


