
Learning how to clean humidifier units is one of those maintenance tasks that feels intimidating until you actually do it—then you realize it’s just basic household work with a wrench and some vinegar. A dirty humidifier stops working efficiently, breeds mold and bacteria, and can actually make your air quality worse instead of better. I’m going to walk you through the exact process I use to keep mine running like new, and trust me, it takes about 30 minutes once you know what you’re doing.
Table of Contents
Why Regular Cleaning Matters
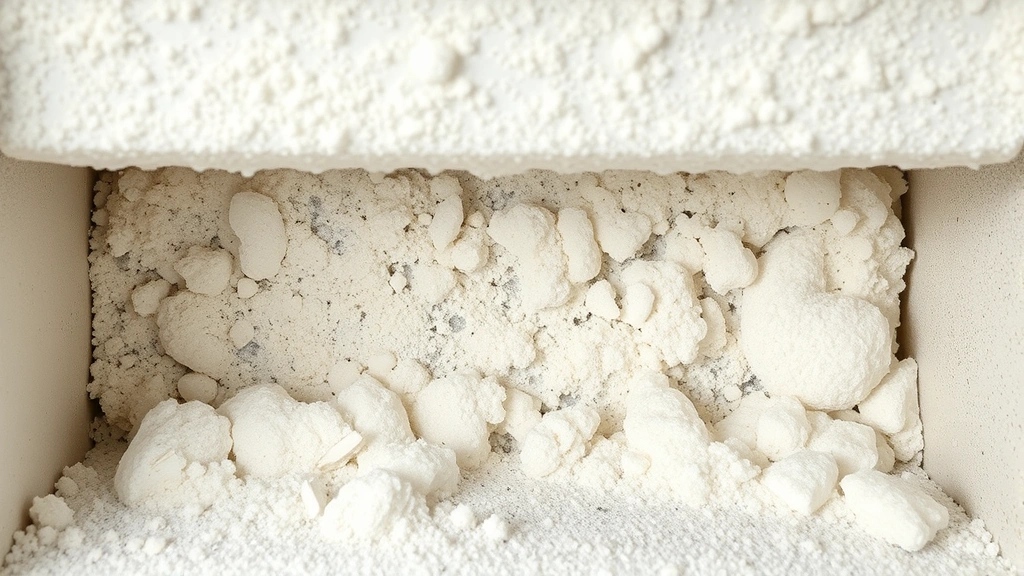
Before we dive into the steps, let’s talk about why this matters. A humidifier that hasn’t been cleaned in weeks becomes a petri dish. Mineral deposits from tap water build up inside, creating a crusty layer that reduces efficiency. Worse, standing water and moisture create the perfect environment for mold spores and bacteria to thrive. When you run a dirty humidifier, you’re not improving your air quality—you’re actively making it worse by dispersing those contaminants into your home. I learned this the hard way after getting sick and realizing my humidifier was the culprit. Now I clean mine every two weeks during heavy use, and the difference is night and day.
Gather Your Cleaning Supplies
You don’t need fancy equipment for this job. Here’s what I keep on hand: white vinegar (the cheap stuff works fine), a soft-bristled brush or old toothbrush, a clean cloth or sponge, a small wrench or screwdriver depending on your unit, and distilled water for refilling. Some people use hydrogen peroxide or commercial humidifier cleaners, but honestly, vinegar does the job just as well and costs a dollar. Make sure you unplug the unit before you start—this isn’t negotiable. I also recommend doing this over a sink or bathtub because things get wet and drip-y. Check your humidifier’s manual to see if there are any specific cleaning restrictions; some newer models have sealed components that you shouldn’t submerge.
Empty and Disassemble the Unit
Start by unplugging the humidifier and letting it cool if it’s been running. Empty any remaining water from the tank—don’t let it sit there. Most humidifiers have a removable tank that twists or pulls off the base. Gently separate the tank from the base unit. Next, look for the filter or wick element; this usually sits in the base and absorbs water to create moisture. Some units have a removable filter cartridge, while others have a permanent wick. If yours has a removable filter, take it out carefully. Don’t force anything—if it feels stuck, check the manual for the proper release mechanism. You should also locate any removable trays or collection pans at the bottom of the base. Take photos with your phone as you go if this is your first time; it helps you remember how to reassemble everything correctly.
Clean the Water Tank Thoroughly
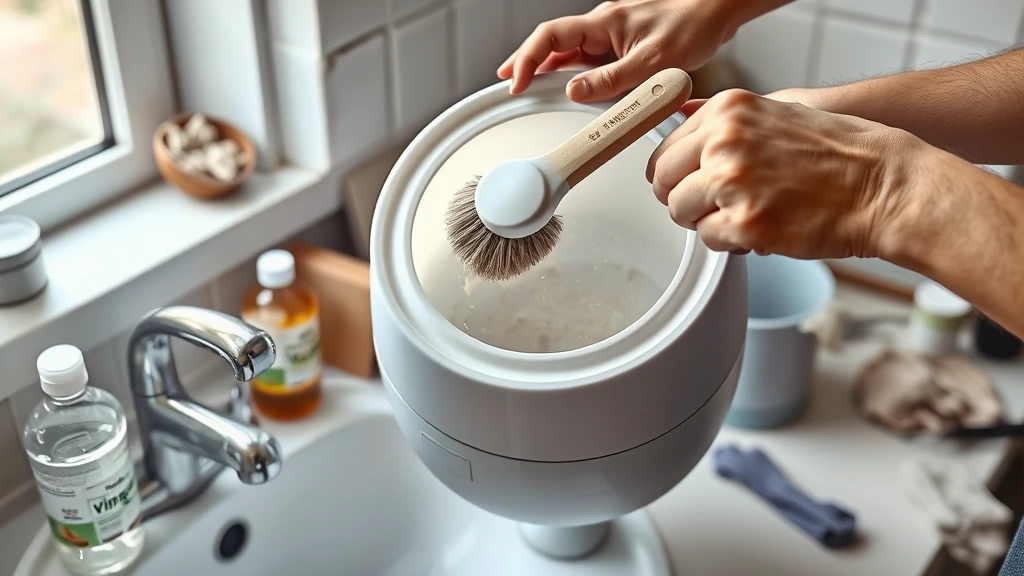
The tank is where mineral deposits love to hide. Fill it halfway with white vinegar and add a small amount of warm water. Close the cap and shake it vigorously for about two minutes—really get aggressive with this step. The vinegar will start dissolving mineral buildup immediately. Pour out the vinegar solution and use your soft-bristled brush to scrub the inside walls, paying special attention to corners and the bottom where deposits accumulate. If you see stubborn white or brown crusty spots, let the vinegar soak for 10-15 minutes and scrub again. Rinse thoroughly with clean water at least three times to remove all vinegar smell and residue. I usually hold it up to light to make sure the inside is completely clear. If your tank is really gunked up, you can soak the entire thing in a bowl of vinegar for 30 minutes before scrubbing.
Descale the Base and Filter
This is where the real gunk lives. The base unit and filter elements are where mineral deposits form the thickest because water evaporates there. Pour vinegar directly into the base where the water normally sits—about a cup should do it. Use your brush to scrub the interior surfaces, especially around the heating element or ultrasonic plate (depending on your humidifier type). For the filter or wick, soak it in a bowl of vinegar for 15-20 minutes. If it’s a disposable filter, this might be a good time to replace it entirely; they’re usually cheap and prevent future buildup. If it’s permanent, scrub it gently with the brush—you want to remove deposits without damaging the material. Don’t use hot water for this step; stick with room temperature vinegar and water. Once you’ve scrubbed everything, rinse the base thoroughly under running water, making sure no vinegar remains.
Reassemble and Refill Properly
Let all components air dry for a few minutes before reassembling. This prevents water spots from forming. Put the filter or wick back in the base first, making sure it sits securely in its slot. Reattach the water tank, twisting or clicking it back into place depending on your model. Now here’s the important part: always use distilled water, not tap water. Tap water contains minerals that cause buildup in the first place. Fill the tank completely with distilled water and let it settle in the base for a minute to make sure everything’s sealed properly. Plug the unit back in and run it for a few minutes to verify it’s working. You should see mist within 30 seconds of turning it on. If nothing happens, double-check that the filter is seated correctly and that water has flowed into the base reservoir.
Maintenance Schedule Tips
How often you clean depends on your water hardness and usage. If you have soft water and only run your humidifier occasionally, monthly cleaning is fine. Hard water and constant use? Clean it every two weeks. During winter when humidifiers run 24/7, I clean mine weekly—it takes 30 minutes and prevents problems. Between deep cleanings, empty the tank daily if you’re not using distilled water, and wipe down the exterior with a damp cloth. If you notice reduced mist output or hear strange sounds, that’s your signal to clean immediately. Don’t wait for visible mold; by then you’ve got a real problem. I keep a calendar reminder on my phone for cleaning day—sounds silly, but it actually works. Many people also find that understanding humidity levels helps them maintain better air quality overall.
Common Cleaning Mistakes
Let me save you some grief by sharing what I’ve seen go wrong. First mistake: using tap water for cleaning and refilling. It defeats the entire purpose. Second: using bleach or harsh chemicals. These can damage the unit and leave toxic residue in the air you breathe. Stick with vinegar. Third: scrubbing too hard on delicate components like the filter or ultrasonic plate. You’ll damage them. Fourth: not letting things dry before reassembling. Water spots and mineral deposits form faster on wet surfaces. Fifth: forgetting to unplug before cleaning. I know it seems obvious, but I’ve seen people get shocked. Finally, don’t ignore the manual. Some units have specific cleaning instructions, and ignoring them can void your warranty or damage components. If you’re dealing with persistent mold issues, you might also want to check out tips on maintaining clean indoor surfaces to reduce mold spores throughout your home.
Frequently Asked Questions
How often should I clean my humidifier?
Clean every two weeks during regular use, or weekly if you run it constantly. If you have hard water, increase frequency. Always empty and refill daily with fresh distilled water.
Can I use regular tap water in my humidifier?
Technically yes, but you shouldn’t. Tap water contains minerals that build up inside, reducing efficiency and creating maintenance headaches. Distilled water costs a few dollars and saves you time and frustration.
What if my humidifier smells bad?
That’s mold or bacteria growing inside. Clean it immediately with the vinegar method described above. If the smell persists after cleaning, the filter might need replacement, or the unit might be damaged beyond basic cleaning.
Is vinegar safe to use inside a humidifier?
Yes, white vinegar is safe and effective. Make sure you rinse thoroughly afterward so no vinegar smell remains. Never use vinegar that’s been sitting open for months—use fresh vinegar for best results.
Can I soak the entire humidifier in vinegar?
Only if your manual says it’s okay. Most units have electrical components that shouldn’t be submerged. Stick with soaking removable parts like the tank and filter.
My humidifier still isn’t working after cleaning. What now?
Check that the filter is seated correctly and water has reached the base. If it still doesn’t work, the heating or ultrasonic element might be damaged. Try running it with distilled water for 24 hours to see if that helps. If nothing works, it might be time for a replacement unit.
Final Thoughts
Cleaning your humidifier isn’t glamorous work, but it’s one of those maintenance tasks that pays dividends in air quality and equipment longevity. Once you’ve done it once, you’ll realize it’s just basic cleaning—vinegar, scrubbing, rinsing, reassembling. The whole process takes 30 minutes, and your lungs will thank you. Use distilled water, clean regularly, and you’ll never deal with mold or mineral buildup. For more detailed guidance on maintaining other household items, check out resources like Family Handyman or This Old House for comprehensive home maintenance strategies. Your humidifier will run better, last longer, and actually improve your air quality instead of making it worse. That’s worth 30 minutes every couple weeks in my book.


