
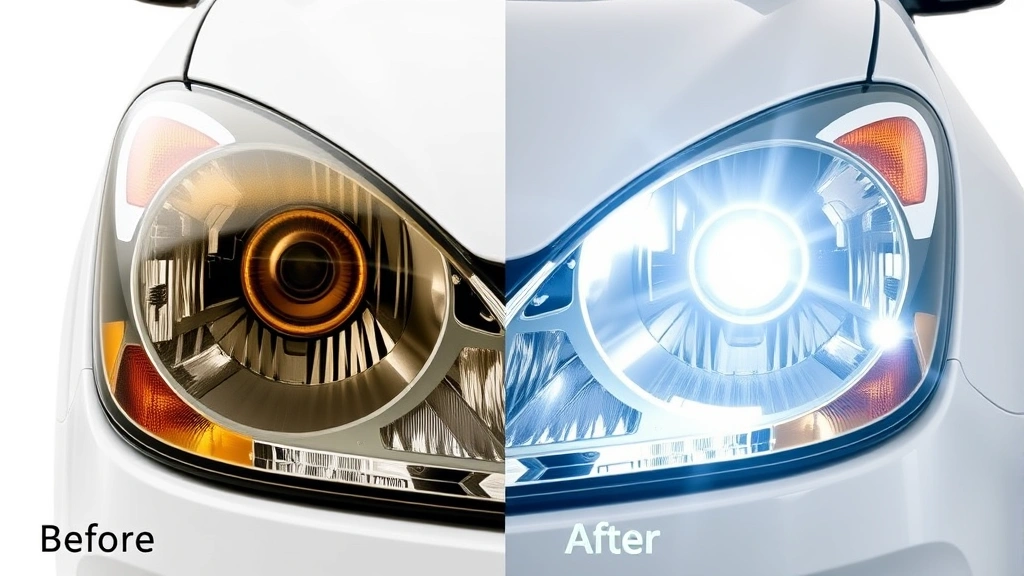
If you’re wondering how to clean headlights, you’re not alone—cloudy, yellowed headlights are one of the most common maintenance issues car owners face. Over time, UV rays and oxidation turn your once-clear lenses into a foggy mess that kills your nighttime visibility and makes your car look neglected. The good news? You can restore them yourself without dropping cash at the dealership.
Table of Contents
Why Headlights Get Cloudy
Before diving into solutions, let’s talk about what causes the problem. Modern headlights use a polycarbonate plastic lens instead of glass—it’s lighter and cheaper to manufacture, but it’s also vulnerable to UV damage. The plastic oxidizes when exposed to sunlight, creating that hazy, yellowed appearance. Road salt, moisture, and temperature fluctuations accelerate the process. This isn’t just a cosmetic issue; cloudy headlights reduce light output by up to 50%, which is a safety hazard during night driving.
Method 1: Toothpaste & Elbow Grease
This is the easiest entry-level method and works surprisingly well for light to moderate cloudiness. Grab a tube of regular toothpaste (not gel) and a soft cloth or old toothbrush. Here’s the process: First, clean the headlight with soap and water to remove dirt and debris. Apply a generous amount of toothpaste directly to the lens and rub in circular motions for 2-3 minutes. The mild abrasive in the toothpaste gently removes oxidation without damaging the plastic. Rinse thoroughly with water and dry with a clean cloth. For stubborn spots, repeat the process. This method works best on newer cars where the cloudiness is still in early stages. If you’re dealing with automotive maintenance, you’ll appreciate that this approach requires zero special tools.
Method 2: Baking Soda Paste
Baking soda is another household staple that delivers results. Mix baking soda with a small amount of water to create a thick, spreadable paste—think pancake batter consistency. Apply it to the headlight lens and scrub with a soft cloth or sponge in circular motions for 3-5 minutes. The paste acts as a gentle abrasive that removes oxidation without being too aggressive. Rinse with clean water and dry completely. This method is gentler than toothpaste and works well if you have sensitive headlight coatings. You can also add a few drops of white vinegar to the paste for extra cleaning power—the combination creates a fizzing action that helps lift stubborn oxidation.
Method 3: Vinegar & Aluminum Foil
This method sounds weird, but it’s legitimately effective. The chemical reaction between aluminum and the acidic vinegar helps break down oxidation. Start by crumpling aluminum foil into a ball and dampening it with white vinegar. Rub the foil gently across the headlight lens in circular motions for 2-3 minutes. The foil’s texture combined with the vinegar’s acidity creates a mild polishing action. Rinse thoroughly with water and dry. This approach works particularly well on older headlights with heavy oxidation. According to Family Handyman, this technique has been used by DIYers for years with consistent results. The key is gentle pressure—you’re not trying to sand the lens, just remove the oxidized layer.
Method 4: Sandpaper Progression
For serious cloudiness, sandpaper gives you more control and power. This method requires patience and a light touch. Start with 1000-grit sandpaper and work your way up to 2000-grit, then 3000-grit. Wet-sand the headlight (keep it wet throughout) using gentle, circular motions for about 5 minutes per grit level. Start with 1000-grit to remove heavy oxidation, then progress to finer grits to smooth out scratches left by the coarser paper. After each grit progression, rinse and inspect your work. This method is more aggressive than the others, so it’s best for headlights that are severely yellowed or have visible pitting. The progression from coarse to fine grit ensures you end up with a clear, smooth finish rather than a scratched surface.

Method 5: Headlight Restoration Kit
If you want professional-grade results without the guesswork, invest in a dedicated headlight restoration kit. Brands like 3M and Turtle Wax make comprehensive kits that include sandpaper, polishing compound, and a UV-protective sealant. These kits cost $15-40 and come with detailed instructions. The process typically involves: sanding the lens with provided sandpaper, applying a rubbing compound, buffing to a shine, and finishing with a protective coat. Kits take 30-45 minutes per headlight but deliver results comparable to professional restoration. According to This Old House, these kits are particularly valuable because the included sealant prevents future oxidation for 6-12 months. If you’re serious about maintaining your car, this is worth the investment.
Sealing and Protection
Regardless of which cleaning method you choose, sealing your headlights afterward is crucial. Once you’ve restored clarity, apply a UV-protective sealant or clear coat to prevent oxidation from returning. You can use automotive wax, clear coat spray, or specialized headlight sealants. Apply thin, even coats and let dry completely before driving. This step extends your headlight clarity by 6-12 months depending on sun exposure and climate. Think of it like sunscreen for your headlights—it blocks UV rays that cause the damage in the first place. Many people skip this step and wonder why their headlights get cloudy again within a few months. Don’t make that mistake.
When to Replace Instead
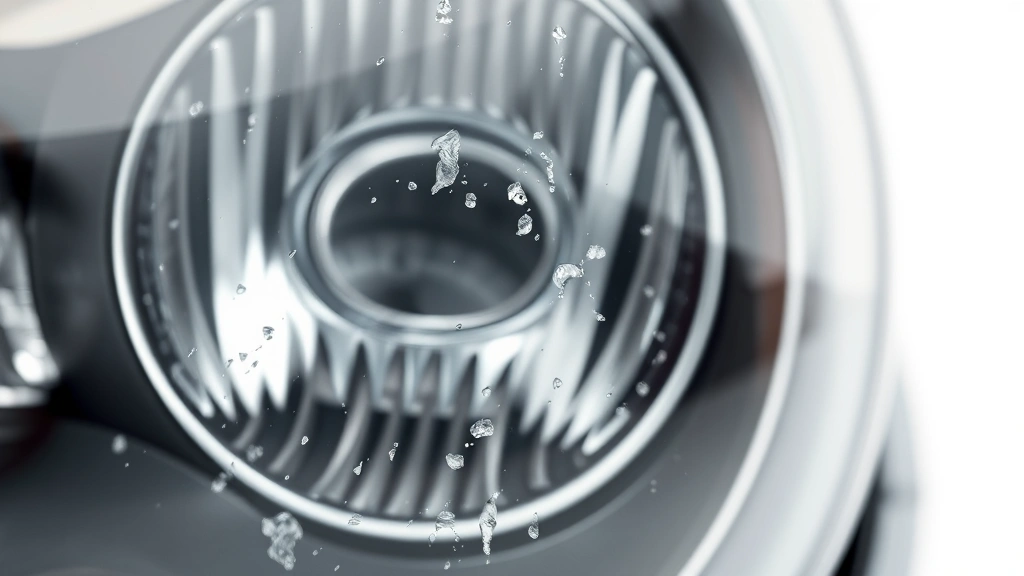
Sometimes cleaning isn’t enough. If your headlights have internal moisture, cracks, or pitting so severe that polishing doesn’t help, replacement is your best option. Check inside the lens for condensation or water droplets—this indicates a failed seal that cleaning won’t fix. If the plastic is cracked or has deep gouges, replacement is safer and more cost-effective than repeated restoration attempts. Modern headlight assemblies run $150-400 per side depending on your vehicle, but they’ll last 5-10 years. If you’re handy with automotive work, basic maintenance skills transfer well to headlight replacement—it’s mostly about removing fasteners and disconnecting connectors.
Maintenance Tips
Keep your headlights clear longer with these simple habits. Wash your car regularly, paying special attention to the headlight area—road salt and grime accelerate oxidation. Park in shade when possible to minimize UV exposure. Check your headlights every few months and address cloudiness early before it becomes severe. Apply a protective wax or sealant twice yearly. If you live in a harsh climate (lots of sun, salt air, or extreme temperature swings), consider annual professional restoration. According to Bob Vila, preventive maintenance is always cheaper than dealing with severely degraded headlights. These habits take minimal effort but pay dividends in visibility and safety.
Frequently Asked Questions
How long does it take to clean headlights?
Simple methods like toothpaste or baking soda take 15-20 minutes per headlight. Sandpaper progression takes 30-45 minutes. Restoration kits fall somewhere in between at 30-40 minutes. The time depends on how cloudy your headlights are and which method you choose.
Will cleaning headlights improve visibility?
Absolutely. Cloudy headlights reduce light output by up to 50%. Cleaning them can restore visibility by 80-90% depending on how severely oxidized they were. This is a genuine safety improvement, not just cosmetic.
Can I use a power drill with a buffing pad?
Yes, but use caution. A drill with a soft buffing pad and polishing compound can speed up the process, but you risk overheating the plastic lens or creating uneven results if you’re not careful. Keep the drill on low speed and maintain constant motion.
How often should I clean my headlights?
This depends on your climate and driving conditions. In sunny areas, every 6-12 months. In harsher climates with salt exposure, every 3-6 months. Regular maintenance prevents severe cloudiness from developing.
Do headlight cleaning products really work?
Yes, but quality varies. Budget products ($5-10) offer temporary results. Mid-range restoration kits ($15-40) deliver solid, lasting results. Professional-grade products work best but cost more. For most DIYers, a kit in the $20-30 range offers the best value.
Can I prevent headlight cloudiness?
You can slow it down significantly with regular waxing, UV-protective coatings, and parking in shade. You can’t completely prevent it due to UV exposure, but good maintenance extends the time between cleanings from months to years.


