
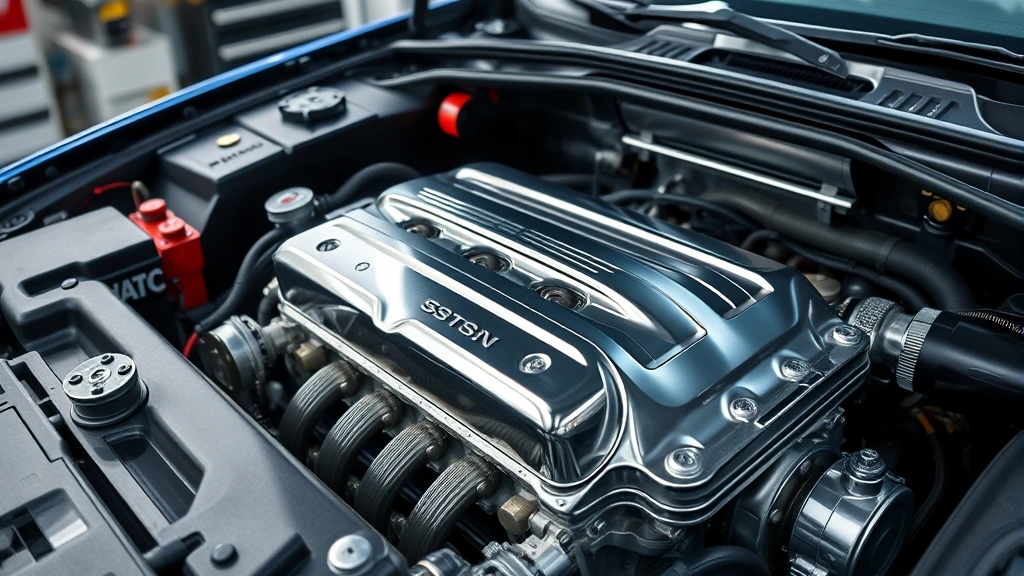
Learning how to clean engine bay is one of those skills that separates folks who just own cars from people who actually care for them. A clean engine bay isn’t just about looks—it helps you spot leaks, keeps everything running cooler, and makes maintenance work a whole lot easier. I’ve spent years elbow-deep in engine compartments, and I’m going to walk you through exactly what you need to do to get yours looking showroom-fresh.
Table of Contents
Prep Your Engine First
Before you spray anything, you need to let your engine cool down completely. I can’t stress this enough—working on a hot engine is dangerous and ineffective. The degreaser won’t stick properly to hot metal, and you’ll risk burns or damaging heat-sensitive components. Park your car in a shaded spot and give it at least 30-45 minutes to cool. While you’re waiting, remove any loose items from the engine bay: air intake tubes, battery terminals, or anything else that’s easily detachable. This gives you better access and prevents water from getting trapped in weird places.
Gather Your Cleaning Supplies
You don’t need fancy equipment to get professional results when you learn how to clean engine bay properly. Here’s what actually works: a good engine degreaser (I prefer biodegradable ones), soft-bristle brushes in various sizes, microfiber towels, a pressure washer (optional but helpful), and some old rags. Skip the wire brushes—they’ll scratch painted surfaces. Grab a spray bottle of plain water and maybe some detailing spray for the final shine. If your engine bay is really grimy, consider getting a foam gun attachment for your hose; it helps the degreaser sit longer on vertical surfaces. Don’t cheap out on the degreaser; quality matters here.
Protect Electronics and Sensitive Parts
This step separates DIYers who keep their cars running from those who end up with electrical gremlins. Cover your battery terminals with plastic bags and secure them with rubber bands. Use plastic sheeting or bags to protect your alternator, starter motor, and any exposed wiring harnesses. The distributor cap, spark plug wires, and fuel injectors all need protection from direct water spray. I use painter’s tape and plastic bags—cheap and effective. Don’t go overboard, but do cover anything that looks electrical or has connectors. If water gets into these systems, you’re looking at expensive repairs that’ll make you regret skipping this step.
Apply Degreaser Like a Pro
Read the degreaser instructions first—different products have different dwell times. Spray the degreaser generously over the entire engine bay, starting from the top and working down. Let it sit for the recommended time (usually 5-15 minutes) so it can break down the built-up grime and oil. This is when the magic happens—the chemicals do the heavy lifting while you take a break. For stubborn spots, apply a second coat. Don’t let it dry completely; you want it still wet when you start scrubbing. The longer you let degreaser sit, the less physical scrubbing you’ll need to do, which means less risk of damaging something.
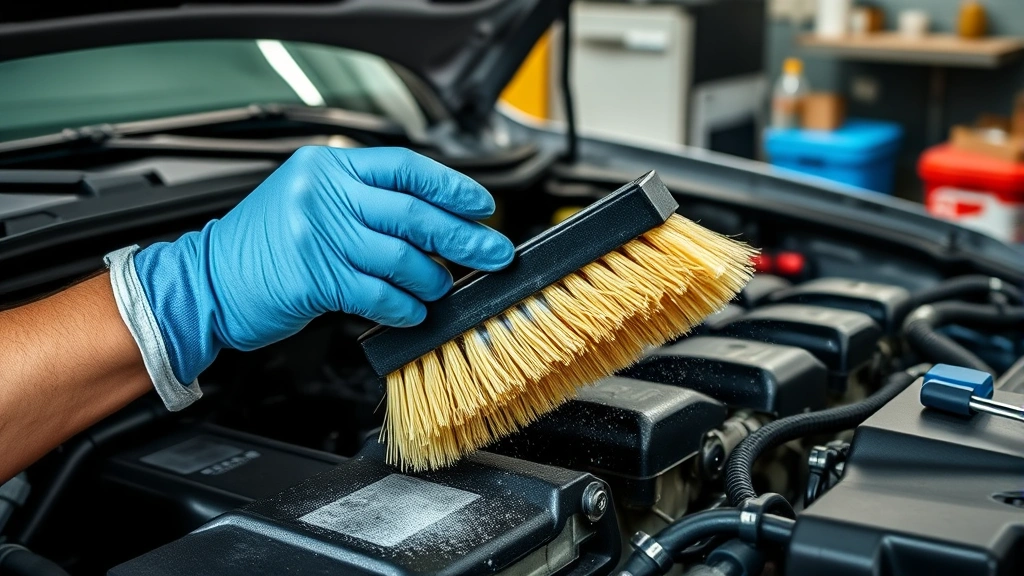
Scrub and Rinse Everything
Once the degreaser has done its job, grab your soft-bristle brushes and start scrubbing. Use smaller brushes for tight spaces around hoses and connectors, and larger ones for open areas like the valve cover. Don’t use excessive pressure—let the brush do the work. After scrubbing each section, rinse thoroughly with water. If you have a pressure washer, use it on a low setting and keep the nozzle moving to avoid blasting water into protected areas. If you’re using a regular hose, that works fine too; just be more careful around electrical components. Work from top to bottom so dirty water runs down and away from sensitive parts. Keep rinsing until the water runs clear and you don’t see any soapy residue.
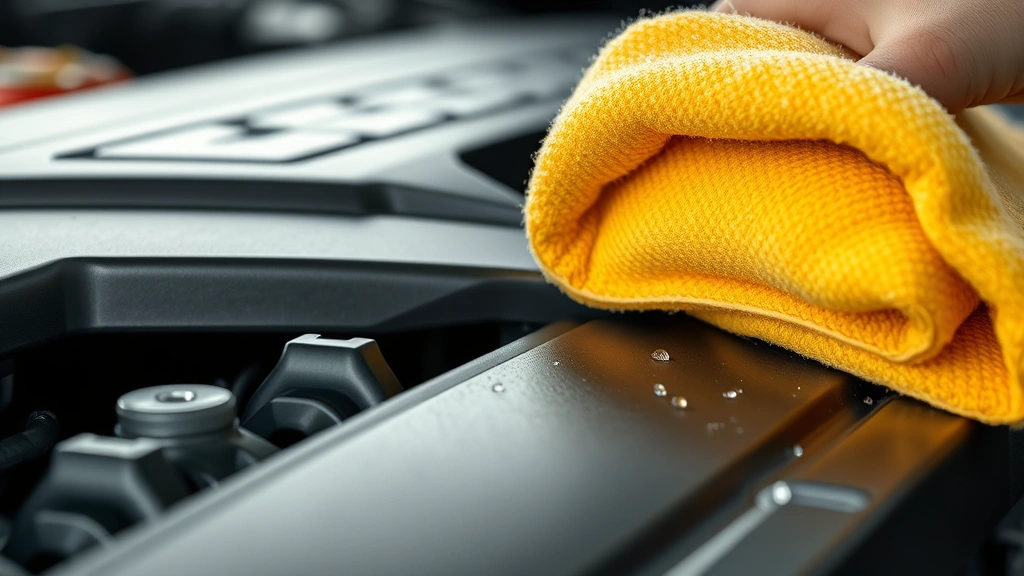
Dry and Detail the Bay
This is where patience pays off. Use clean microfiber towels to dry everything thoroughly. Compressed air is fantastic for getting into tight spaces and crevices where water likes to hide. Pay special attention to areas around connectors and under hoses—trapped water here can cause corrosion and electrical issues down the line. Once everything’s dry, remove your protective coverings carefully. Now you can use a detailing spray or light engine dressing on plastic covers and hoses to bring out color and add UV protection. Don’t overdo it—a light coating looks professional; anything more looks cheap. For metal surfaces like the valve cover, you can use a metal polish to really make them shine.
Final Touches and Protection
Reconnect anything you removed earlier, making sure battery terminals are tight and all hose clamps are secure. If you’re really serious about maintenance, this is a great time to check your alternator and other electrical components while you have clear visibility. Apply a light coat of protectant spray to rubber hoses and plastic components—this prevents UV damage and keeps things looking fresh longer. Wipe down the underside of your hood with a microfiber cloth; people notice that detail. Start your engine and let it run for a few minutes to make sure everything’s working properly and there are no leaks. The whole process takes about 2-3 hours depending on how dirty your engine bay was, and the results last months.
Keep It Clean Going Forward
The best part about learning how to clean engine bay is that maintenance is way easier than the initial deep clean. Every month or so, just wipe down the engine bay with a damp microfiber cloth and compressed air to remove dust and debris. This prevents buildup and means your next deep clean won’t be nearly as brutal. Keep an eye out for leaks—a clean engine bay makes them obvious, and catching them early saves thousands in repair costs. When you’re doing other maintenance like checking fluid levels or replacing air filters, take 10 minutes to spot-clean any grimy areas. Small, regular efforts beat one massive cleaning session every time. Think of it like brushing your teeth versus getting a root canal—prevention is always easier.
Frequently Asked Questions
Can I use a pressure washer on my engine bay?
Yes, but be careful. Use a low setting (below 1500 PSI) and keep the nozzle at least 12 inches away from sensitive components. Never aim directly at electrical connectors, the alternator, or spark plug wires. If you’re nervous, stick with a regular garden hose—it works just fine and there’s less risk of damage.
What’s the best degreaser for engine bays?
Look for biodegradable, non-toxic degreasers that are specifically formulated for engine cleaning. Brands like Goof Off Engine Degreaser or Zep Degreasers are solid choices. Avoid harsh chemicals like straight gasoline or carburetor cleaner unless you’re targeting a specific problem area. The gentler stuff works just as well and won’t damage paint or rubber.
How often should I clean my engine bay?
A deep clean once or twice a year is ideal, depending on your driving conditions. If you drive in dusty or muddy environments, aim for twice yearly. For regular city driving, once a year is fine. Monthly touch-ups with a damp cloth keep things looking good between deep cleans and help you spot problems early.
Is it safe to use water near the battery?
As long as you cover the battery terminals with plastic bags and avoid spraying water directly on them, you’re fine. The battery itself is sealed and designed to handle some moisture. Just don’t let water sit on the terminals or connectors—dry them thoroughly with a towel or compressed air after rinsing.
Can I damage my engine by cleaning it?
Not if you’re smart about it. The main risks are water getting into electrical connectors or air intake systems. That’s why protecting sensitive components before you start is crucial. Use a gentle touch with brushes, avoid high-pressure spray near connectors, and dry everything thoroughly. Millions of people clean their engine bays every year without issues—you’ll be fine.
What should I do if water gets into my air intake?
Don’t panic. Remove the protective covering, tilt the intake filter downward, and let gravity do the work. Use compressed air to blow out any remaining moisture. If you’re concerned, you can remove the air filter entirely and inspect the intake for water. In most cases, a little water dries out quickly once the engine runs. If you’re really worried, take it to a mechanic for a quick check.
Do I need to apply anything after cleaning?
Not necessarily, but it helps. A light coat of protectant spray on rubber hoses and plastic components adds UV protection and keeps things looking fresh. For metal surfaces, a light polish brings out shine and adds protection. This is optional but makes your work look even more professional.
Final Thoughts
Knowing how to clean engine bay is a skill that pays dividends every time you open your hood. You’ll spot problems faster, feel more confident doing maintenance work, and honestly, there’s something satisfying about having a clean, organized engine bay. It’s not complicated—just take your time, protect the sensitive stuff, and don’t rush. Your car will thank you with better performance and fewer surprises down the road. If you’re already getting comfortable under the hood, consider learning about other maintenance tasks like shutting off your home’s water supply for similar peace of mind in other areas. Start with this project, and you’ll build the confidence to tackle more complex work. Your future self—and your car—will appreciate the effort.


