
Learning how to clean clams is one of those essential kitchen skills that separates the casual cook from someone who actually knows their way around fresh seafood. Whether you’re planning a clam bake, making pasta alle vongole, or just want to impress your dinner guests, knowing the proper technique will save you time, reduce waste, and ensure you’re serving up the freshest possible meal. I’ve spent enough time in kitchens and at the shore to know that most people either skip this step entirely or do it halfway—and both approaches lead to gritty, disappointing clams. Let’s fix that.
Table of Contents
Selecting Fresh Clams First
Before you even think about cleaning, you need to start with quality clams. When you’re shopping, look for clams that feel heavy for their size—that weight tells you they’re full of meat and liquid, not air. The shells should be closed tight. If a clam is sitting there gaping open, tap it gently. A live clam will snap shut. If it doesn’t, leave it behind. You want clams with no cracks, chips, or damage to the shell. That’s your first line of defense against contamination and poor quality. Buy from reputable fishmongers or markets with high turnover. The fresher your starting material, the less work you’ll have during cleaning.
Purging Clams of Sand
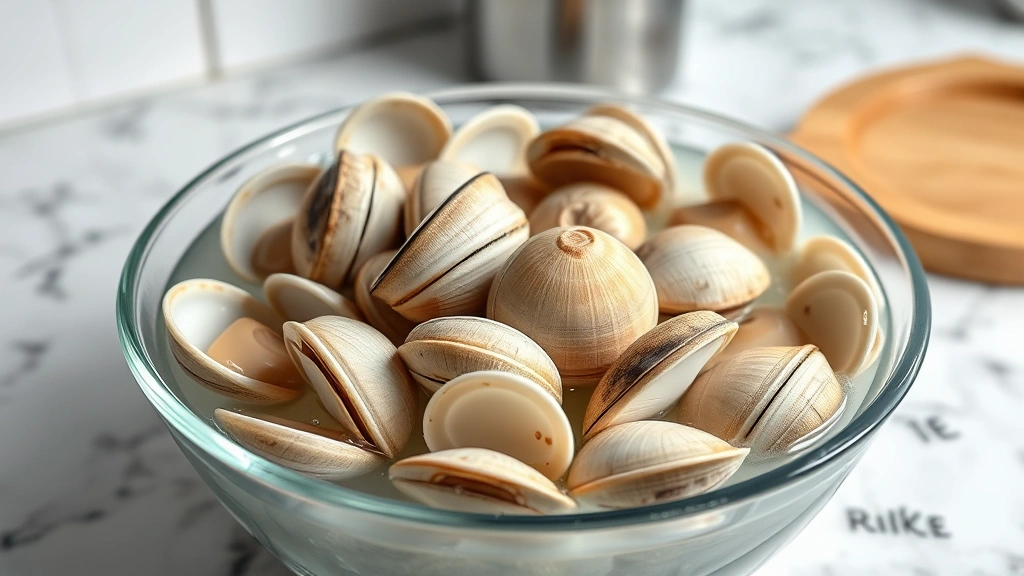
This is the step most home cooks skip, and it’s the reason they end up with sandy clams. Purging is simple but requires patience. Fill a large bowl or bucket with cold saltwater—use about 1/3 cup of salt per gallon of water, matching the ocean’s salinity. Place your clams in this mixture and let them sit for 20 minutes to several hours. The clams will naturally filter water through their systems, expelling sand and grit in the process. You’ll actually see the sand settling at the bottom of the bowl. Change the water and repeat this process 2-3 times until the water stays relatively clear. This is non-negotiable if you want clean clams. Think of it as letting them take a shower—they need multiple rinses.
Scrubbing the Shells Clean
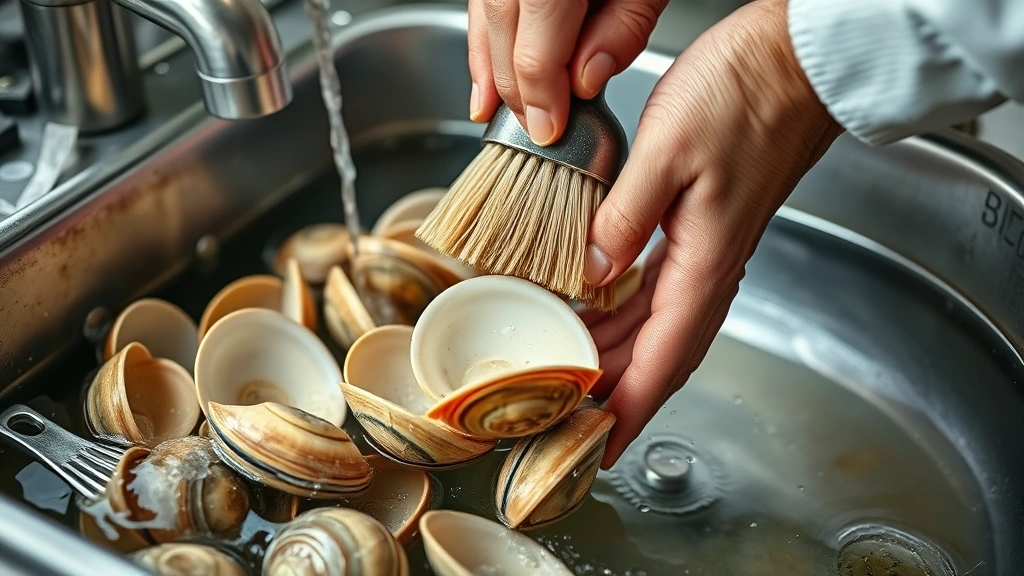
After purging, your clams still have dirt, barnacles, and debris on their exterior. Get a stiff-bristled brush—a vegetable brush works perfectly—and hold each clam under cold running water. Scrub the shell thoroughly, paying special attention to the ridges and crevices where sand and sediment hide. You’re not trying to be gentle here; clam shells are tough. Work around the entire shell, getting into every groove. If there are barnacles stuck on, use a bit more pressure or a dedicated shellfish brush. This physical scrubbing is what separates mediocre clam cleaning from the real deal. Don’t rush it. A minute per clam is a reasonable pace. If you’re cleaning a large batch, you might want to measure your quantities to understand how much time you’re committing to.
Rinsing and Final Inspection
Once you’ve scrubbed all your clams, rinse them one more time under cold running water, letting the water cascade over them as you turn each one in your hands. This final rinse removes any loose debris that scrubbing kicked up. Now do a visual and tactile inspection. Look for any remaining debris on the shells. Feel the surface—it should be relatively smooth and clean. Check that all clams are still tightly closed. Any that have opened and won’t close when tapped should be discarded. This is your quality control checkpoint. A clam that won’t close is either dead or damaged, and you don’t want it anywhere near your pot.
Storage and Prep Timing
Clean clams should be cooked the same day you buy them, or within 24 hours maximum. Store them in the coldest part of your refrigerator, ideally in a mesh bag or colander so air can circulate. Never store them in a sealed plastic bag or submerged in fresh water—they need to breathe, and fresh water will kill them. If you’re prepping ahead, do your purging and scrubbing just before cooking, not hours in advance. Clams kept too long after cleaning can deteriorate. The timing matters more than you might think. Some folks like to prepare a simple Cajun rice recipe as a side while their clams are resting in the saltwater bath.
Common Cleaning Mistakes to Avoid
The biggest mistake is skipping the purging step entirely. People think rinsing and scrubbing alone is enough, then they end up with gritty clams and ruined dinners. Another common error is using fresh water instead of saltwater for purging. Clams are saltwater creatures—fresh water stresses them and can kill them. Don’t use hot water either; stick with cold. Some folks scrub too gently, thinking they might hurt the clams. Clam shells are incredibly durable; you can’t damage them with normal scrubbing. The final mistake is storing cleaned clams in the freezer if you’re not planning to use them immediately. Freezing raw clams changes their texture and quality. If you need to store them longer than a day, freeze them in their shells only if absolutely necessary, and understand the texture will suffer.
Cooking Your Cleaned Clams
Now that your clams are properly cleaned, you have options. Steaming is the most popular method—just place them in a pot with a small amount of water or wine, cover, and steam for 5-10 minutes until they open. Discard any that don’t open. You can also roast them in the oven at 450°F for 10-15 minutes, grill them, or add them to pasta, soups, or chowders. The key is high heat and quick cooking. Clams become tough and rubbery if overcooked. Most recipes using clams take advantage of their natural brininess and tender meat. If you’re making a more complex dish, you might want to check out Burmese food mohinga recipe inspiration for flavor profiles that complement seafood well.
Frequently Asked Questions
How long should I purge clams?
Purge clams for at least 20 minutes, but 1-2 hours is better. Change the water 2-3 times for best results. If you have time, overnight purging in the refrigerator is excellent but not necessary.
Can I clean clams with a brush alone?
No. Brushing removes exterior debris, but purging removes the sand inside the clam’s digestive system. You need both steps for truly clean clams.
What if a clam won’t close?
Discard it. A clam that won’t close when tapped is dead or damaged and could contain harmful bacteria. It’s not worth the risk.
Is it safe to eat raw clams?
Only if they’re from reputable sources and handled properly. Raw clams carry higher food safety risks than cooked clams. When in doubt, cook them thoroughly.
How do I know if clams are fully cooked?
Clams are fully cooked when their shells open. If a clam doesn’t open after cooking, discard it—it was likely dead before cooking.
Can I reuse the purging water?
No. Discard it each time. The water contains expelled sand and sediment that you don’t want back on your clams.
Final Thoughts
Cleaning clams properly isn’t complicated, but it does require attention to detail and patience. The purging step is non-negotiable if you want to avoid that unpleasant gritty texture that ruins an otherwise perfect dish. Scrubbing removes visible debris, and a final rinse ensures you’re starting with the cleanest possible seafood. Take your time with this process, and your clams will reward you with tender, flavorful meat that makes any dish shine. Whether you’re steaming them, adding them to pasta, or tossing them into a chowder, properly cleaned clams make all the difference. Now get out there and cook something delicious. For reference on kitchen conversions while you’re planning your meal, understanding measurement conversions can help with scaling recipes, and if you’re working in a kitchen that’s seen better days, you might want to check out our guide on keeping your kitchen tools in top shape.


