
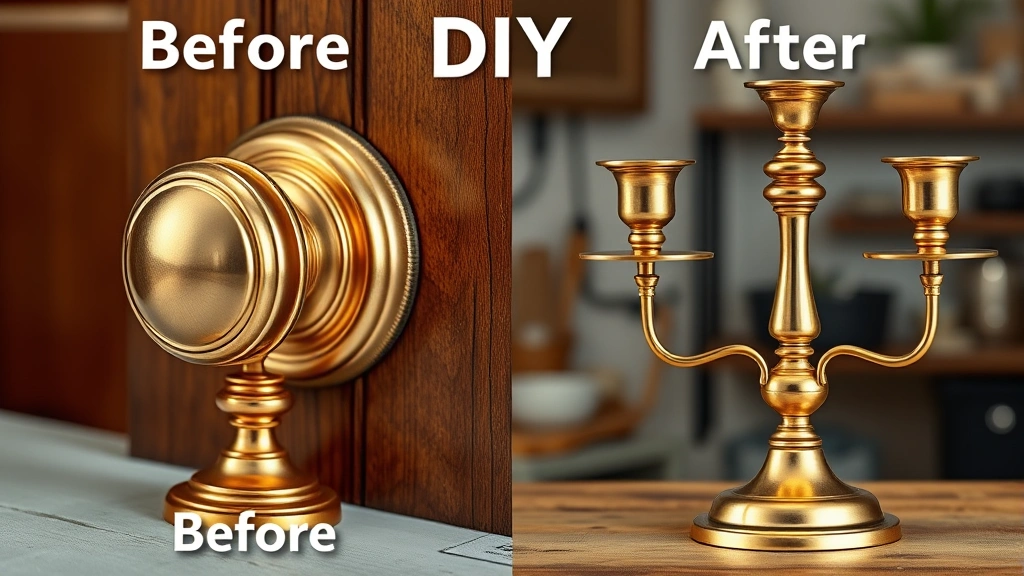
Learning how to clean brass is one of those skills that’ll save you money and keep your favorite pieces looking showroom-fresh for years. Whether you’ve got tarnished brass doorknobs, vintage candlesticks, or decorative fixtures that have lost their luster, I’ve got five proven methods that actually work—no fancy chemicals required.
Table of Contents
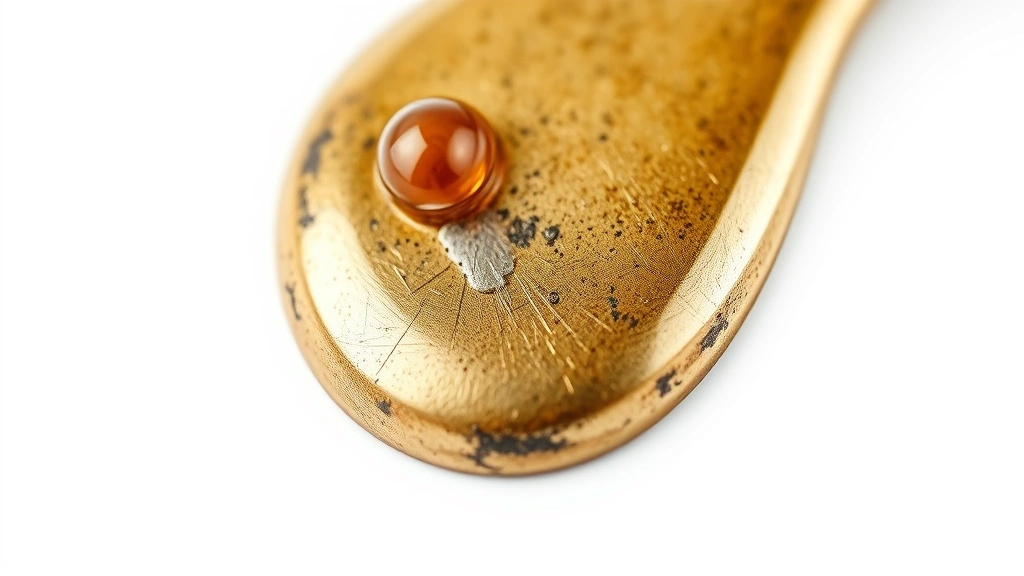
Why Brass Tarnishes Over Time
Before we jump into the methods, let’s talk about what causes brass to tarnish in the first place. Brass is an alloy made from copper and zinc, and when exposed to oxygen and moisture, it develops a dark, dull patina. This oxidation process is natural and happens to all brass over time, especially in humid environments. The good news? It’s completely reversible with the right approach.
Method 1: Vinegar & Baking Soda Paste
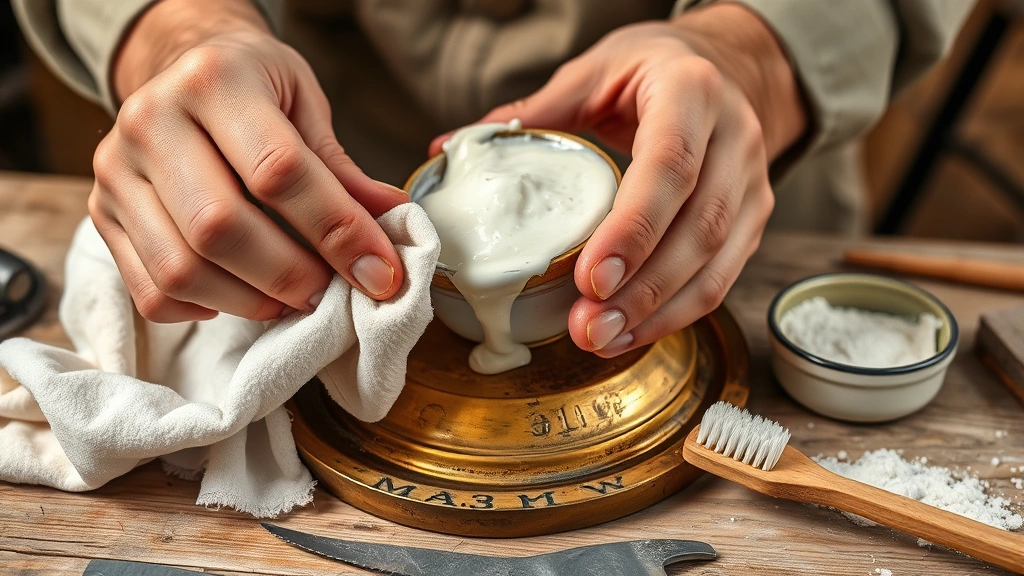
This is my go-to method because it’s safe, effective, and you probably have both ingredients in your kitchen right now. The acidity in vinegar cuts through tarnish while baking soda provides gentle abrasive action.
What you’ll need: White vinegar, baking soda, soft cloth, small bowl, old toothbrush
Steps: Mix equal parts white vinegar and baking soda in a bowl until you get a paste-like consistency. Apply the mixture directly to the tarnished brass using a soft cloth or old toothbrush, working in circular motions. For intricate details and grooves, the toothbrush works better than a cloth. Let it sit for 15-30 minutes, then rinse thoroughly with warm water and dry immediately with a clean towel. You’ll be amazed at how quickly the shine returns.
This method works particularly well on smaller items like decorative pieces and hardware. The key is drying quickly to prevent water spots.
Method 2: Lemon & Salt Solution
If you want something with a bit more punch, the lemon and salt combination is fantastic. Citric acid in lemon juice is powerful against tarnish, while salt adds scrubbing power without scratching.
What you’ll need: Fresh lemon, salt, soft cloth, cutting board
Steps: Cut a lemon in half and dip it directly into salt. Rub the salted lemon half onto the brass surface in circular motions. You’ll see the tarnish lift almost immediately. Work section by section, and for stubborn spots, let the lemon juice sit for a few minutes before rubbing. Rinse with clean water and dry thoroughly. This method is particularly effective on heavily tarnished pieces because the combination of acid and abrasive action is more aggressive than vinegar alone.
The natural acidity makes this one of the safest methods for delicate brass items.
Method 3: Commercial Brass Polish
Sometimes you want the heavy artillery. Quality commercial brass polishes are formulated specifically for the job and often include protective ingredients that help prevent future tarnishing.
What you’ll need: Brass polish (Brasso is a solid choice), soft cloth, gloves, well-ventilated area
Steps: Apply a small amount of polish to a soft cloth and rub onto the brass in circular motions. Work in small sections and check your progress frequently. Most commercial polishes work quickly—you’ll often see results in 2-3 minutes. Buff with a clean cloth until the shine reaches your desired level. Rinse lightly with water if needed and dry completely. Always work in a ventilated area since some commercial polishes have strong chemical odors.
Commercial polish is your best bet when you’re dealing with large surface areas or when you need maximum shine with minimal effort.
Method 4: The Ketchup Trick
Yes, really. This one sounds crazy, but ketchup actually works because of the acetic acid and tomato’s mild abrasive properties. It’s perfect for smaller brass items and works surprisingly well.
What you’ll need: Ketchup, soft cloth, paper towels
Steps: Apply ketchup directly to the tarnished brass and let it sit for 5-10 minutes. The acid needs time to work. Rub gently with a soft cloth in circular motions, then rinse with warm water and dry immediately. Don’t use this method on valuable antique brass unless you’re comfortable with it—test it on a hidden area first. The results are impressive for everyday brass items like doorknobs or light fixtures.
This method is especially good if you want to avoid chemicals entirely and have minimal supplies on hand.
Method 5: Wire Brush & Oil
For heavily oxidized brass or when you want a more rustic finish, a soft wire brush combined with oil can work wonders. This method gives you more control over the final appearance.
What you’ll need: Soft brass wire brush, mineral oil or olive oil, cloth, work gloves
Steps: Apply a small amount of oil to the brass surface—this lubricates and prevents the wire brush from scratching too aggressively. Gently brush in one direction (not circular motions) to avoid swirl marks. Work methodically across the entire surface, reapplying oil as needed. Wipe away excess oil with a clean cloth. This method takes longer but gives you excellent control and works great on larger items like fireplace tools or decorative panels.
The oil provides protection as you work and can be buffed to a nice patina finish.
Protecting Your Brass After Cleaning
Once you’ve got your brass looking beautiful, you’ll want to keep it that way. Here’s the thing: cleaned brass will tarnish again over time—it’s just nature—but you can slow it down significantly. Apply a thin coat of clear lacquer or brass protectant after cleaning. This creates a barrier between the brass and oxygen, dramatically extending the time before tarnishing returns. For items you use frequently, like doorknobs, you might skip the protectant and just clean them every few months instead. Store brass items in dry places and avoid exposing them to high humidity when possible. Regular light cleaning is easier than waiting for heavy tarnish to build up.
Common Mistakes to Avoid
Don’t use steel wool on brass—it’s too abrasive and will leave scratches. Avoid letting cleaning solutions sit too long on the brass; this can cause discoloration. Don’t mix different cleaning methods on the same item, as chemical reactions can damage the surface. If you’re cleaning antique or valuable brass, always test your chosen method on a hidden area first. And here’s a big one: don’t forget to dry your brass immediately after cleaning. Water spots and residual moisture are your enemies.
Many people also make the mistake of over-polishing. You don’t need to scrub hard—let the cleaning agent do the work. Gentle, consistent pressure is more effective than aggressive scrubbing.
Frequently Asked Questions
Is it safe to clean brass with vinegar?
Absolutely. White vinegar is one of the safest and most effective cleaning solutions for brass. It’s non-toxic, environmentally friendly, and won’t damage the metal when used properly. Just make sure to rinse and dry thoroughly afterward.
How often should I clean brass?
This depends on your environment and how much the brass is used. In dry climates, you might only need to clean brass annually. In humid areas or for frequently-used items, every 3-6 months is reasonable. Regular light cleaning is better than waiting for heavy tarnish buildup.
Can I clean lacquered brass the same way?
No. If your brass has a protective lacquer coating, you should only use mild soap and water or a soft damp cloth. Using acidic cleaners or wire brushes will damage the lacquer. Check if your brass is lacquered by looking for a slightly dull, plastic-like coating.
What’s the fastest method for quick cleaning?
Commercial brass polish is your fastest option—results in 2-3 minutes. The ketchup trick is also surprisingly quick if you’re just dealing with light tarnish. For deeper cleaning, vinegar and baking soda takes about 15-30 minutes total.
Will cleaning brass remove the patina I like?
Yes, these methods will remove patina and return brass to a bright shine. If you prefer the darker, aged look, skip cleaning and just dust regularly with a soft cloth. You can also use the wire brush method to create a controlled, rustic finish that’s less bright than full polishing.
Can I use these methods on brass-plated items?
Be careful with brass-plated items. The plating is thin, so aggressive scrubbing or acidic solutions can wear through it. Stick to gentle methods like soft cloth cleaning or mild soap and water. Test on a hidden area first.
Final thoughts: Learning how to clean brass properly means your pieces stay beautiful without constant replacement. Pick the method that fits your situation—quick and easy with commercial polish, eco-friendly with vinegar, or creative with ketchup. Your brass will thank you, and so will your wallet. For more household maintenance tips, check out our guide on keeping your home systems running smoothly.


