
Learning how to clean blackstone griddles is one of those skills that separates casual backyard cooks from folks who actually take pride in their equipment. A well-maintained Blackstone isn’t just about looks—it’s about performance, longevity, and making sure your next meal tastes as good as the last one. I’ve spent enough time standing over these flat-top beasts to know that a little regular maintenance goes a long way.
Table of Contents
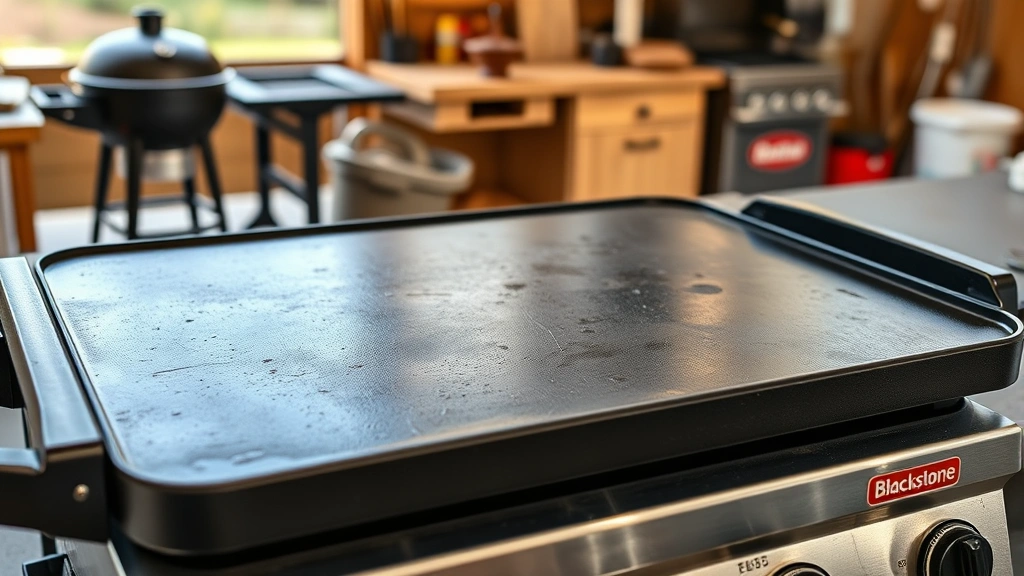
Why Blackstone Maintenance Matters
Your Blackstone griddle is basically a large, flat piece of steel that needs respect. Unlike traditional grills with grates, the cooking surface is exposed and vulnerable. When you skip cleaning, you’re not just leaving mess behind—you’re inviting rust, creating uneven cooking zones, and building up carbon that affects flavor. Think of it like cast iron, because that’s essentially what you’re working with here. A properly maintained Blackstone will outlast cheaper alternatives by years, and it’ll cook better too. The seasoning layer you build up becomes your non-stick coating and flavor foundation.
Gather Your Supplies First
Before you start scraping, make sure you’ve got the right tools. You’ll need a metal scraper (the flat kind, not a grill brush—those are for regular grills), paper towels or old rags, cooking oil (vegetable or canola works fine), and optionally a squeegee for pushing liquids around. Some folks swear by specialized Blackstone cleaning blocks, but honestly, a good metal scraper does the job just fine. Don’t grab anything abrasive like steel wool or scouring pads unless you’re doing a deep restoration—those will damage the seasoning you’ve worked to build. Keep everything within arm’s reach before you start; you don’t want to be hunting for supplies while the griddle is still hot.
Let It Cool Down Properly
Here’s where patience saves you from burns and mistakes. After cooking, turn off the heat and let the griddle cool for about 10-15 minutes. It doesn’t need to be completely cold—in fact, warm is better than stone cold because the metal is more forgiving and you can work faster. But you want it cool enough that you can comfortably touch it with your bare hand for a few seconds. This temperature sweet spot makes scraping easier and helps you avoid warping the metal with sudden temperature changes. Never pour cold water on a hot griddle—that’s a recipe for damage and steam burns.
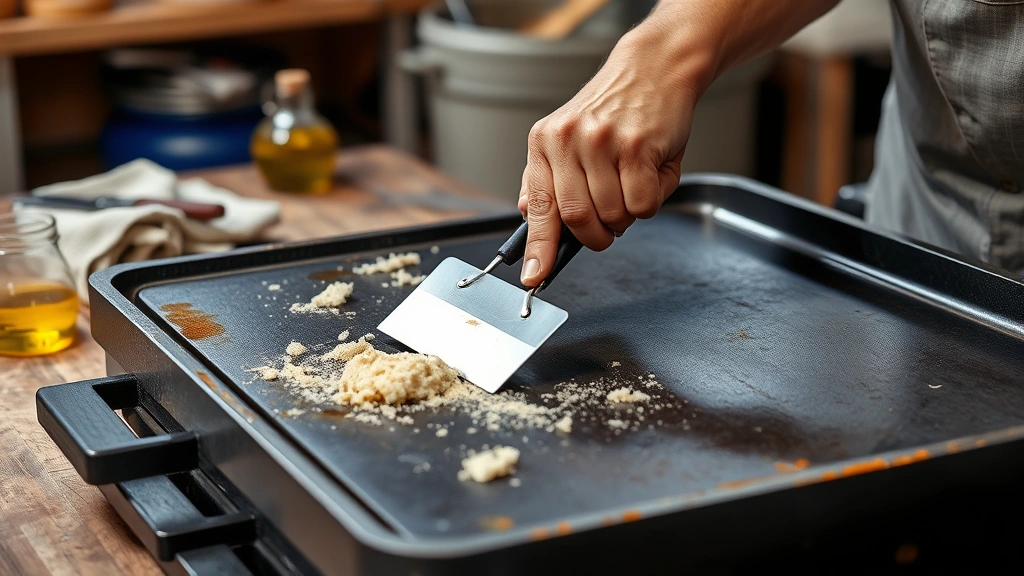
Scrape Away Buildup
Now grab your metal scraper and get to work. Using firm, controlled strokes, push accumulated food, grease, and carbon from the back of the griddle toward the front. Work in one direction rather than scrubbing back and forth—this is more efficient and easier on the surface. You’ll see buildup roll into a little ball at the front. That’s exactly what you want. Push it off into a trash can or compost bin. Don’t worry about getting it perfectly clean at this stage; you’re just removing the heavy stuff. The goal is to clear away debris that would otherwise burn into the surface and create a sticky mess next time you cook. This step usually takes just a couple of minutes.
Oil and Season the Surface
Once you’ve scraped the surface clean, it’s time to season. Pour a small amount of cooking oil directly onto the griddle—we’re talking a tablespoon or two for a standard 36-inch model. Use a clean rag or paper towel to spread it evenly across the entire cooking surface. Wipe in circular motions, making sure you cover every inch. The oil should create a thin, almost glossy layer. This serves two purposes: it protects the steel from rust and it builds up that seasoning layer that makes future cooking easier and prevents sticking. If you see pooling oil, you’ve used too much—wipe the excess away. A light coating is all you need. Let the oil sit for a minute or two, then give it a final buff with a clean section of your rag to remove any excess.
Smart Storage Strategies
If your Blackstone stays outside, cover it between uses. A simple fitted cover keeps rain and debris off the surface. If you live somewhere humid, consider storing it in a garage or shed during off-season months. The enemy of seasoned steel is moisture, so anything you can do to keep the surface dry helps. Some folks even apply a thin coat of oil before covering it up—that’s not a bad idea if you’re dealing with extended storage. For portable models, store them in a cool, dry place rather than leaving them exposed to the elements. A little forethought here prevents rust problems that are way harder to fix than regular maintenance.
Deep Cleaning When Needed
Every few months, depending on how much you use your Blackstone, do a deeper clean. Heat the griddle to medium, then pour a small amount of water onto the surface. Using your scraper, work the water across the whole cooking area—it’ll help lift stubborn buildup. You might see some brown residue or stuck-on spots. Keep scraping and working the water around. Once you’ve loosened everything, wipe the surface dry with paper towels. Then proceed with your normal oil and seasoning routine. For really stubborn buildup, you can repeat this process. This deep clean takes maybe five extra minutes but keeps your griddle in top shape. According to Family Handyman, regular deep cleaning extends the life of your cooking equipment significantly.
Preventing Rust and Corrosion
The number one cause of Blackstone problems is rust, and it starts when you skip the seasoning step. Every single time you cook and clean, you’re either building up protection or removing it. So don’t skip the oil. If you notice any rust spots starting to form, address them immediately. You can use a metal scraper to gently remove surface rust, then re-season aggressively. For serious rust, This Old House recommends using a rust eraser block or very fine steel wool, followed by thorough seasoning. The key is consistency—regular maintenance prevents rust far better than trying to fix it after the fact. If you’re in a humid climate, consider applying oil more frequently, even between uses.
Frequently Asked Questions
Can I use soap and water to clean my Blackstone?
You can use a small amount of mild dish soap with water for the initial rinse if you’re dealing with heavy grease, but it’s not ideal. Soap strips away the seasoning layer you’ve worked to build. If you do use soap, you must immediately re-season the griddle afterward. Most of the time, hot water and a scraper are sufficient without soap.
How often should I clean my Blackstone?
Clean it after every cooking session. This takes maybe five minutes and keeps buildup from becoming a problem. The longer you wait, the harder it gets to clean. Think of it like doing dishes—easier to do right away than to let them sit.
What oil is best for seasoning?
Any cooking oil with a high smoke point works: vegetable oil, canola oil, avocado oil, or even bacon grease if you want to add flavor. Avoid olive oil—its lower smoke point makes it less ideal. The oil doesn’t need to be expensive; consistency matters more than brand.
Can I use my Blackstone right after seasoning it?
Yes, you can cook on it immediately. In fact, cooking helps build the seasoning layer. Just make sure you’ve wiped away excess oil so it doesn’t smoke excessively or create a slippery surface.
What should I do if rust appears?
Address it immediately. Scrape away the rust with your metal scraper, then re-season thoroughly. If it’s extensive, use a rust eraser block or fine steel wool, but be gentle. Once removed, season aggressively and use your griddle regularly—cooking builds the protective layer faster than anything else.
The Bottom Line
Knowing how to clean blackstone griddles really comes down to three simple habits: scrape after every use, season every time, and keep it covered when not in use. It’s not complicated, but it does require consistency. Once you get into the rhythm, it becomes second nature—just another part of your cooking routine. Your Blackstone will reward you with years of reliable cooking and that beautiful seasoned patina that only comes with proper care. For more detailed griddle maintenance techniques, check out Bob Vila’s comprehensive guide. The investment in five minutes of cleaning time pays dividends in equipment longevity and cooking performance. Now get out there and keep that griddle looking sharp.


