
Learning how to clean bathroom spaces efficiently can transform your routine from a dreaded chore into a manageable task that leaves your space sparkling and sanitized. Whether you’re tackling a weekly refresh or a deep clean, having a solid system makes all the difference between spending hours scrubbing and knocking it out in under an hour.
Table of Contents
Gather Your Cleaning Supplies
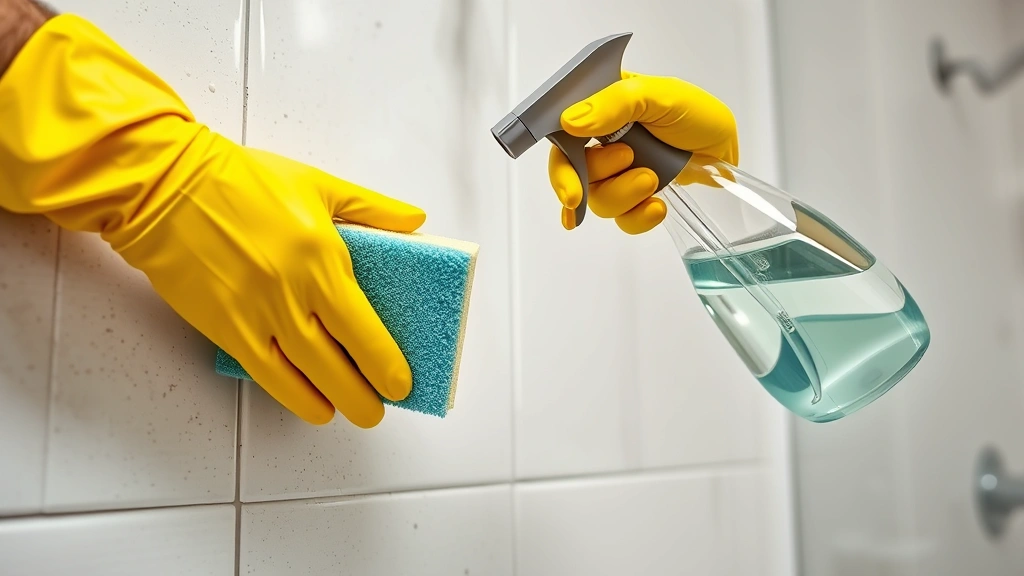
Before you start, assemble everything you’ll need. This isn’t just about being organized—it’s about efficiency. You don’t want to be running back and forth to the kitchen or closet while you’re in the middle of cleaning. Here’s what works in most bathrooms: rubber gloves (thick ones protect your hands), a toilet brush, sponges or microfiber cloths, a squeegee for shower doors, an all-purpose bathroom cleaner, toilet bowl cleaner, a disinfectant spray, and a dry towel for polishing. Consider keeping a small caddy or bucket to carry everything at once. Many people also swear by baking soda and white vinegar as natural alternatives to commercial cleaners. If you’re serious about maintaining surfaces properly, having the right tools matters just as much as having the right mindset.
Declutter and Prep Surfaces
This step separates amateurs from people who actually finish cleaning in reasonable time. Clear everything off your countertops, shelves, and surfaces. Put toiletries, bottles, and personal items into a basket or temporarily relocate them. Remove the bath mat and any loose items from the shower. This takes five minutes but saves you from having to work around clutter and lets you clean the actual surfaces underneath. Wipe down the cleared areas quickly with a dry cloth to remove dust and debris. You’re essentially creating a blank canvas to work with, which makes the rest of the process smoother and faster.
Tackle the Toilet First
Start with the toilet because it requires the strongest chemicals and the most elbow grease. Squirt toilet bowl cleaner under the rim and let it sit for a minute while you work on the outside. Use a disinfectant spray on the tank lid, tank, and outer bowl. Wipe these down with a cloth or sponge. Then grab your toilet brush and scrub the inside of the bowl thoroughly, paying special attention to the waterline where stains accumulate. Flush to rinse. Pro tip: if you have stubborn stains, let the cleaner sit for five to ten minutes before scrubbing. The chemical action does half the work for you. This is also a good time to clean behind the toilet if you can move it slightly or have a thin brush.
Clean Shower and Tub
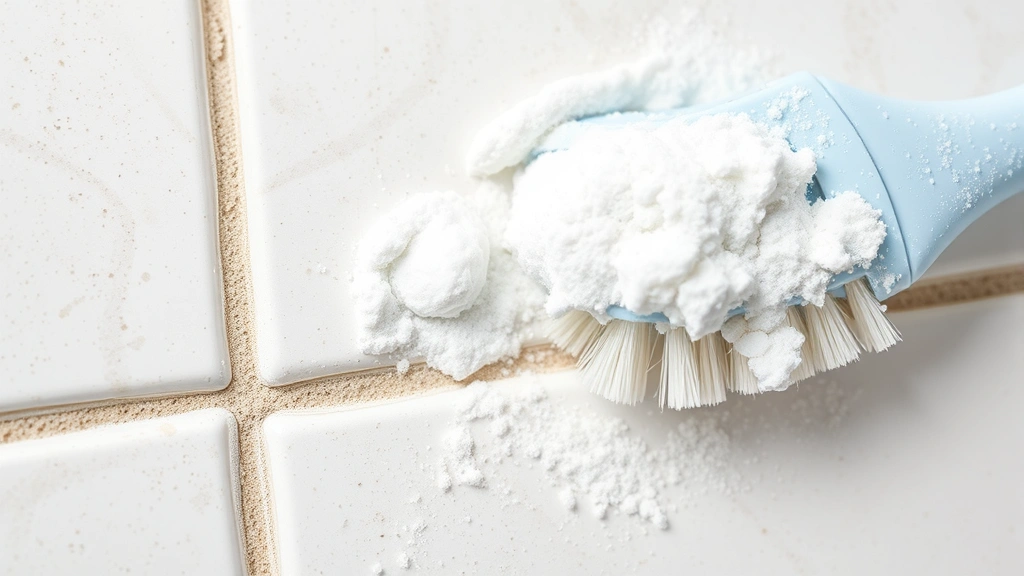
The shower and tub are often the most time-consuming part of bathroom cleaning, but there’s a rhythm to it. Spray your bathroom cleaner or a specialized tub cleaner across all surfaces—walls, tub floor, and fixtures. Let it sit for a couple of minutes. While it’s working, use a sponge or scrub brush to work the cleaner around, paying extra attention to corners, grout lines, and soap scum buildup. For stubborn soap scum, a paste of baking soda and water works wonders. Rinse thoroughly with hot water. If you have a shower door, use your squeegee to remove water and prevent mineral deposits. Leave the shower area wet for now—you’ll come back to dry it later. This approach to detailed surface cleaning applies across your whole bathroom.
Sink and Countertop Care
Spray your all-purpose cleaner on the countertop and sink area. Wipe down the countertop in circular motions, getting into corners and around the base of the faucet. For the sink itself, scrub with a sponge or cloth, paying attention to the drain area and faucet. If you have hard water stains on the faucet, white vinegar on a cloth works brilliantly—just let it sit for a minute before wiping. Don’t forget the sides and back of the sink where dust and debris hide. Rinse the sink with hot water and dry it with a clean towel. A dry sink looks infinitely cleaner than a wet one, and it prevents water spots. If your countertop has a specific material like granite or marble, use a cleaner formulated for that surface rather than generic bathroom cleaner.
Mirrors and Fixtures
Mirrors show every streak and fingerprint, so this matters more than people think. Use a glass cleaner or a 50/50 solution of white vinegar and water. Spray it on and wipe with a lint-free cloth or newspaper (yes, newspaper actually works great for this). Work from top to bottom so drips don’t land on already-cleaned areas. For chrome and metal fixtures, the same glass cleaner works, but you can also use a specialized metal polish if you want them to shine extra bright. Wipe down light fixtures and any other metal hardware. This step takes ten minutes but makes your bathroom look significantly more polished and intentional.
Floors and Final Touches
Save the floor for last—it’s the final step that ties everything together. Sweep or vacuum first to remove hair and debris. Then mop with a bathroom-appropriate floor cleaner. If you have tile, a mixture of warm water and a small amount of dish soap works fine, though dedicated tile cleaners are stronger. Pay special attention to corners and around the base of the toilet where dust accumulates. Let the floor dry completely before you put anything back. While the floor dries, put your bath mat back down (or throw it in the wash if it’s been a while), return your toiletries to the countertop, and replace any decorative items. Close the door or window and let the space air out. This final drying period also helps any lingering cleaner fumes dissipate, leaving your bathroom fresh rather than chemically smelling.
Weekly Maintenance Tips
Deep cleaning every week isn’t realistic for most people, but quick maintenance between deep cleans keeps your bathroom from getting gross. Wipe down the sink and countertop daily. Spray the toilet with disinfectant and give it a quick brush two or three times a week. After showers, use your squeegee on shower doors and wipe down the tub ledge to prevent mold and mildew. Keep a microfiber cloth handy for quick mirror touch-ups. These small habits prevent buildup, which means your next deep clean will be significantly easier. Think of it like preventative maintenance on your home—small regular efforts prevent major problems. Many people also find that keeping a small trash bin in the bathroom encourages them to toss things rather than let them pile up on surfaces.
Natural Cleaning Alternatives
If you prefer avoiding harsh chemicals, you’ve got solid options. Baking soda is your secret weapon—it’s mildly abrasive, deodorizing, and safe for all surfaces. White vinegar cuts through soap scum and hard water deposits beautifully. Mix baking soda with water to form a paste for scrubbing, or combine vinegar with baking soda for a fizzing action that breaks down tough buildup. Castile soap diluted in water makes an excellent all-purpose cleaner. Essential oils like tea tree or lemon add antimicrobial properties and pleasant scent. The downside is that natural cleaners sometimes require more elbow grease and longer sitting times than commercial products, but they’re gentler on your hands and the environment. Many people use commercial cleaners for tough jobs and natural solutions for regular maintenance.
Tackling Tough Bathroom Problems
Black mold or mildew requires stronger action—use a bleach-based cleaner or a specialized mold killer. Spray it, let it sit for ten minutes, then scrub. Ensure good ventilation when using bleach. For stubborn hard water stains, try a pumice stone (wet it first) on tile, or use a commercial hard water stain remover. Rust stains around fixtures respond well to a mixture of cream of tartar and lemon juice. If your grout is discolored, an old toothbrush and grout cleaner or oxygen bleach can restore it. Soap scum buildup on shower doors sometimes needs a razor blade scraper for the final touch—just be gentle on the glass. These problem-solving techniques, similar to removing stubborn stuck components, require patience and the right tool for the job.
Frequently Asked Questions
How often should I deep clean my bathroom?
Most experts recommend deep cleaning weekly or bi-weekly, depending on usage. Bathrooms with multiple users or heavy traffic benefit from weekly deep cleans. Light-use bathrooms can stretch to every two weeks. Quick daily maintenance between deep cleans keeps things manageable.
What’s the best order for cleaning a bathroom?
Work from top to bottom and from the dirtiest to cleanest areas. Start with the toilet, move to the shower and tub, then the sink and countertop, then mirrors and fixtures, and finish with the floor. This prevents dirty water from dripping onto already-cleaned surfaces.
How can I prevent mold and mildew?
Ventilation is key—run your exhaust fan during and for 20 minutes after showers. Wipe down wet surfaces with a squeegee or cloth. Keep the bathroom dry between uses. Use an antimicrobial cleaner weekly on shower walls and grout. If you have persistent mold issues, consider a dehumidifier.
Are natural cleaners as effective as commercial ones?
Natural cleaners work well for regular maintenance and light cleaning. For tough stains, mold, or heavy buildup, commercial cleaners are typically stronger and faster. Many people use a combination approach—natural cleaners for routine cleaning and commercial products for problem areas.
What should I use on different bathroom surfaces?
Tile and porcelain: all-purpose cleaner or bathroom cleaner. Granite or marble: pH-neutral stone cleaner. Glass: glass cleaner or vinegar solution. Chrome and metal fixtures: glass cleaner or metal polish. Grout: specialized grout cleaner or oxygen bleach. Always test cleaners on inconspicuous areas first.
How do I clean a bathroom efficiently?
Gather all supplies first. Clear surfaces before cleaning. Work systematically from toilet to floor. Let cleaners sit for a minute to do chemical work before scrubbing. Dry surfaces as you go—this makes everything look cleaner and prevents water spots. Maintenance between deep cleans keeps the job manageable.
Final Thoughts on Bathroom Cleaning
Mastering how to clean bathroom spaces comes down to having a system, the right tools, and realistic expectations. You don’t need fancy products or hours of labor—you need a logical sequence and consistency. The first time through takes longer because you’re learning the rhythm. By your third or fourth cleaning, you’ll have it down to maybe 45 minutes for a thorough deep clean. The key is not letting things pile up between cleanings. Those daily habits—wiping the sink, using the squeegee, quick toilet brush—are what actually keep your bathroom from becoming overwhelming. Start with this proven five-step approach, adjust it to your specific bathroom layout and problem areas, and stick with it. Your future self will thank you every time you walk into a clean, fresh-smelling bathroom.


