
Knowing how to clean an iron is one of those skills that saves you money and extends the life of your pressing tool by years. Whether you’re dealing with mineral buildup, stuck-on fabric, or a grimy soleplate, I’ve got you covered with five battle-tested methods that actually work.
Table of Contents
Why You Need to Clean Your Iron
Your iron works hard, gliding across fabric day after day, and it picks up all kinds of gunk along the way. Hard water deposits, fabric residue, starch buildup, and burnt fibers accumulate on the soleplate and inside the steam vents. When this happens, your iron stops doing its job properly. It leaves marks on clothes, sputters brown water, and creates more wrinkles than it removes. That’s when you know it’s time to get serious about cleaning.
The good news? Regular maintenance prevents most problems. But if you’ve already got a grimy iron, don’t worry—I’ll walk you through methods that work whether your iron is slightly dirty or completely caked on.
Tackle Mineral Buildup First
Mineral deposits are the silent killer of iron performance. Hard water leaves behind calcium and magnesium that clogs steam holes and gunks up the soleplate. You’ll notice it when your iron starts spitting brown water or leaving spots on your clothes. The mineral buildup also makes the iron heavier and harder to push across fabric.
Before you try any cleaning method, empty the water reservoir completely. Turn off the iron and let it cool for at least 30 minutes. This is crucial—working on a hot iron is dangerous and less effective. The minerals stick better to cool surfaces, giving your cleaning solution more time to work.
Soleplate Cleaning Methods
The soleplate is where most of the action happens, and it’s also where most of the damage shows up. A dirty soleplate transfers grime directly to your clothes, defeating the entire purpose of ironing. The good news is that the soleplate is usually the easiest part to clean because it’s flat and accessible. You’ve got several solid options depending on what you’ve got lying around your house.
Start by wiping the soleplate with a damp cloth to remove loose debris. Then pick one of the methods below based on what your iron needs most. Some methods work better for mineral deposits, others for burnt-on fabric, and some handle both. You might need to combine methods for heavily soiled irons.
The Vinegar Soak Method
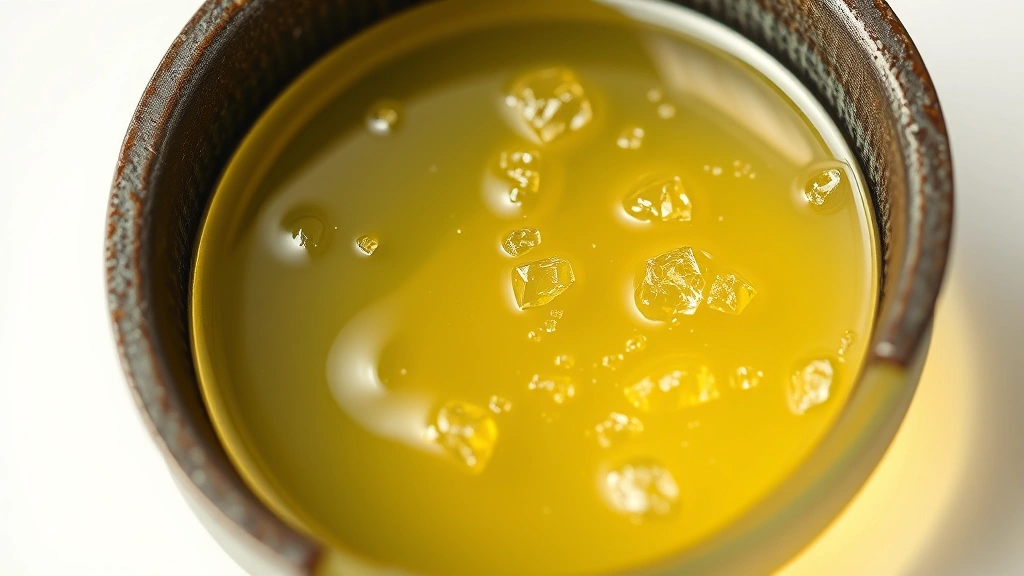
White vinegar is your secret weapon against mineral deposits. It’s acidic enough to dissolve calcium buildup without being so harsh that it damages the iron’s internal components. This method works best if you have time to let the vinegar sit and do the work for you.
Fill a shallow bowl or container with equal parts white vinegar and distilled water. Place the iron’s soleplate facing down into the mixture so it’s partially submerged—just the bottom plate, not the whole iron. Let it soak for 15 to 30 minutes. The vinegar will start eating away at the mineral deposits immediately. You’ll see the water turn cloudy as the minerals dissolve.
After soaking, use a soft cloth or old toothbrush to gently scrub the soleplate. Work in circular motions and pay special attention to the steam holes. Rinse the soleplate thoroughly under running water and dry it completely with a clean cloth. Fill the iron’s water tank with distilled water, heat it up, and run a few bursts of steam over an old towel to flush out any remaining vinegar smell or residue.
Baking Soda Paste Technique
If your iron has burnt-on fabric stuck to the soleplate, baking soda paste is your best bet. This method is gentler than vinegar and works through mild abrasion rather than chemical dissolution. It’s also safer if you’re worried about damaging the iron’s finish.
Mix baking soda with a small amount of water to create a thick paste—think toothpaste consistency. Apply the paste directly to the soiled areas of the soleplate. Let it sit for 5 to 10 minutes so the baking soda can soften the burnt residue. Then use a soft cloth or non-abrasive sponge to gently scrub the soleplate in circular motions. Don’t use steel wool or abrasive scrubbers—they’ll scratch the soleplate and make future sticking worse.
Wipe away all the paste with a damp cloth and dry thoroughly. This method often requires a bit more elbow grease than vinegar, but it’s incredibly effective for burnt fabric. For stubborn spots, apply the paste again and let it sit longer before scrubbing.
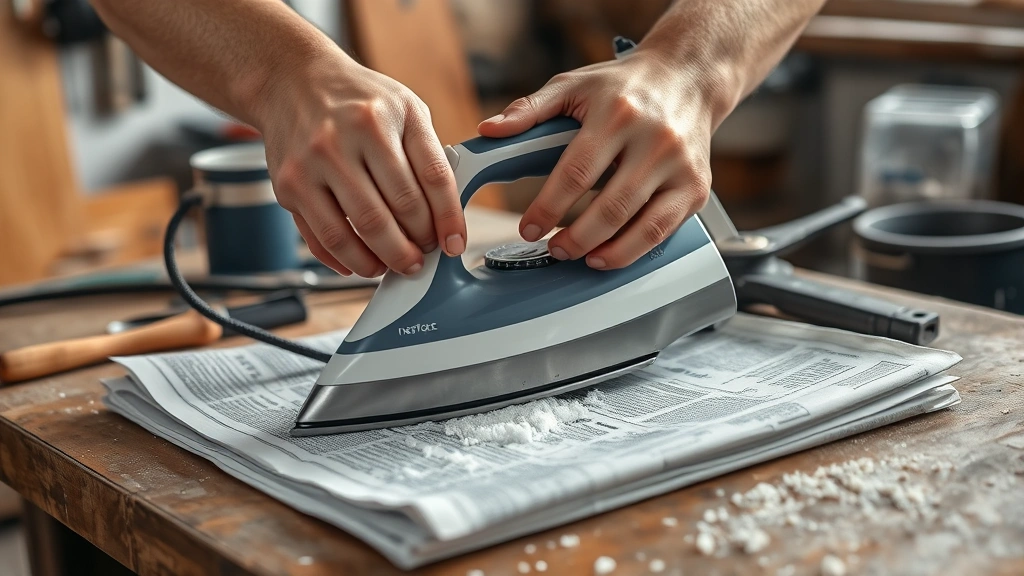
Salt and Paper Trick
This is the quickest method if you’re in a hurry, and it’s surprisingly effective for light to moderate buildup. It works because salt acts as a mild abrasive while the heat from the iron helps loosen deposits. You don’t need fancy materials—just table salt and newspaper or paper towels.
Heat your iron to medium-high temperature. While it’s warming up, lay down several sheets of newspaper on your ironing board or a heat-safe surface. Sprinkle a generous amount of table salt over the newspaper—you want a thick layer about the size of your iron’s soleplate. Once the iron is hot, press it onto the salt and move it back and forth as if you’re ironing. The salt will scratch away surface deposits and mineral buildup.
After a minute or two, check the soleplate. If it looks cleaner, you’re done. If there’s still buildup, repeat the process with fresh salt. Wipe the soleplate clean with a damp cloth and dry it completely. This method is fast and works great for regular maintenance, but it won’t solve heavy mineral deposits or thick burnt-on residue.
Clearing Steam Vents
The steam vents are where mineral deposits really cause problems. Clogged vents prevent steam from flowing properly, which means your iron can’t create the pressure needed for effective pressing. Clearing these vents is essential if your iron has been sputtering or spitting brown water.
The best tool for this job is a straightened paper clip or a thin pipe cleaner. After soaking the iron in vinegar or applying baking soda paste, use the paper clip to carefully poke into each steam hole. Work gently—you don’t want to damage the heating element or internal components. Push the paper clip in just far enough to dislodge mineral deposits, then pull it back out.
After clearing the vents manually, run distilled water through the iron’s steam function several times. Fill the tank with distilled water, heat the iron, and hold it over a sink or towel while pressing the steam button repeatedly. This flushes out any remaining mineral particles. Do this at least five times to ensure the vents are completely clear.
Maintenance Tips for Later
Once your iron is clean, keeping it that way takes minimal effort. The biggest step is using distilled water instead of tap water. Tap water contains minerals that accumulate over time. Distilled water costs just a couple dollars per gallon and eliminates mineral buildup entirely. This single change extends your iron’s life by years.
Empty the water tank after each use. Stagnant water inside the iron can develop mineral deposits and even mold. It takes 10 seconds to dump out the water and prevents major problems down the road. Store your iron on its heel (the back end) rather than its soleplate so the soleplate doesn’t sit flat against surfaces where it can pick up dust.
Clean the soleplate with a damp cloth every few weeks of regular use. This prevents buildup from accumulating in the first place. Use the salt method monthly as preventive maintenance—it’s quick and keeps everything running smoothly. If you notice brown water or reduced steam output, that’s your signal to do a deeper clean using the vinegar or baking soda methods.
Store your iron in a cool, dry place away from humidity. Moisture accelerates mineral buildup and can cause rust on the soleplate. If you live in an area with particularly hard water, consider investing in a water softening system for your whole house—it benefits your appliances and your plumbing.
Frequently Asked Questions
Can I use regular tap water in my iron?
Technically yes, but it’s not recommended. Tap water contains minerals that accumulate on the soleplate and inside steam vents, causing the problems we’ve been discussing. Distilled water is cheap and prevents almost all mineral-related issues. If you must use tap water, clean your iron more frequently—every 2-3 weeks instead of monthly.
Is it safe to use commercial iron cleaners?
Commercial iron cleaners work, but they’re often unnecessary and more expensive than household methods. Vinegar, baking soda, and salt do the job just as well and cost a fraction of the price. If you do use commercial cleaners, follow the manufacturer’s instructions carefully and ensure proper ventilation. Some commercial products contain chemicals that can damage the iron’s internal components if not used correctly.
How often should I clean my iron?
With distilled water and regular use, a light monthly cleaning with the salt method is sufficient. If you use tap water or notice buildup, increase to every 2-3 weeks. Heavy users or those with extremely hard water might need to clean every week. The key is preventive maintenance—small regular cleanings prevent the need for major deep cleans.
What if my iron still spits brown water after cleaning?
This usually means mineral deposits are still inside the iron’s internal water system. Run the vinegar and water solution through the steam vents multiple times. Fill the tank with the vinegar mixture, heat the iron, and press the steam button repeatedly over a sink for 10-15 minutes. If the problem persists after several attempts, the mineral buildup is severe and you might need professional descaling or a replacement iron.
Can I clean the interior of my iron?
Yes, but carefully. The vinegar soak method helps clean internal components because the vinegar solution enters the steam chamber. Running vinegar solution through the steam vents flushes the internal system. However, don’t attempt to disassemble the iron yourself—you’ll void the warranty and risk damaging electrical components. Stick to the methods described here, which safely clean the interior through the water system.
Will cleaning damage my iron?
No, if you follow these methods. Vinegar, baking soda, and salt are all gentle enough for regular use. The key is avoiding abrasive scrubbers like steel wool and being careful not to scratch the soleplate. Never use harsh chemicals or solvents, and always let the iron cool before cleaning. These methods have been used safely for decades.
External Resources: For more detailed information on appliance maintenance, check out This Old House’s appliance care guide and Bob Vila’s comprehensive cleaning methods. The Consumer Reports website also offers ratings on iron quality and maintenance recommendations.
Just like maintaining other household tools—whether you’re cleaning battery corrosion on power tools or keeping electronics in working order—regular iron maintenance pays dividends. A clean iron makes pressing faster, easier, and produces better results. Spend 15 minutes on maintenance now, and you’ll save yourself hours of frustration and money on replacements later.


