
Learning how to clean air mass meter is one of those skills that’ll save you hundreds at the mechanic shop and keep your engine running like a dream. Your air mass meter (MAF sensor) measures the air flowing into your engine, and when it gets dirty, your car runs rough, wastes fuel, and loses power. The good news? You can clean it yourself in about an hour with basic tools and the right approach.
Table of Contents
Why Your MAF Sensor Gets Dirty
Your MAF sensor sits in the intake tract and constantly measures air density and flow. Over time, dust, pollen, and engine oil vapor coat the delicate sensing element. This buildup throws off readings, making your engine computer think there’s more or less air than there actually is. The result? Your car compensates with the wrong fuel mixture, and suddenly you’re dealing with rough idle, hesitation, or a check engine light. If you’ve been ignoring those symptoms, it’s time to learn how to clean air mass meter before things get worse.
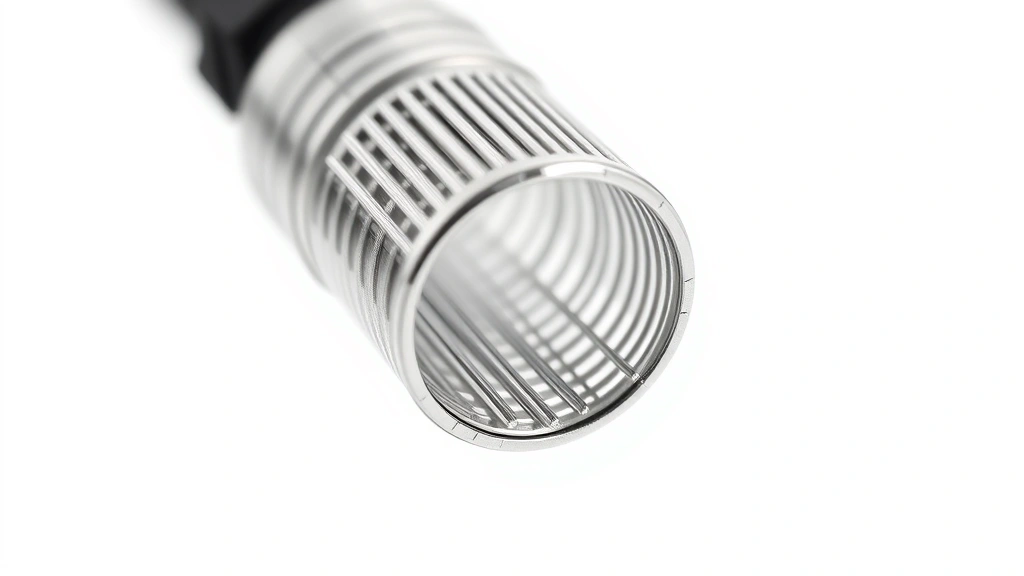
The sensor itself is incredibly sensitive—we’re talking about platinum wires thinner than a human hair. That’s why cleaning requires patience and the right materials. One wrong move with a harsh brush or solvent, and you’ve just bought yourself a $200+ replacement.
Gather Your Supplies First
Before you pop the hood, grab these essentials:
- MAF sensor cleaner (not carburetor cleaner—this is critical)
- Soft-bristle brush or compressed air
- Socket set and screwdrivers for sensor removal
- Clean lint-free cloth or coffee filters
- New air filter (while you’re in there)
- Safety glasses and gloves
- Container for small bolts so you don’t lose them
The MAF cleaner is non-negotiable. It’s specifically formulated to dissolve deposits without damaging the sensor’s coating. Regular carburetor cleaner is too harsh and will wreck the platinum element. You can grab MAF cleaner at any auto parts store for $8-15—cheap insurance for a $300 sensor.
Locate the Air Mass Meter
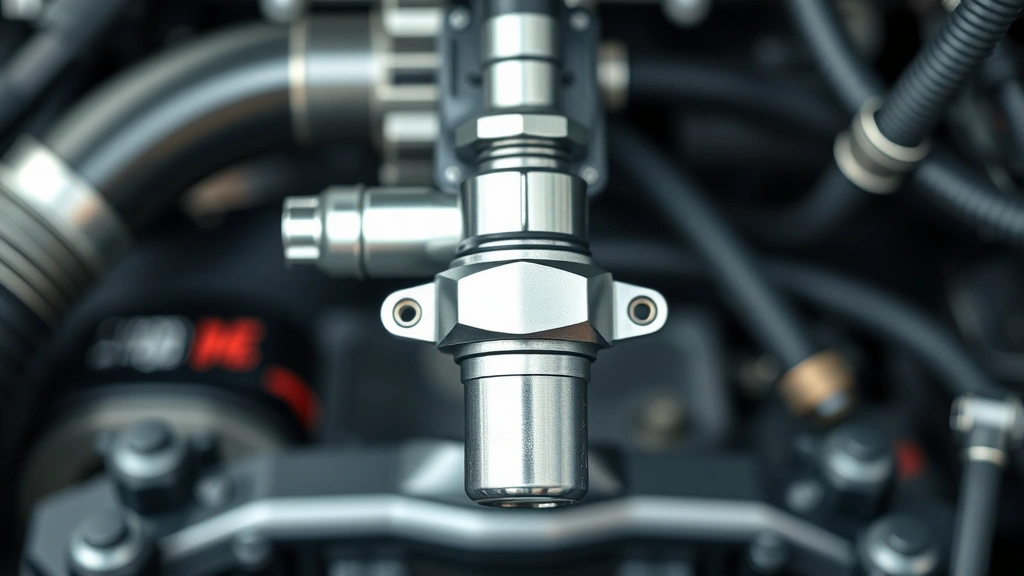
Pop your hood and look for the air intake system. The MAF sensor typically sits between your air filter box and the engine’s intake manifold. It’s a cylindrical or rectangular component with an electrical connector on top. Your owner’s manual or a quick YouTube search for your specific vehicle will show the exact location—it varies by model.
On most cars, you’ll find it within arm’s reach. Some vehicles have it mounted vertically, others horizontally. Take a photo with your phone before you start disassembling anything. You’ll thank yourself when it’s time to put everything back together. Also, make sure your engine is completely cold before touching anything. A hot sensor is a broken sensor.
Remove It Safely and Carefully
Disconnect the negative battery terminal first—this prevents electrical issues and accidental shorts. Next, unplug the electrical connector from the sensor. Most connectors just pull straight out, but some have a small clip you need to press. Be gentle; forcing it will break the connector.
Now remove the bolts or screws holding the sensor in place. Usually there are two bolts. Keep these in your container—losing them means a trip back to the parts store. Gently wiggle the sensor out of its housing. Don’t yank it or twist it forcefully. If it’s stuck, a little penetrating oil around the edges helps, but patience is your best tool here. Once it’s out, set it on a clean work surface. This is similar to the care you’d take when working on other engine components, much like when you’re learning how to add freon to automobile air conditioner and need to handle sensitive parts.
The Actual Cleaning Steps
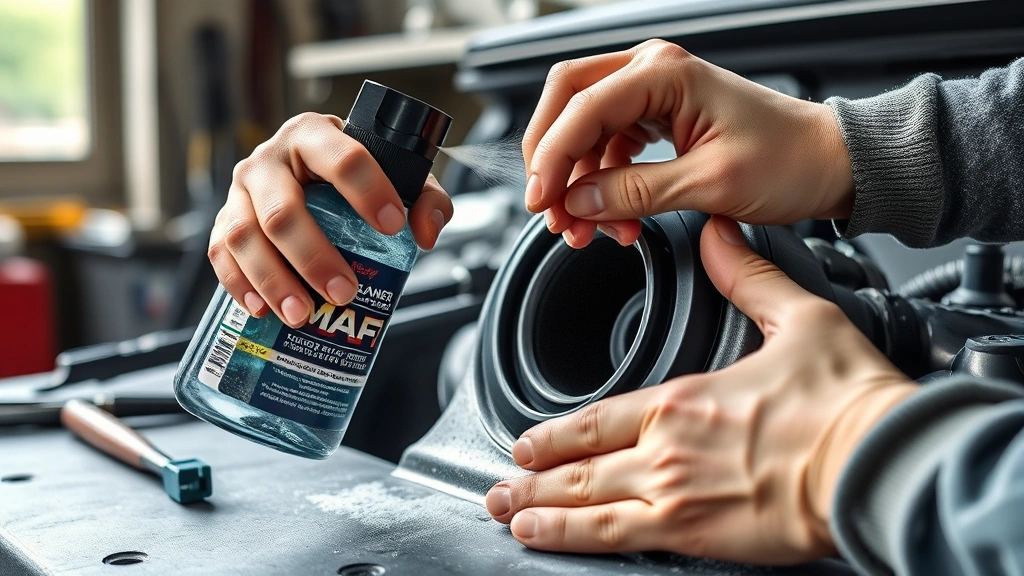
Here’s where the magic happens. Spray MAF cleaner directly onto the sensing element—that’s the thin wire or film you see inside the sensor. Use short bursts, not one long spray. Let gravity do the work. The cleaner will drip down and carry away deposits. Don’t brush or wipe the element itself. Ever. That platinum wire is fragile, and even a soft brush can damage it.
If you prefer a gentler approach, use compressed air at low pressure (30-40 PSI) to blow dust away. Hold the sensor with the element pointing down so debris falls away. Alternate between short bursts of cleaner and compressed air until the element looks clean and shiny. You might need 3-5 applications depending on how gunked up it was.
Let the sensor air dry completely—at least 15 minutes. Don’t use compressed air to speed this up, as moisture can get trapped. While it dries, this is a perfect time to install that new air filter you grabbed. A clean filter prevents future MAF sensor fouling, so don’t skip this step. For more on maintaining clean systems, check out our guide on how to clean battery corrosion, which covers protecting sensitive electrical components from environmental damage.
Reinstall and Reset Everything
Once the sensor is bone dry, carefully slide it back into its housing. Align it properly and install the bolts finger-tight first, then snug them down. Don’t over-torque—these aren’t critical fasteners, and you don’t want to crack the plastic housing. Reconnect the electrical connector until you hear or feel it click.
Reconnect the negative battery terminal. Now here’s the important part: start your engine and let it idle for a few minutes. The engine computer will recalibrate itself and relearn the sensor readings. You might see the check engine light for a moment—that’s normal. If it stays on after 10 minutes, you’ve got a different problem, but usually it clears right up.
Take your car for a test drive around the block. You should notice immediate improvements: smoother idle, quicker throttle response, and better fuel economy. If you don’t see changes, the sensor might have been fine, or there’s another issue at play. Don’t panic—at least you’ve got a clean sensor now.
Expect Better Performance
A clean MAF sensor delivers real-world benefits. Most people report 5-10% improvement in fuel economy. Your engine will idle more smoothly without that annoying hesitation when accelerating. Cold starts become more reliable, and overall drivability improves noticeably. You’ll also eliminate that rough running that was probably driving you crazy.
The performance gains depend on how dirty the sensor was to begin with. If it was really fouled, you’ll feel like you’ve got a new car. If it was just slightly dirty, the improvements are more subtle but still worthwhile. Either way, you’ve just extended your sensor’s life by several thousand miles and avoided a check engine light that would’ve cost you at the pump.
Avoid These Common Mistakes
The biggest mistake people make is touching the sensing element with their fingers or a brush. Your skin oils and lint are contaminants that will dirty it right back up. Always use only approved MAF cleaner and compressed air.
Another common error is using the wrong cleaner. Carburetor cleaner, brake cleaner, and WD-40 will damage the sensor’s delicate coating. Spend the extra few bucks on real MAF cleaner. It’s the only product designed for this job.
Don’t skip the air filter replacement either. A dirty air filter puts extra strain on your MAF sensor and will cause it to foul again quickly. You’re defeating the purpose of cleaning if you don’t address the root cause. Also, never force the sensor into its housing if it doesn’t slide in smoothly. If it’s stuck, remove it and check for obstructions or misalignment.
Keep It Clean Going Forward
Prevention is easier than cleaning. Replace your air filter every 12,000-15,000 miles, or more often if you drive in dusty conditions. A clean air filter keeps debris from reaching your MAF sensor in the first place. Use quality fuel and consider a fuel system cleaner additive every 5,000 miles to keep your entire intake system healthy.
If you notice symptoms returning within a few months—rough idle, hesitation, poor fuel economy—your sensor is fouling again faster than normal. This usually means your air filter is too dirty or you’re driving in extremely dusty conditions. Address the air filter issue first before cleaning the sensor again.
Regular maintenance of related systems helps too. Keep your engine oil clean with regular changes, as oil vapor contributes to MAF sensor fouling. If you’re working on other engine components, like when you’re learning how to add freon to automobile air conditioner, take the opportunity to inspect your air intake system for leaks or damage that might introduce contaminants.
Frequently Asked Questions
How often should I clean my MAF sensor?
Most drivers never need to clean a MAF sensor if they maintain their air filter properly. However, if you notice symptoms of a dirty sensor—rough idle, poor fuel economy, hesitation—cleaning it can help. Some people in extremely dusty environments might need to clean one every 50,000-75,000 miles. Regular air filter changes prevent most MAF sensor issues.
Can I clean a MAF sensor without removing it?
Not effectively. While some people spray cleaner through the intake, you won’t get the sensor truly clean without removing it. The element has crevices where deposits hide, and you need direct access to clean them properly. Removal takes 15 minutes and guarantees better results.
What if my check engine light comes back after cleaning?
Give it 50-100 miles of driving. Sometimes it takes a while for the computer to fully recalibrate. If the light stays on, you might have a different issue—bad wiring, connector problems, or a faulty sensor. Have it scanned with a code reader to identify the specific problem.
Is MAF sensor cleaning worth doing myself?
Absolutely. A mechanic charges $150-300 for this job, and you can do it for $15-20 in supplies and an hour of your time. It’s one of the easiest engine-related repairs and delivers immediate results. Even if you’re not mechanically inclined, this is a great first project.
Can I damage my sensor while cleaning?
Only if you touch the sensing element directly or use the wrong cleaner. Stick to MAF cleaner, compressed air, and never brush the element. If you follow the steps outlined here, your sensor will be fine. The sensor is tough enough for engine operation—it just needs respect during cleaning.
What’s the difference between MAF and MAP sensors?
MAF (Mass Air Flow) sensors measure the amount of air entering the engine. MAP (Manifold Absolute Pressure) sensors measure pressure changes. They’re different components with different cleaning requirements. Make sure you’re cleaning the right one for your vehicle.
Final Thoughts
Learning how to clean air mass meter is a skill every car owner should have in their toolkit. It’s straightforward, inexpensive, and delivers noticeable improvements in engine performance and fuel economy. You don’t need special training or expensive equipment—just patience, the right cleaner, and a methodical approach.
The next time your car runs rough or your fuel economy tanks, you’ll know exactly what to check. And you’ll save hundreds by doing it yourself instead of paying a mechanic. That’s the real power of DIY—taking control of your vehicle’s maintenance and keeping it running at peak performance. Get out there and give your engine the clean air it deserves.


